Sequencing an Application to App-V in a VMware virtual machine
The following article uses options that are available starting
with the Architect edition and project
type.
This tutorial will guide you to sequence an application in a virtual machine (VMware) then use the results to create an App-V package.
When performing the repackaging operation in a clean virtual machine, you assure no running application conflicts are generated. Also, the capture takes less time if the machine is clean. Moreover, if something goes wrong you can easily restore the virtual machine to a previous state. This is usually how installation tests are professionally handled.
This tutorial will sequence the Firefox Setup 52.0.2.exe into an App-V package.
- 1. Start an "New App-V Package" project
- 2. The Welcome dialog of the Repackager Wizard
- 3. Choose to start a new installation capture
- 4. Select the virtual machine profile
- 5. Package Information
- 6. Customize Settings
- 7. Create installation profile
- 8. Installation Capture
- 9. Package Installation
- 10. Import results
- 11. Customize Project
- 12. Build Project
- 13. Video tutorial
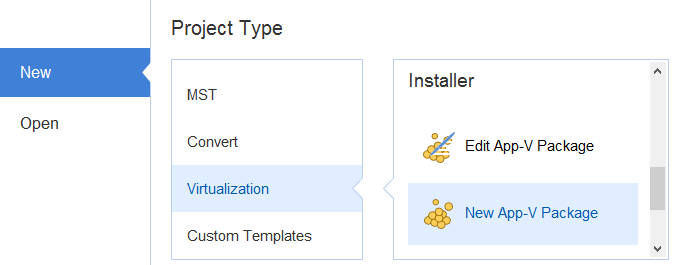
1. Start an "New App-V Package" project
If Advanced Installer is not currently running, launch it by double-clicking a desktop icon or selecting it from the "Start" menu. When the application starts, you will see a dialog where you can choose “Virtualization” > “New App-V Package” project type.

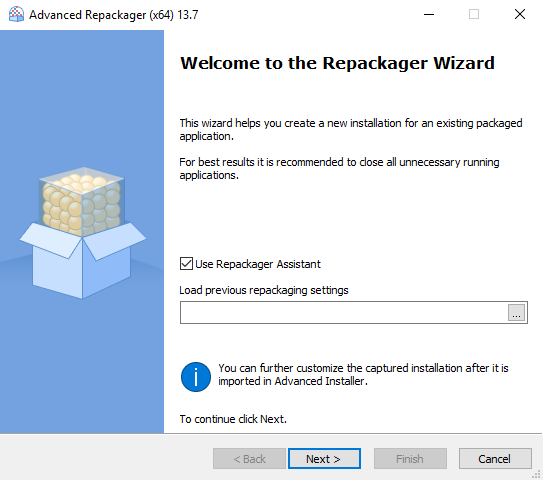
2. The Welcome dialog of the Repackager Wizard
We recommend enabling the "Use Repackager Assistant" option. This way, every option you select during the repackaging operation is automatically saved by the Repackager Assistant in a configuration, so anyone can use it later on. Additional comments and instruction can be typed in, as you go through the sequencing process.

Read more about the Repackager Assistant in the Repackager Assistant article.
3. Choose to start a new installation capture
Select the option to "Repackage an application in a virtual machine" then press the Edit link button.

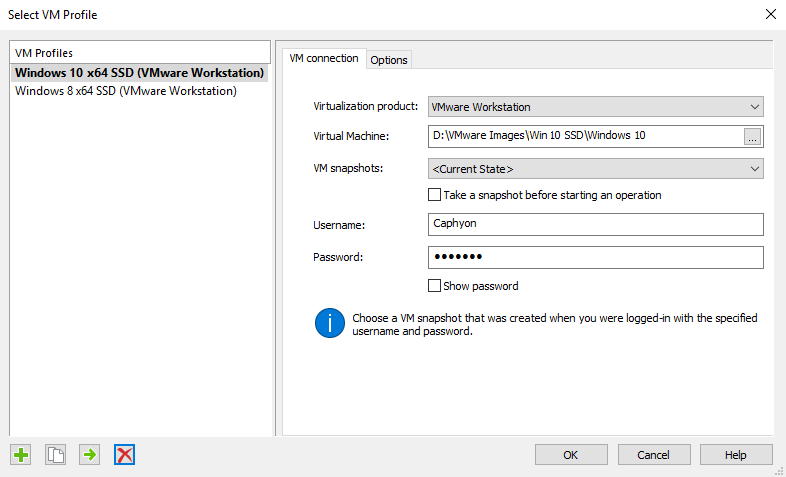
4. Select the virtual machine profile
Select or configure the virtual machine profile with the snapshot to be used as host for the repackager. Make sure the user specified on this dialog has admin privileges then press . Press in the parent dialog.

It is important you first prepare the virtual machine before
starting your first capture. Please check the requirements for repackaging in VMware
machines to make sure your environment is correctly
setup.
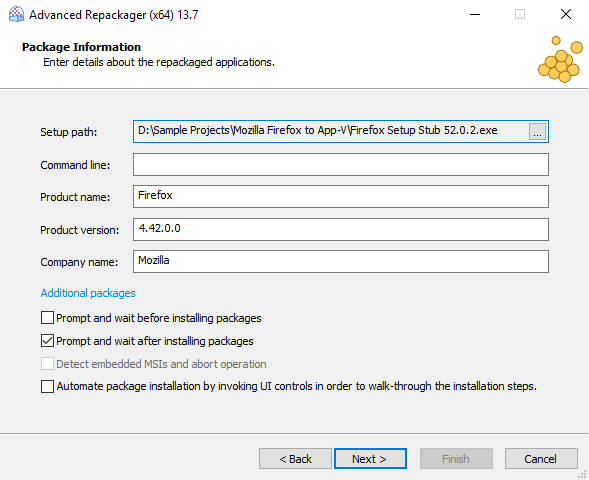
5. Package Information
In this dialog you must select the location of the setup that you want to sequence.

6. Customize Settings
Select the output path for the installation capture files, and customize the capture profiles.

When the "Use process monitor in conjunction with system scan" option is used the Repackager will ignore any output generated by processes which were already running before the repackaging operation starts.
Next we shall create a new installation capture profile that is best suited for our needs. Select "New Profile" from the "Current Profile" combo and click the link Edit.
7. Create installation profile
We created a new profile "Mozilla Firefox", which we have tweaked to search for system changes. All the other settings remained as in the "Default" profile.
We set this newly created profile as active (current). The profile that is "active" is that one that will be used during the system scan unless specified otherwise at the beginning of the installation capture.

Press the to close the Repackager settings and return to the wizard.
8. Installation Capture
Press to start the installation capture. Before you proceed make sure that you close all unnecessary running applications in order to avoid "false positive" capture results from active file and registry system access.

9. Package Installation
During this process your setup file will be launched. Complete the installation as you would normally do.
After the installation has completed, the system will be scanned again for changes.
10. Import results
Press button to import the installation capture results into a new Advanced Installer project.
Before the import of the captured results, the results will be displayed where you can filter them:

11. Customize Project
After importing the installation capture results you should review the Advanced Installer project and adjust it to your new package deployment needs.
At this point you don't need the old repackaged package or
any of its dependencies. All necessary resources have been added next to
the .RPK file in the repackager's output location.
