Debug Desktop Bridge Applications
The following article uses the free Advanced Installer Visual Studio 2019
Extension,as well as the Professional edition of Advanced
Installer, required for building an UWP package.
This tutorial will show you how to debug your desktop application inside an MSIX container, using the Advanced Installer extension for Visual Studio 2019 (2015 and 2017 is supported also).
1. Build your MSIX package within Visual Studio
There are two scenarios for creating an MSIX build from your Visual Studio solution:
- Have an Advanced Installer Project in Visual Studio, and configure it to build an MSIX package, besides the existing MSI/EXE output
- Import an existing MSIX package with the Advanced Desktop Bridge Project

In both cases you will have a new Advanced Installer Project in your Visual Studio solution, which requires to be configured as follows.
2. Add the Project Output
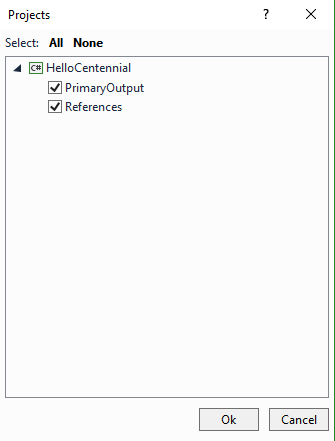
In your new project, go to Files and Folders, and click Add Project Output, if you have not already. Here you will need to link your project’s PrimaryOutput and References to the newly created UWP project

3. Enable debugging
Right click on your newly created project, and select Properties. From here you will have to go to the Debug section, and activate Enable UWP Debug.

Make sure that your configuration is set to BuildUwpAppX.
To start debugging your application, go to solution explorer in Visual Studio, right click on your UWP MSIX build, and set it as as the StartUp project. Press the Start button to begin.