Importing an existing MSI
The following article uses options that are available starting
with the Freeware edition and project
type.
This tutorial will guide you in importing an MSI into an Advanced Installer project.
Lets suppose you have an older MSI file built with another tool and you want to create the same MSI with Advanced Installer. Creating the project from scratch is a time consuming operation and requires extensive knowledge about the original MSI. By using the Advanced Installer support for importing MSI files you can do this in no-time.
The import process may not add all the resources of the original
MSI. So after importing you should inspect the resulted project to make
sure that everything is OK.
Importing MSI packages with validation errors may fail.
As an example we shall import the 64-bit version of the 7-zip File Manager.
1. Start an "MSI Import" project
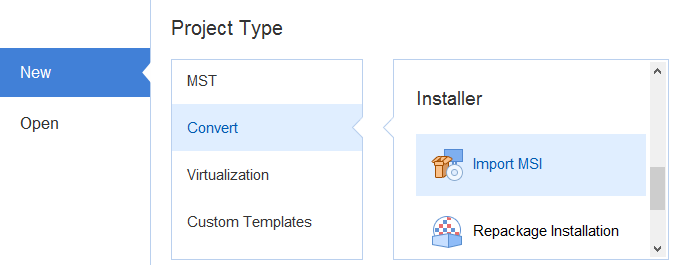
If Advanced Installer is not currently running, launch it by double-clicking a desktop icon or selecting it from the "Start" menu. When the application starts, you will see a dialog where you can choose “Convert” > “Import MSI” project type.

The Import MSI Wizard will be launched assisting you to configure the import parameters.
2. Collect Information
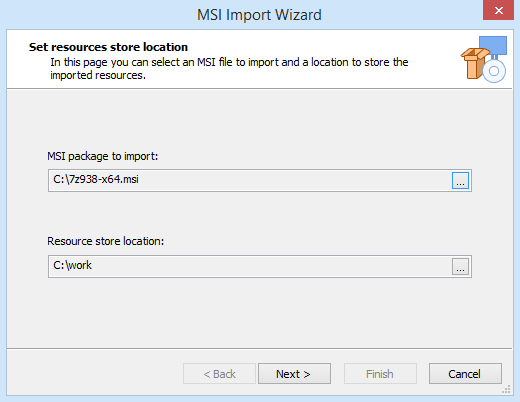
In this dialog select the location of the MSI that you want to import and specify a work directory where the MSI resources will be extracted.

3. Select Installation Folder
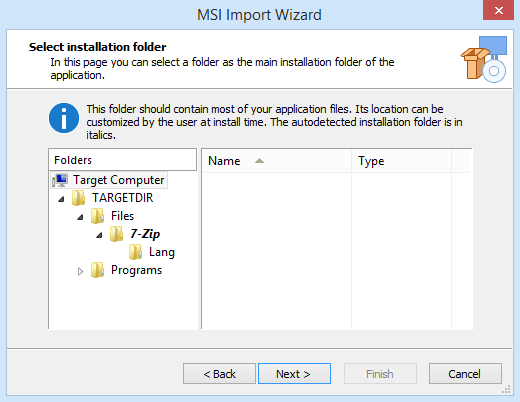
Specify the installation folder. Advanced Installer will automatically detect it and it will be marked italic in the folder tree. To change the installation folder use the "Set Installation Folder" context menu option. The new installation folder will appear bold.
System directories cannot be set as installation
folder.

If you're not happy with the imported result, you can edit the MSI
using MSI Quick-Edit mode instead.
