Contents
- Repackaging Best Practices
- When should I repackage an installation?
- Tips for an optimal repackaging result
- Repackaging in a clean environment
- Clean image
- Testing packages in System Context
- Advanced Installer
- Capture with Advanced Installer
- Cleaning Advanced Installer’s Captures
- Editing and Modifying Advanced Installer’s captures/MSIs
- Compiling .aip in .msi
- Wise Package Studio
- Capture with Wise
- Editing / Modifying Wise captures/MSIs
Advanced Installer
Capture with Advanced Installer
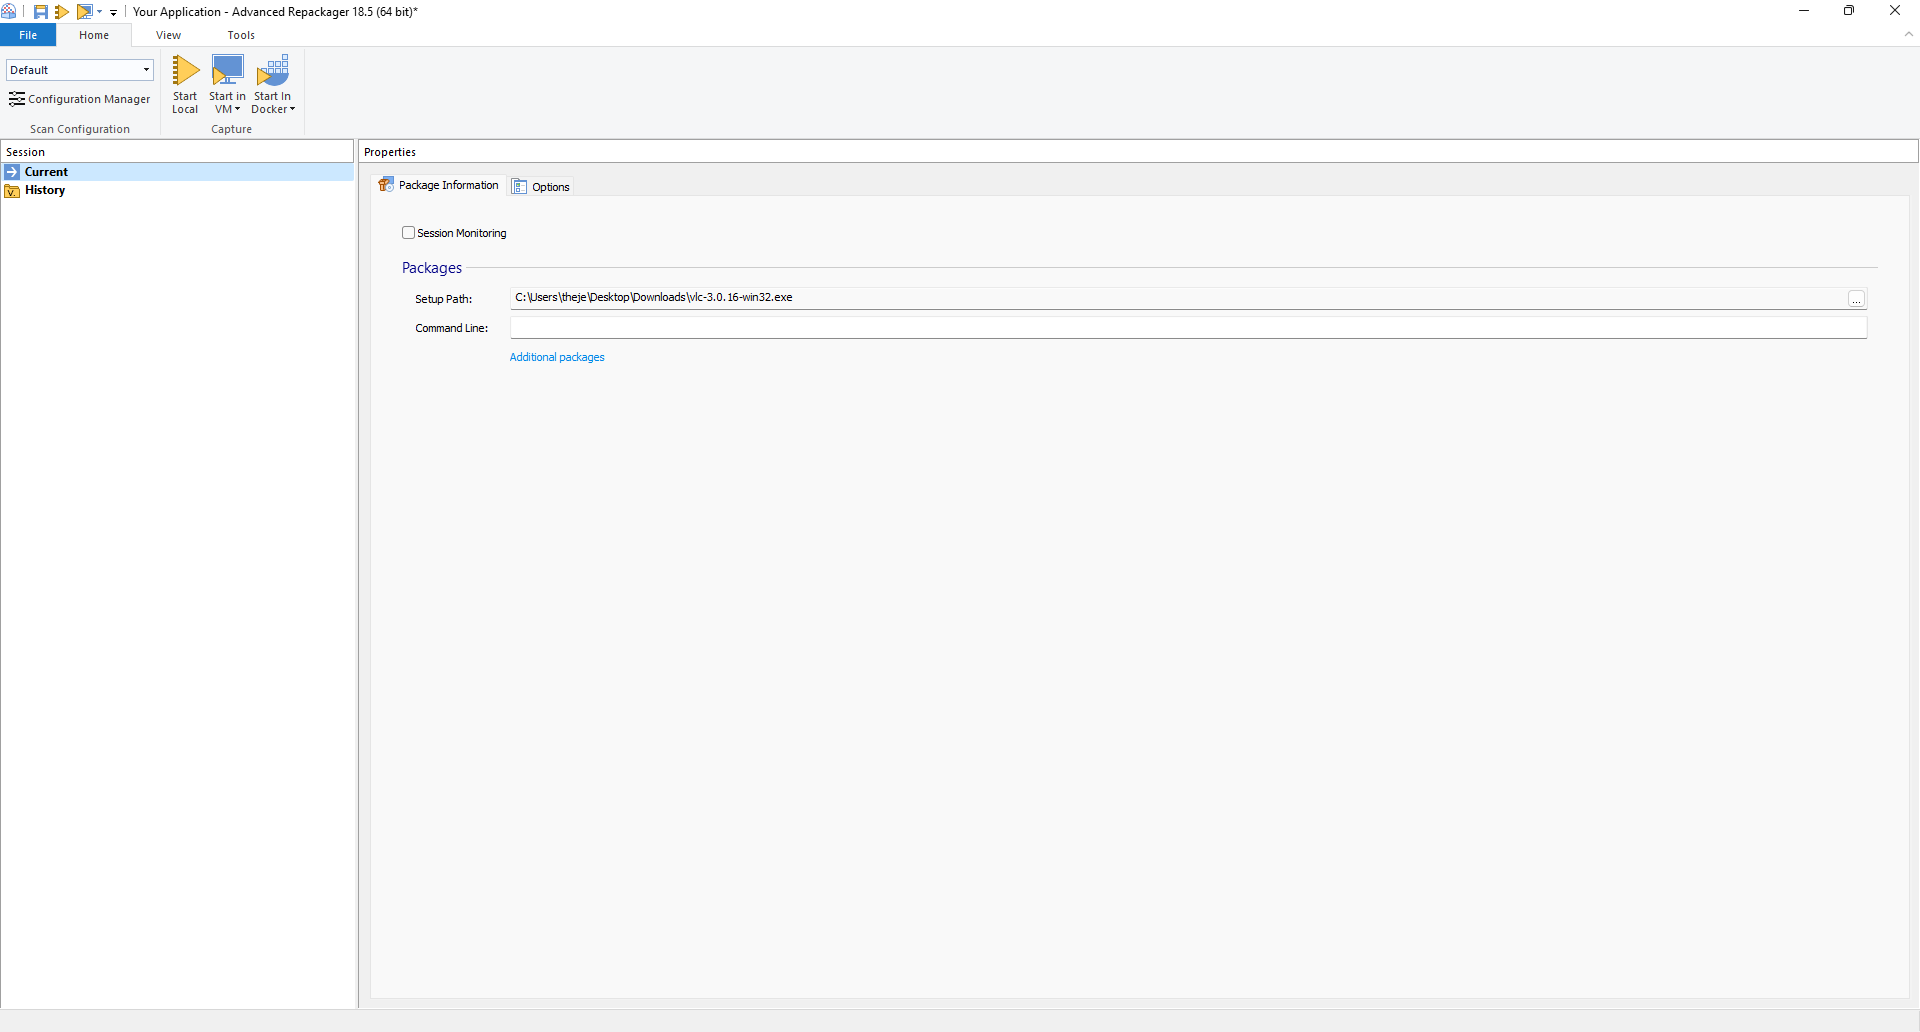
With the Advanced Repackager opened, you have two options:
- Capture a setup file
- Session monitoring
By checking “Session monitoring”, the Advanced Repackager will perform an initial snapshot, wait for your input to continue (e.g. perform any changes on the machine on this step), and then take a second snapshot of the system.
In this example, we are going through a VLC capture, so we can leave the “Session Monitoring” option unchecked.
Once the Capture Setup button is pressed, the Advanced Repackager asks for the installation source file. In our case, we selected the vlc.exe.

After the setup file has been selected, the Advanced Repackager gives you the option to configure additional settings, or create other installation profiles. These options are intended for senior IT Pros. In our case, we left everything as default.
As we are going to discuss in the chapter Local vs Virtual Machines, you can edit your virtual machines profiles with Advanced Installer and it takes care of everything.
By adding a virtual machine profile, Advanced Installer can be configured to automatically revert to a clean image, start the capture on the machine, retrieve all the information gathered during the process and close the virtual machine. In our scenario, we are already performing the capture on a clean machine, so we are going to click “Start Local”.
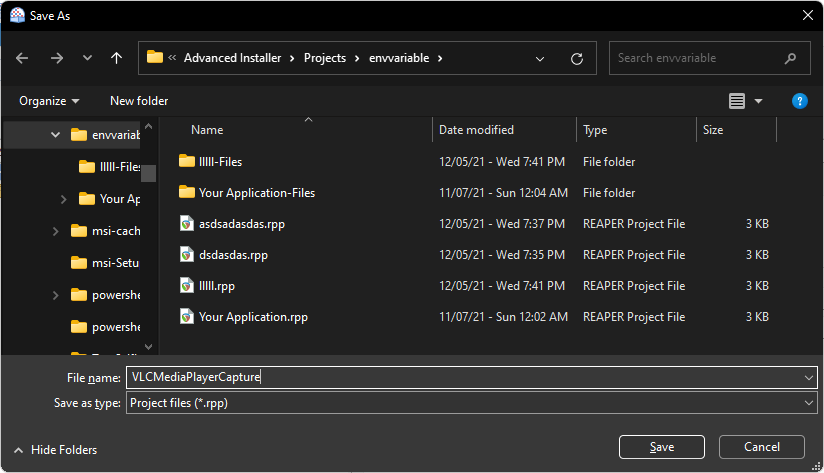
The Advanced Repackager asks for a location to save the repackaged output project. Select the location and name of the .rpp file and click Save.
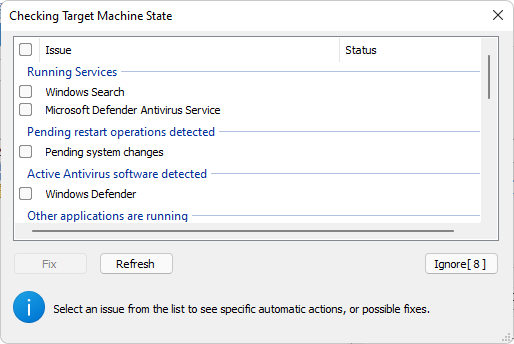
The Advanced Repackager automatically finds services and applications that could interfere with the capture and gives you the option to stop them before continuing with the capture.
Here’s where the first system scan starts. When this is finished, the installation of the VLC media player automatically starts.

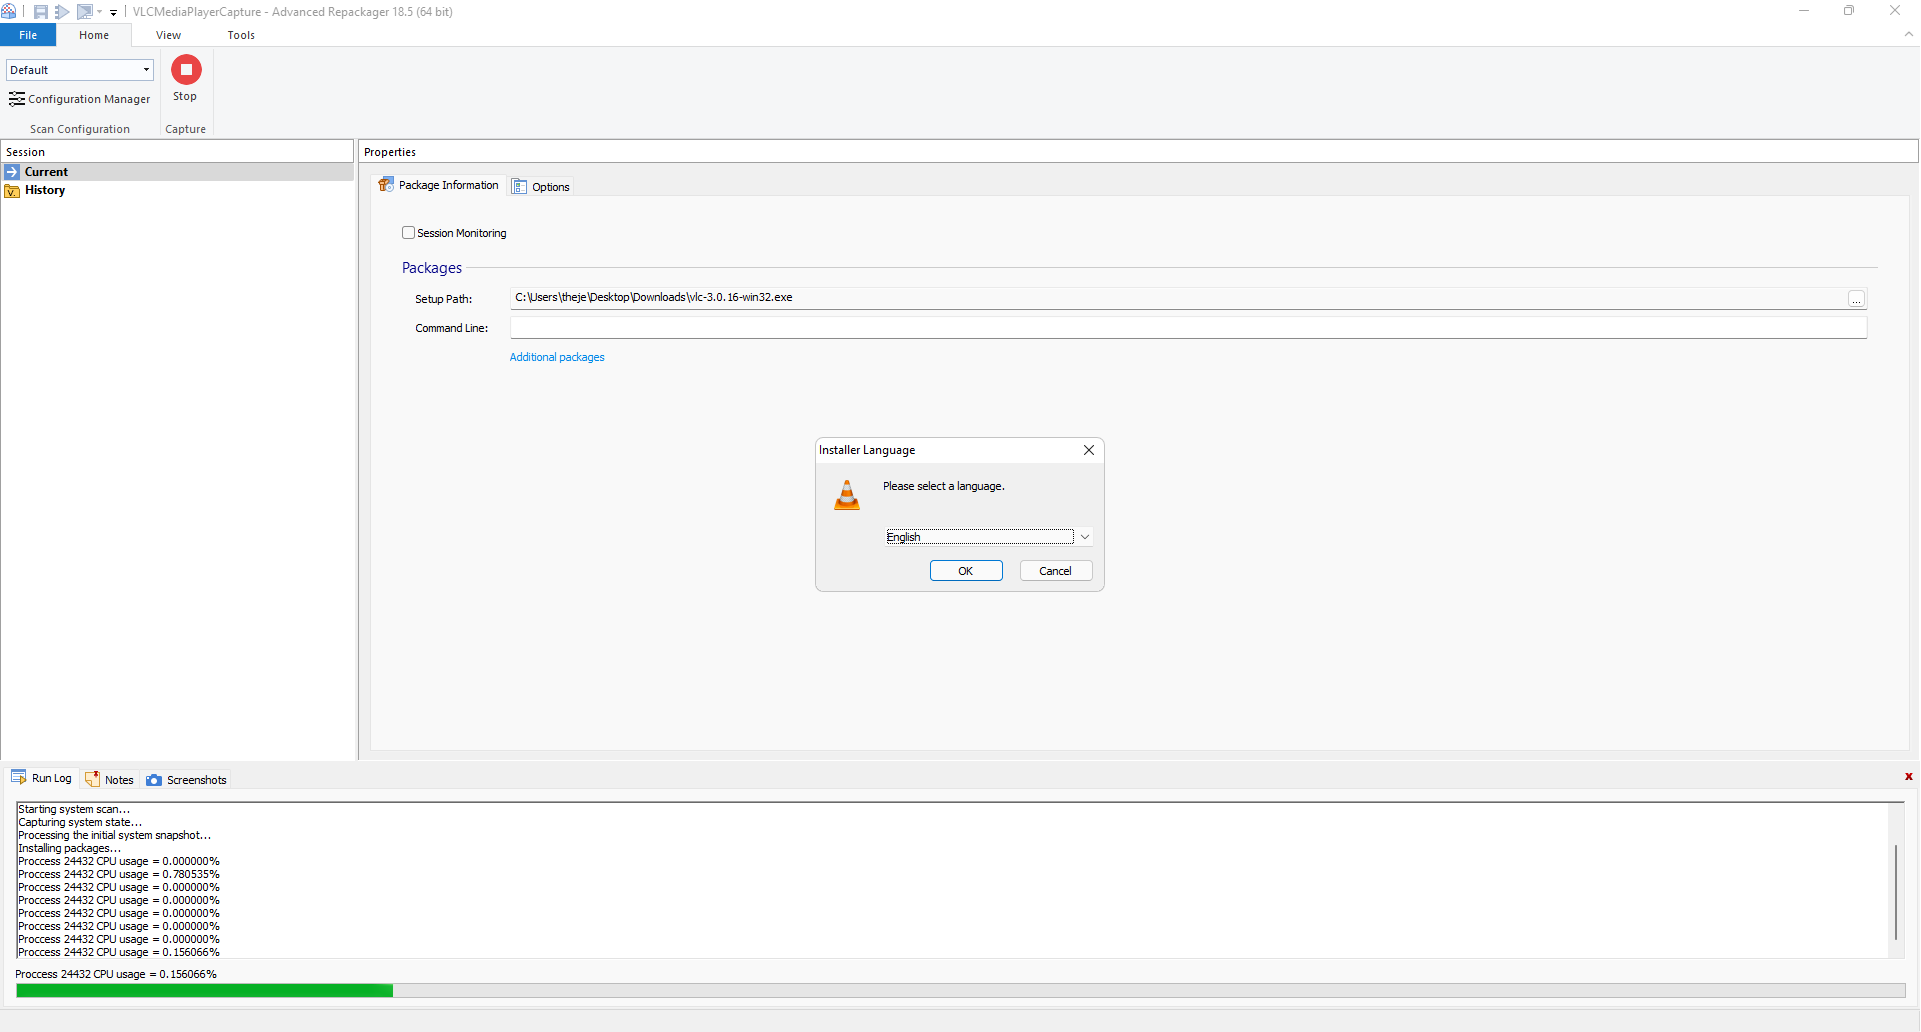
Next, we install VLC. In our case we went with everything as default.
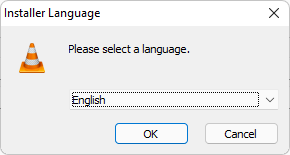
Once the installation of VLC Media Player is finished, the Advanced Repackager asks if you are ready to proceed. If any additional changes on the system must be performed, you can make them and click OK when finished.

Then, the second system scan starts.
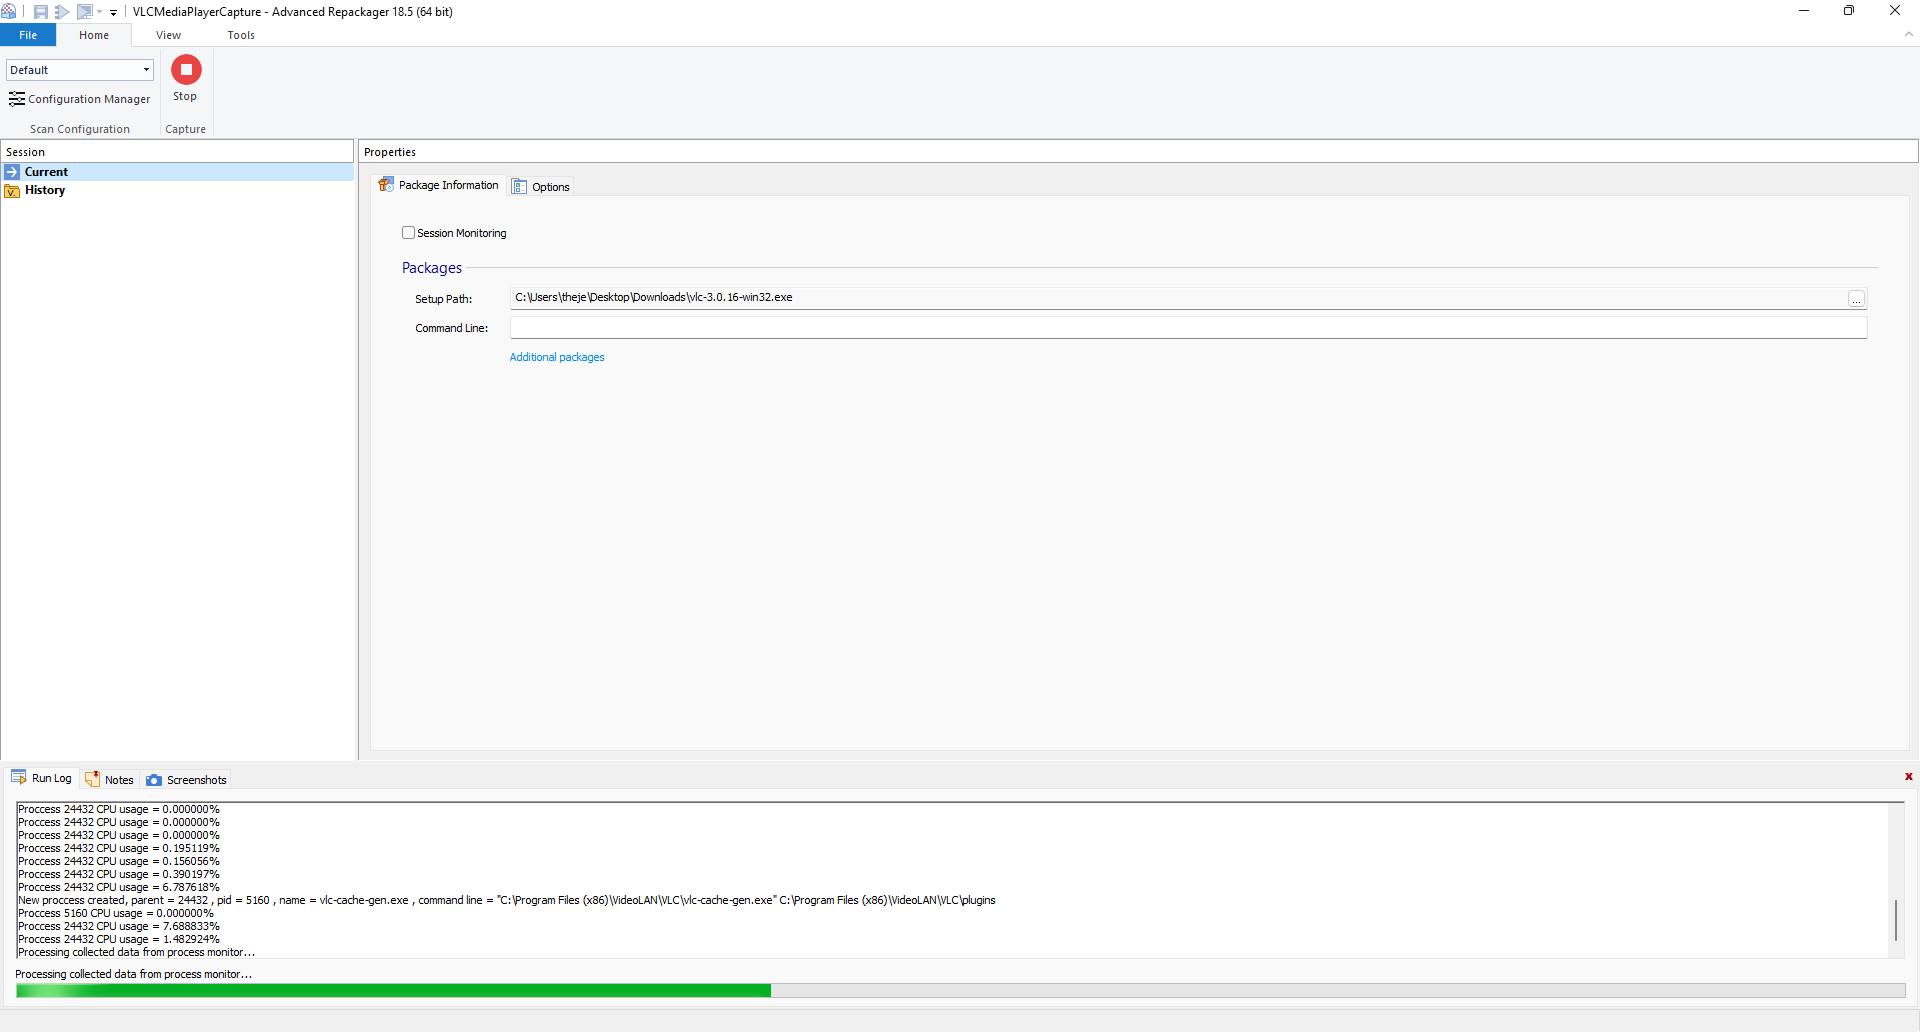

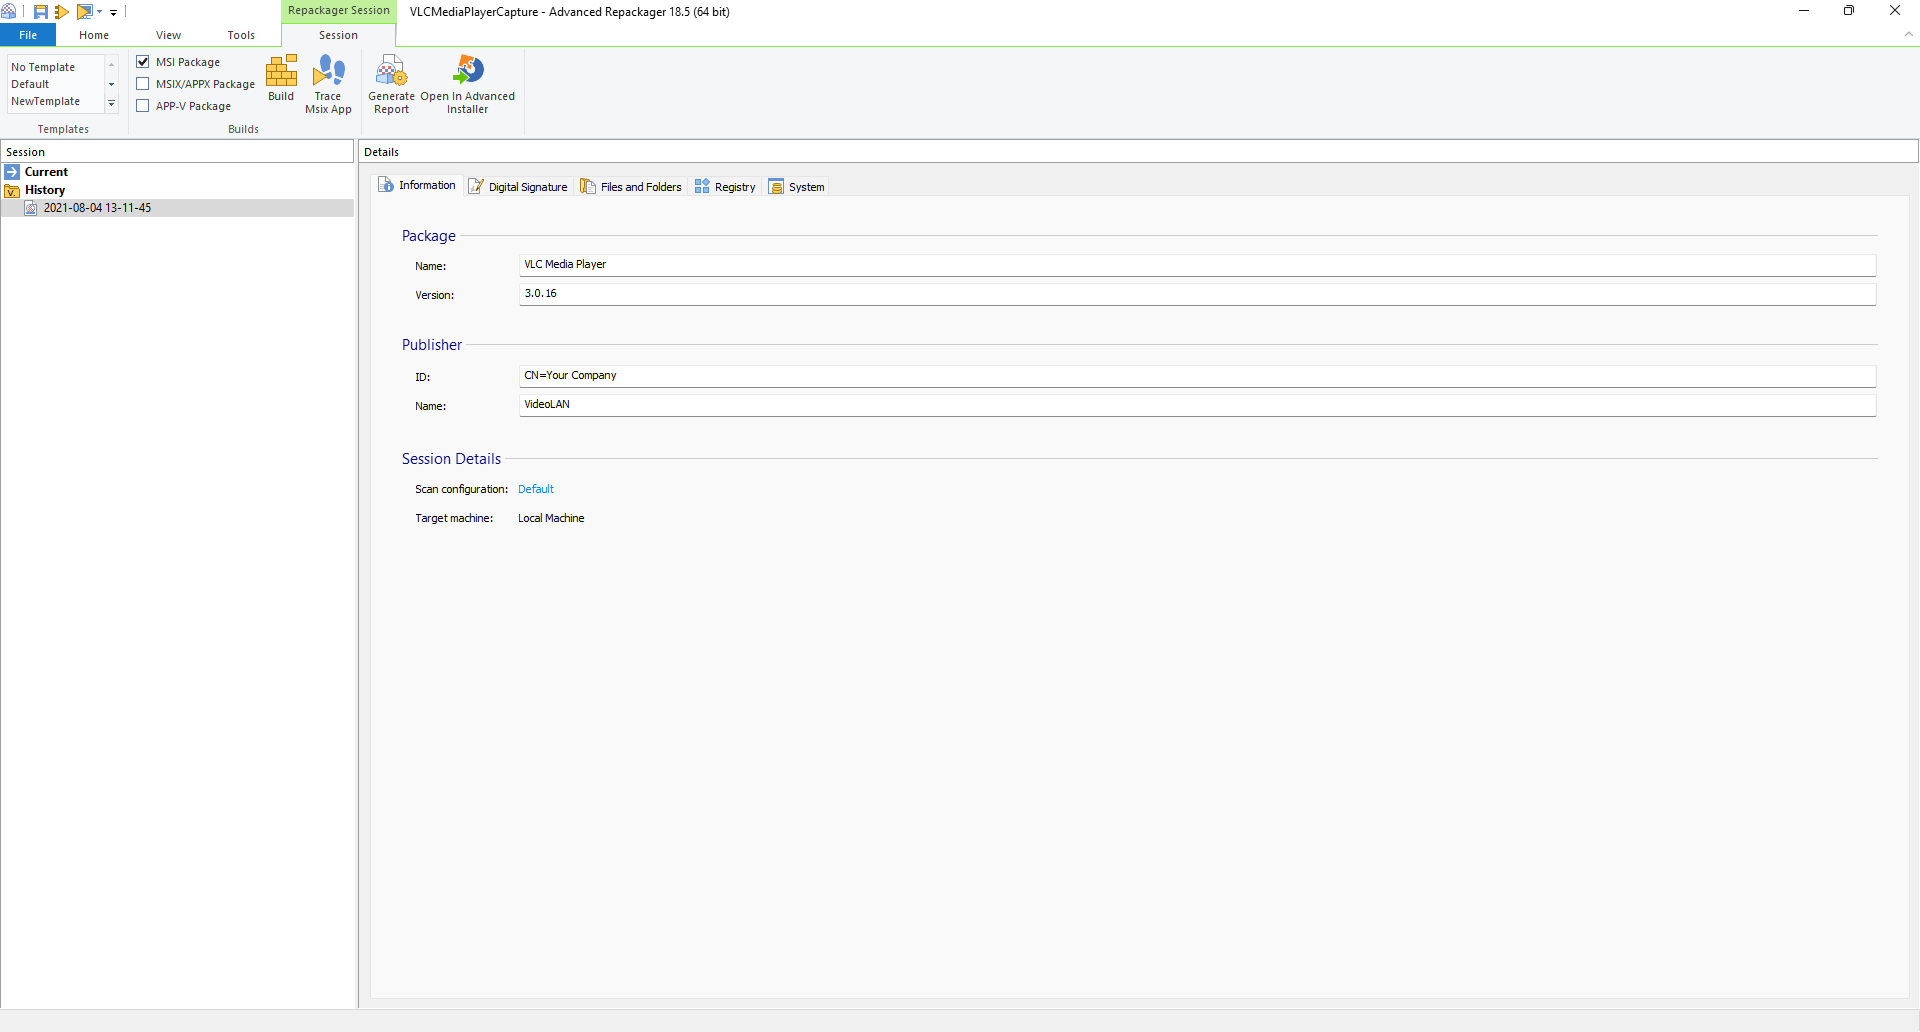
At this point, both system scans have finished and the Advanced Repackager performed a comparison, leaving the differences in the final project.
Next, a cleanup of the capture is necessary to select only the resources related to VLC Media player.
Cleaning Advanced Installer’s Captures
System captures will never be perfect and it’s impossible to avoid unnecessary data from being captured by a repackaging tool.
Before building the MSI, it is important to review and delete unwanted data. After the capture is finished, each tab must be checked.
The Information tab contains the basic information for the MSI, such as product name, version, publisher.
The Files and Folders tab contains all the files captured during the process. In this case, only files and folders related to VLC were detected by the Advanced Repackager, so there is no need to remove anything.
Of course, this is not always the case. You will need to have some knowledge of which files and folders belong to your captured application.
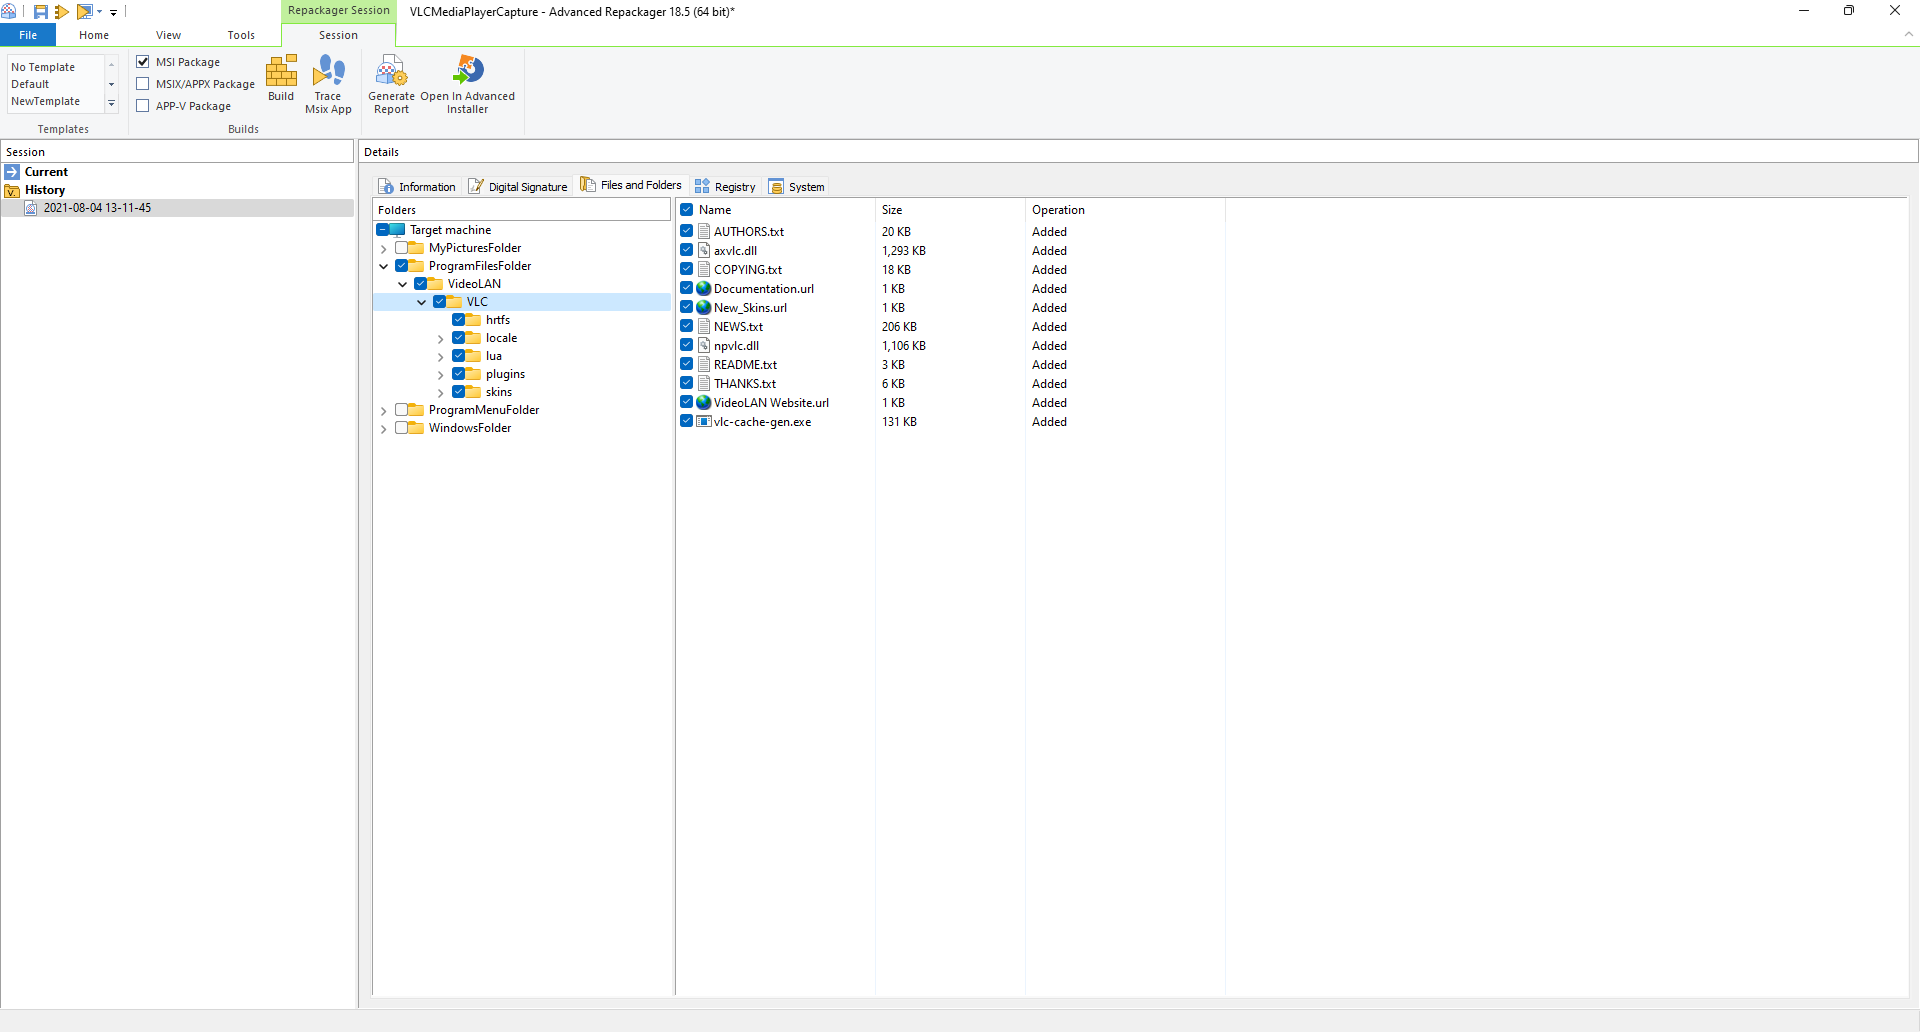
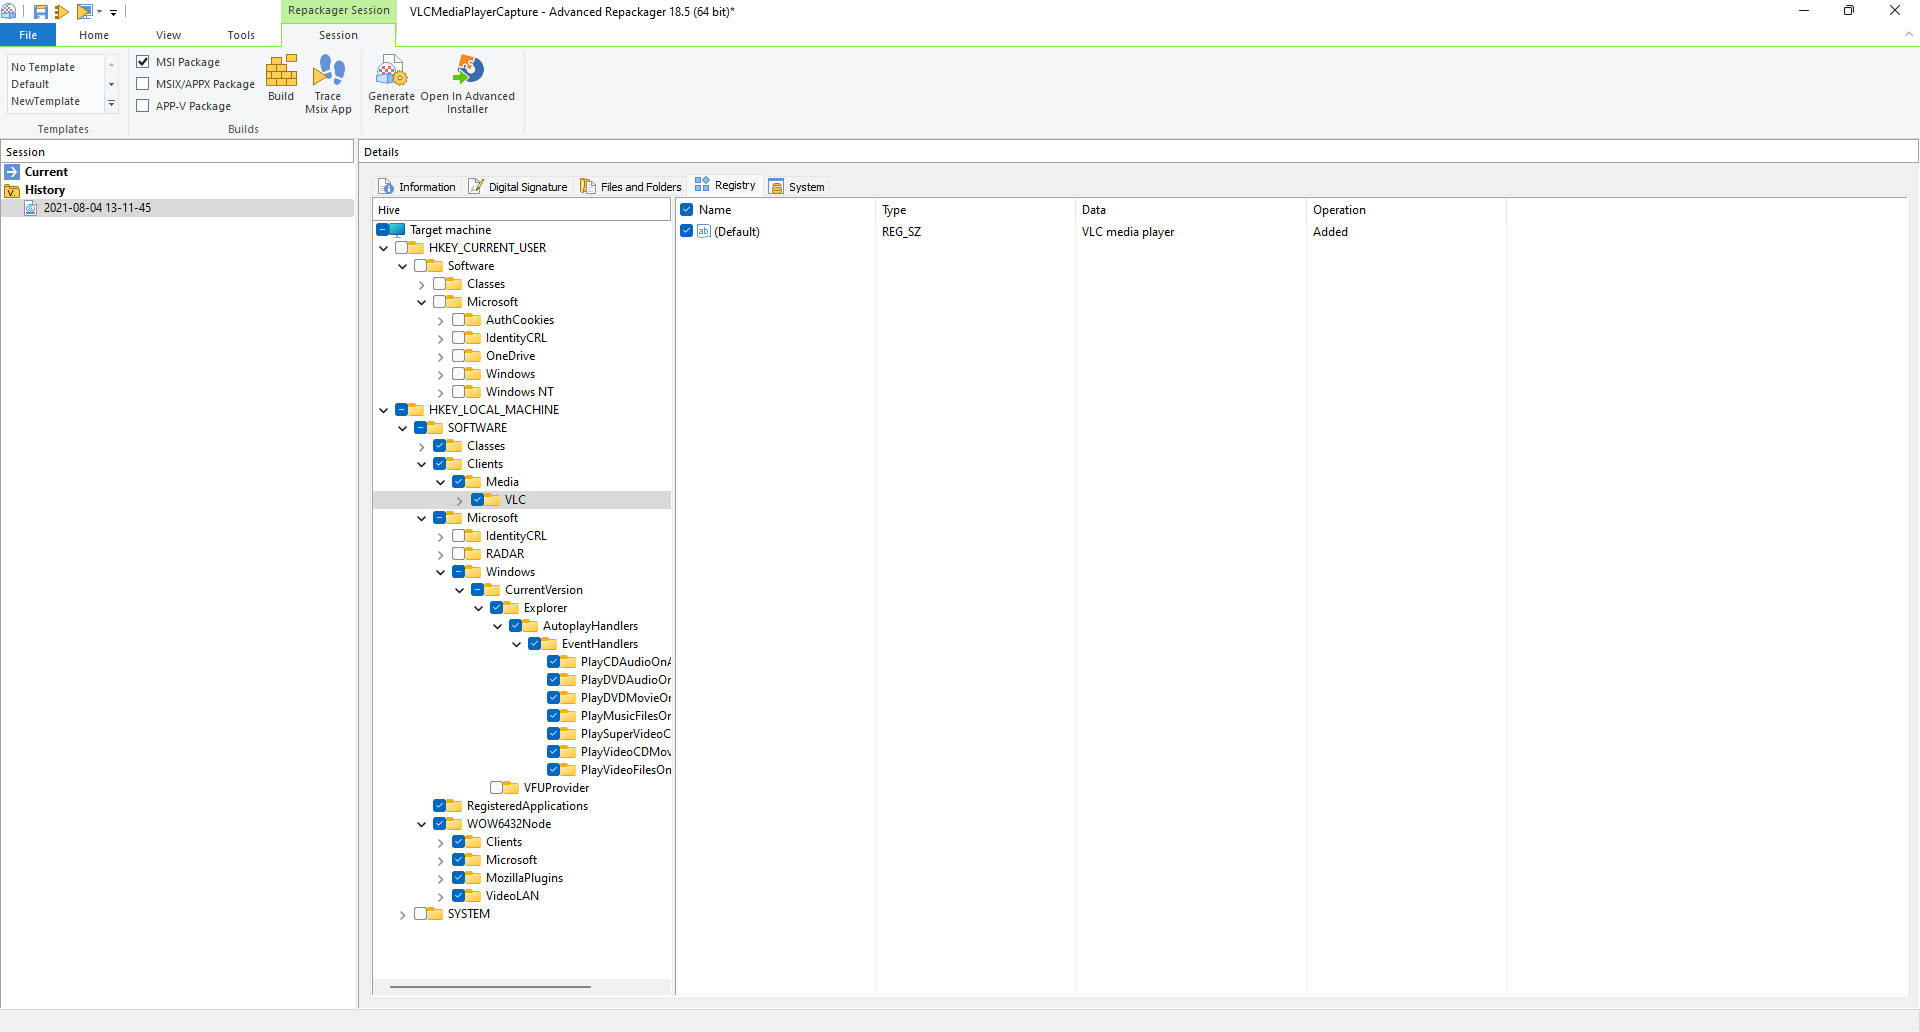
Any additional registry that is not related to the application can be removed in the Registry tab. As you can see from the screenshot below, there are a lot of unnecessary entries that have been removed from the project.
Again, this is not always the same and you will need to make an educated guess to decide what needs to be added and what is relevant to the application.
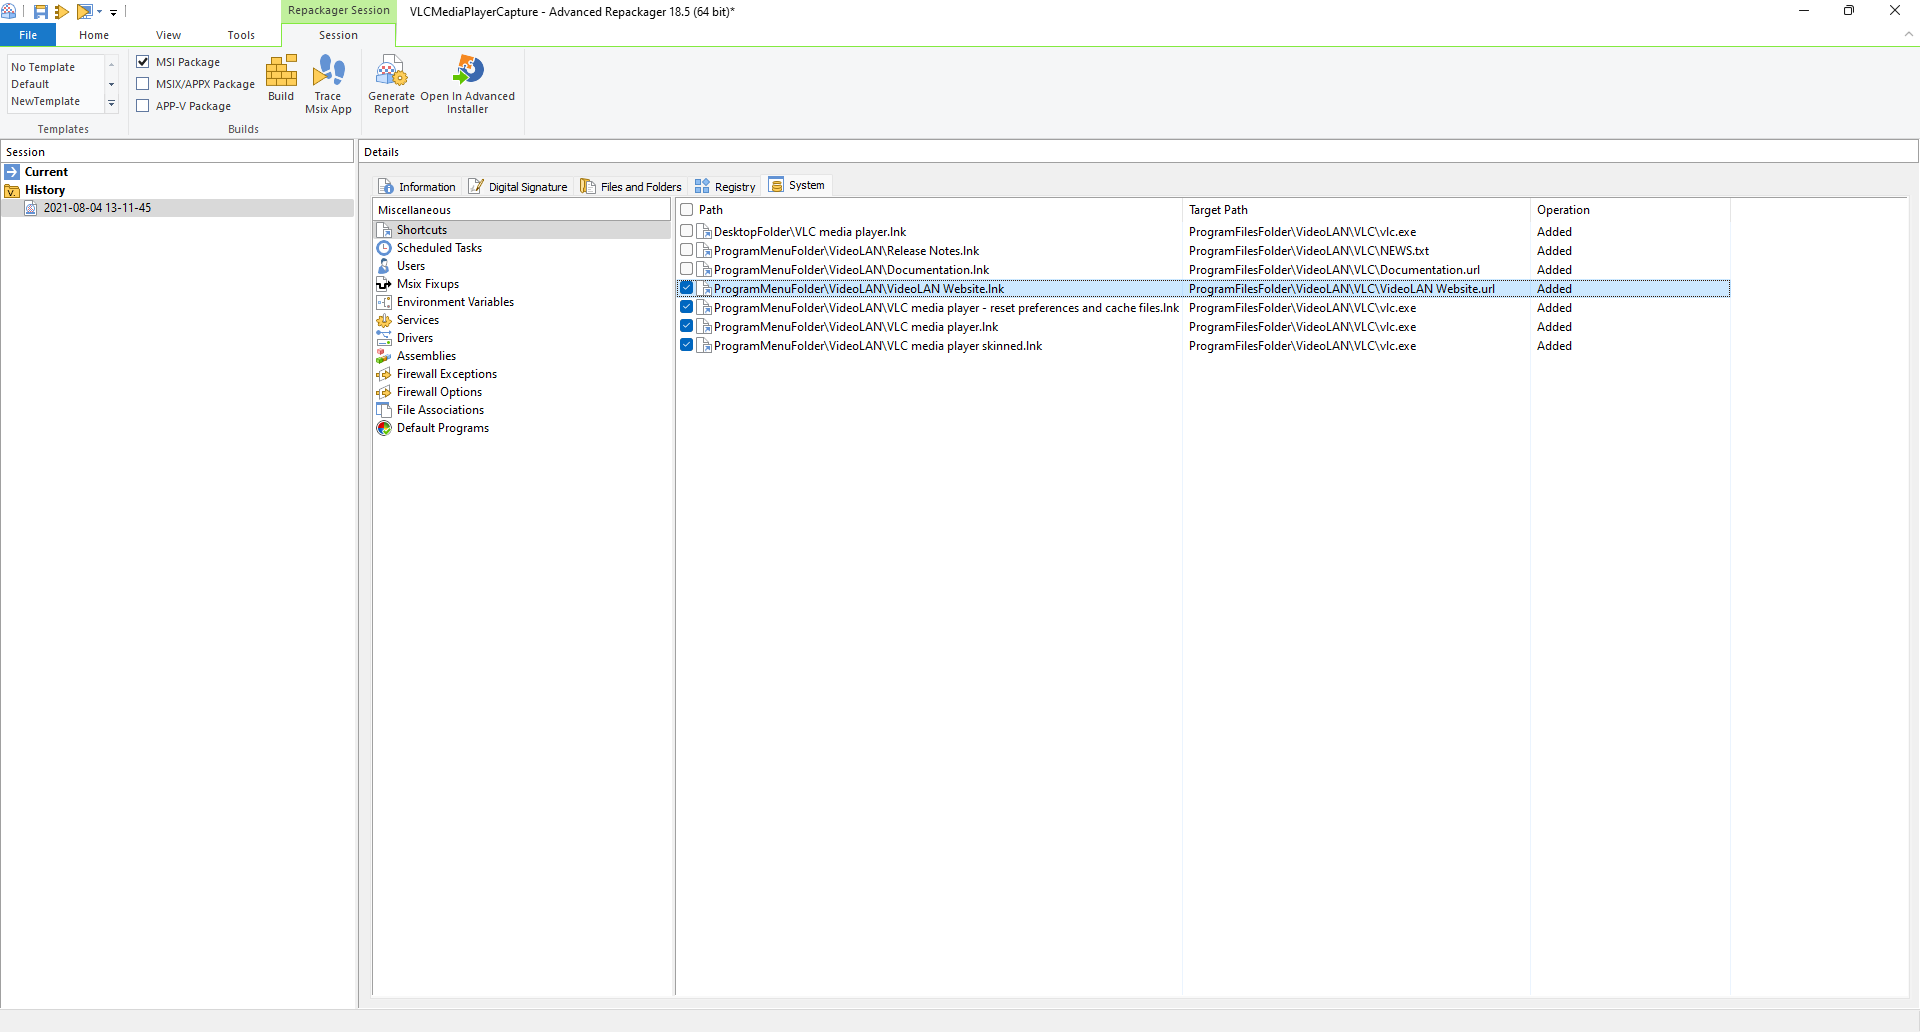
The last tab we will find is System. In System, you can check and remove any additional information from the project like shortcuts, services, firewalls and the like.
For example, in our VLC capture, we removed 4 shortcuts that were pointing to a website and left only the shortcuts pointing to the executables.
Don’t worry if you accidentally exclude any relevant information for your application. The repackager project can be saved and kept on your machine, and you can always modify it.
This process takes a lot of trial and error until you have a better grasp of how applications work and what should be kept or removed from a repackaging scenario.
Editing and Modifying Advanced Installer’s captures/MSIs
When the capture is ready, all you have to do is click Open in Advanced Installer, to create an .aip project.
The .aip project allows you to perform additional changes and then output the final MSI. You can perform changes by navigating to the Page -- as described in our previous chapters.
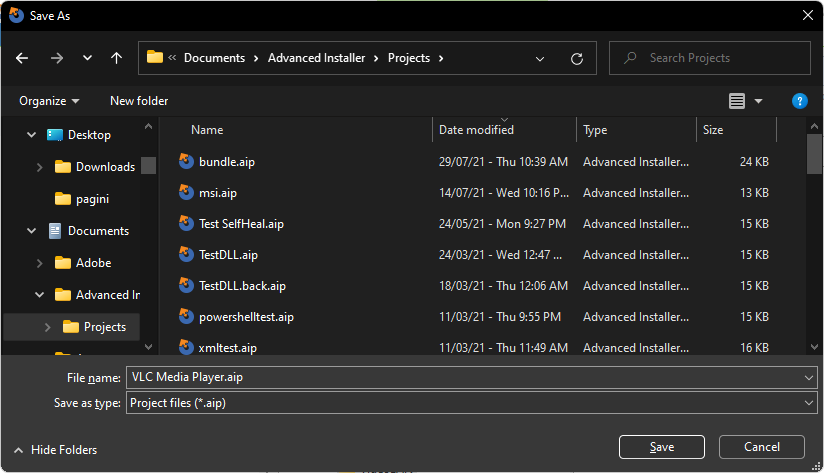
Once the project is adjusted to your needs, you can save it by clicking the Save button located in the upper-left corner.
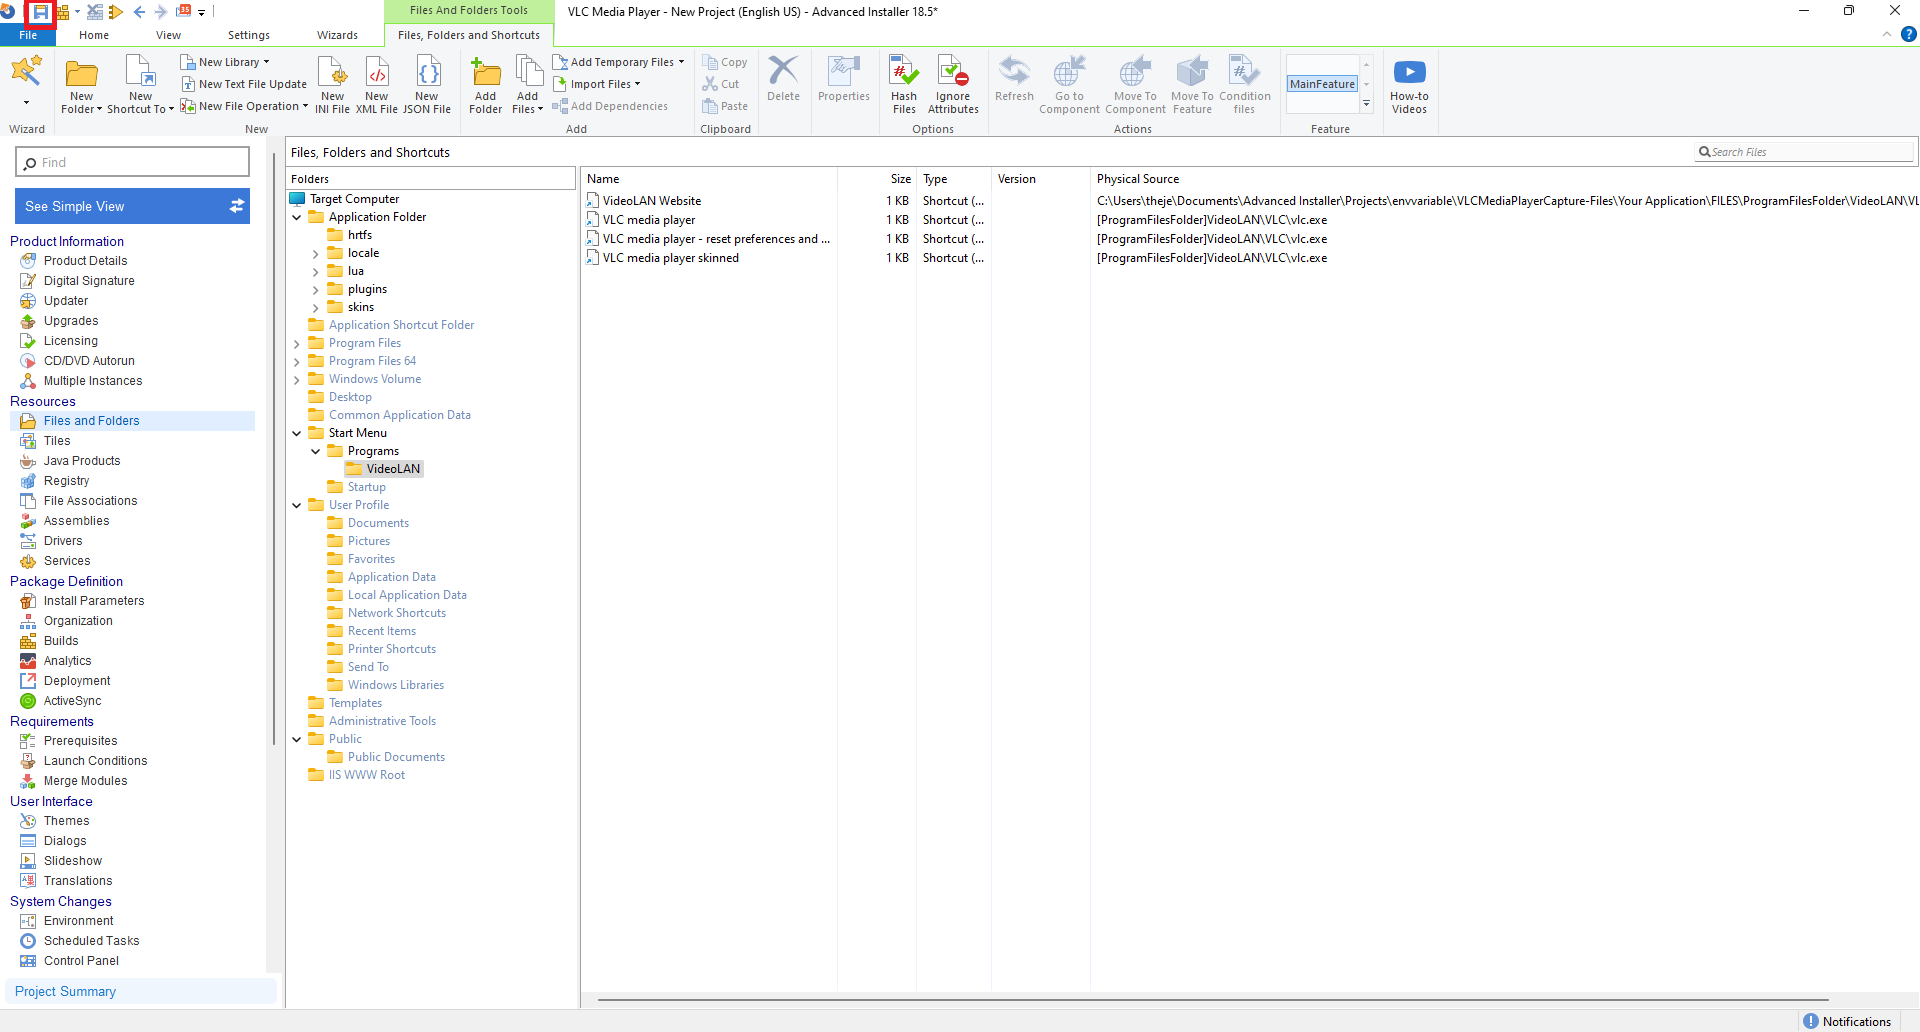
A save dialog will appear, asking you to select a save location for your .aip project.
Compiling .aip in .msi
To compile an Advanced Installer .aip project into an MSI, first navigate to the Builds page.
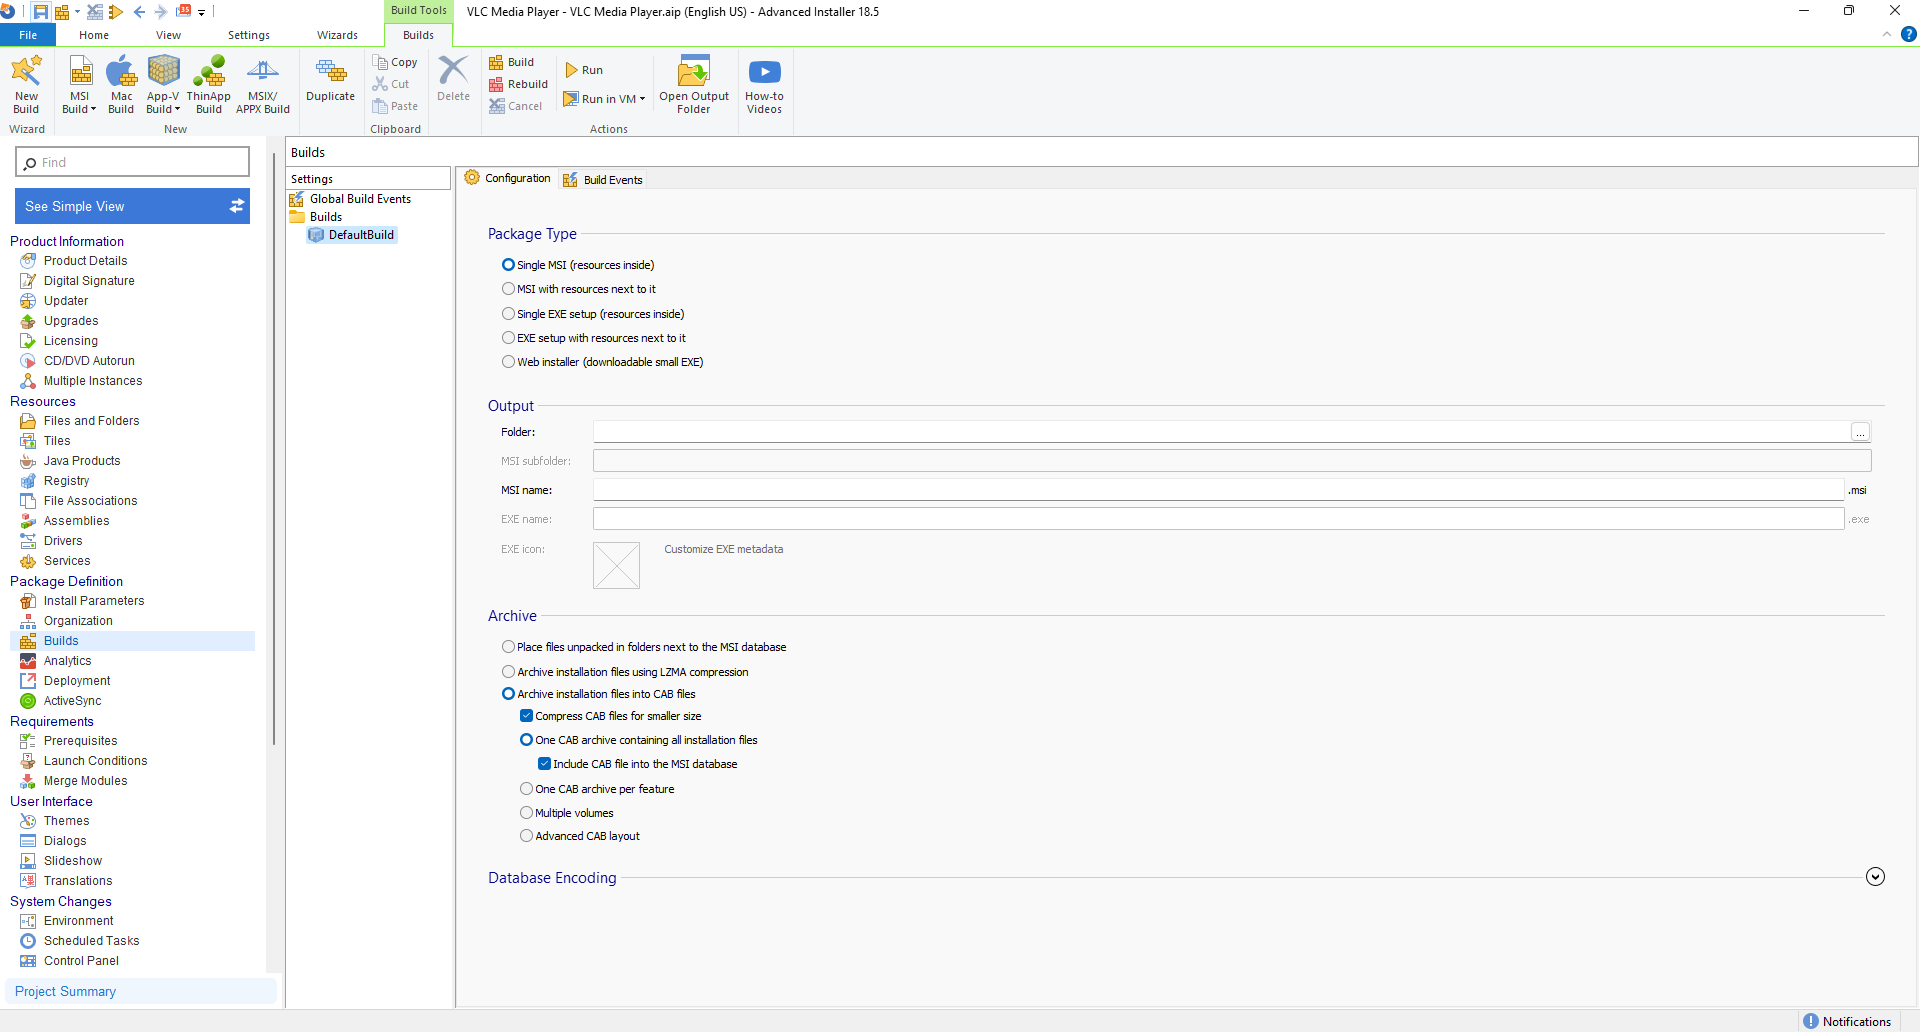
In this page you can add configure builds (outputs) for different types of technologies. We used a DefaultBuild which represents an MSI.
Note: Additional build types are: APP-V, APPX, MSIX, APPXBUNDLE, MSIXBUNDLE and ThinApp.
For MSI, select Single MSI with resources inside (or outside if this is the preferred method), select the output folder and MSI name.
The default project settings are more than enough to output a correct MSI file.
Next, click Build in the upper left corner.

The MSI file is saved in your selected build location under the folder %applicationname%-SetupFiles.