Professional Installation using PowerShell commands

The following article uses options that are available starting
with the Professional edition and project
type.
This article shows how you can replace most of the Professional Installation’s GUI settings by converting them into PowerShell commands. The replacement has the same effects as using the graphical interface settings.
1. Create the Project

Firstly, we need to make a new COM object of type Advanced Installer
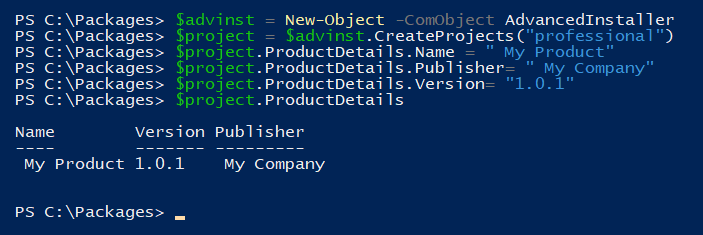
$advinst = New-Object -ComObject AdvancedInstaller
After that, we create the project instance and set its license type; in our example, we set it as “professional”
$project = $advinst.CreateProjects(“professional”)
2. Product details

At this step, you set the project name, version, and publisher, just like you do in Advanced Installer user interface
$project.ProductDetails.Name = “ My Product”
$project.ProductDetails.Publisher= “ My Company”
$project.ProductDetails.Version= “1.0.1”

3. Set install parameters

Once you have product details changed, we need to locate the install parameters that are used during the installation process.
Application Folder- is used for specifying the default location for
the Application Folder(APPDIR)
We add all the content from the bin folder to the project
$project.FilesComponent.AddFolderContents(“appdir”, “C:\Packages\Sample\bin”)
To check if the content was added to the project, we use the command
$project.FilesComponent.Files

Now, let’s suppose that we want to delete from the project instance all the files of type .ipdb and .iobj. In order to do that, we have the following commands
$project.FilesComponent.Files | Where-Object {[System.IO.Path]::GetExtension($_.FullPath) -eq ”.ipdb”} | Foreach-Object {$_.DeleteFile()}
$project.FilesComponent.Files | Where-Object {[System.IO.Path]::GetExtension($_.FullPath) -eq ”.iobj”} | Foreach-Object {$_.DeleteFile()} After deletion, the content of the project should look like this

Application Shortcut Folder -is used for specifying the default
location for the Application Shortcut Folder (SHORTCUTDIR)
We create a variable to store the path of the application executable
$myExeFile = $project.FilesComponent.FindFileByPath(“appdir\MyApplication.exe”)
Next, we make a shortcut for the executable above in the shortcut folder
$project.ShortcutsComponent.CreateFileShortcut($project.PredefinedFolders.ShortcutFolder, $myExeFile)
$project.ShortcutsComponent.CreateFileShortcuts(“desktopfolder”, “appdir\MyApplication.exe”)
4. Add resources to your project

Let’s say we want to add files from a specific source path folder to your project instance
AddFolderContentS(String target, String sourcePath) - adds all the
files from the specified source path folder in target specified as a
string.
$project.FilesComponent.AddFolderContentS(“appdir\res”, “C:\Packages\Sample\resources”)

5. Save project

For saving your project, we use SaveAs(string location) which creates an Advanced Installer project in a specific location on disk
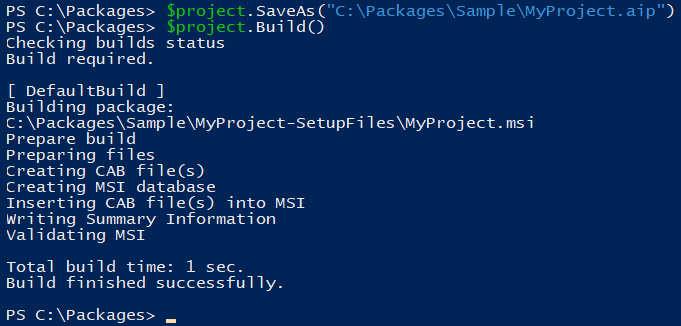
$project.SaveAs(“C:\Packages\Sample\MyProject.aip”)
6. Build project

For building your project, we have the Build() method which returns a string that contains the build message
$project.Build()
