What is a PFX Certificate and how to generate it?
There are multiple ways to provide an extra layer of security for your applications in order to distribute them safely and build trust with your users. One of the most reliable methods is using Signed Certificates.A Signed Certificate is a Public Key Cryptography certificate that verifies the identity of the certificate holder listed in the certificate and generates Digital Signatures.
In this article, we will go through:
- What is the PFX Certificate Format?
- How to create a self-signed certificate for code signing?
- How to Generate a Self-signed Certificate with Powershell?
- How to Generate a Self-signed Certificate with Advanced Installer?
- How to create a .pfx file from certificate and private key?
What is the PFX Certificate Format?

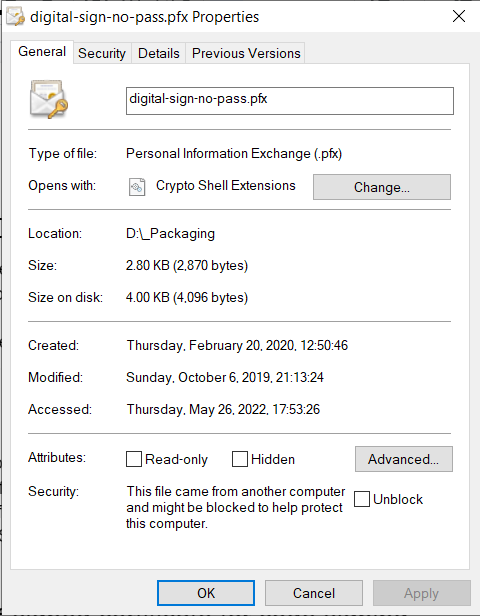
A Personal Information Exchange (.pfx) Files, is password protected file certificate commonly used for code signing your application. It derives from the PKCS 12 archive file format certificate, and it stores multiple cryptographic objects within a single file:
- X.509 public key certificates
- X.509 private keys
- X.509 CRLs
- generic data
There are other types of certificate formats such as .pem, .cert, .crt and some of them can even be converted to a .pfx and used for code signing, while others can only be used for SSL (web pages).
How to create a self-signed certificate for code signing?

When you want to code sign your application, the most common step is to purchase a certificate from a Certified Authority and use it for digital signing. This approach ensures your application can be trusted and installed safely on a machine - not having to pre-deploy the certificate to the machine.
However, buying a certificate may include some costs, and it doesn't always pay off. Let’s see what I mean by that.
For example, when an application is used internally by a small number of employees and not by outside customers, as well as for testing purposes.
How does the self-signed certificate work?
1. The developer generates a self signed certificate and uses it to sign the application.
2. Then, the certificate is deployed to the machines (usually via group policies).
3. By the time the application is installed, it will be trusted by the operating system. Otherwise, you would encounter this pop up:

Now that we know some of the details of how the self-signed certificate works, let’s see how to use PowerShell to generate a self-signed certificate for code signing your msi, exe, msix package, etc. And to top it off, we will also show you how easy it can be done with Advanced Installer.
How to Generate a Self-signed Certificate with PowerShell?

PowerShell lets you generate a self-signed certificate through the New-SelfSignedCertificate commandlet. Here’s how to use it:
1. From a PowerShell terminal, use the command with the corresponding parameters to generate your certificate, like this:
New-SelfSignedCertificate -Type Custom -Subject "CN=Caphyon, O=Caphyon, C=US" -KeyUsage DigitalSignature -FriendlyName "My Friendly Cert Name" -CertStoreLocation "Cert:\CurrentUser\My" -TextExtension @("2.5.29.37={text}1.3.6.1.5.5.7.3.3", "2.5.29.19={text}")2. After you generate the self signed certificate, open certmg.msc, and find your certificate under the Trusted Root Certified Authority -> Certificates.

3. To export the certificate as a PFX file, you need to use the Export-PfxCertificate cmdlet.
At this step, you must either generate and set a password or use the "-ProtectTo" parameter to specify which users or groups can access the file without a password.
Export-PfxCertificate -cert Cert:\CurrentUser\My\<Certificate Thumbprint> -FilePath <FilePath>.pfx -ProtectTo <Username or group name>
For more details and examples, check out the Microsoft documentation about New-SelfSignedCertificate.
How to Generate a Self-signed Certificate with Advanced Installer?

Advanced Installer allows you to self-sign your certificate directly from its intuitive GUI without writing any code.
This whole process is handled exclusively by the tool, so you don’t need to go back and forth between multiple tools - everything happens in one single place (the Advanced Installer interface).
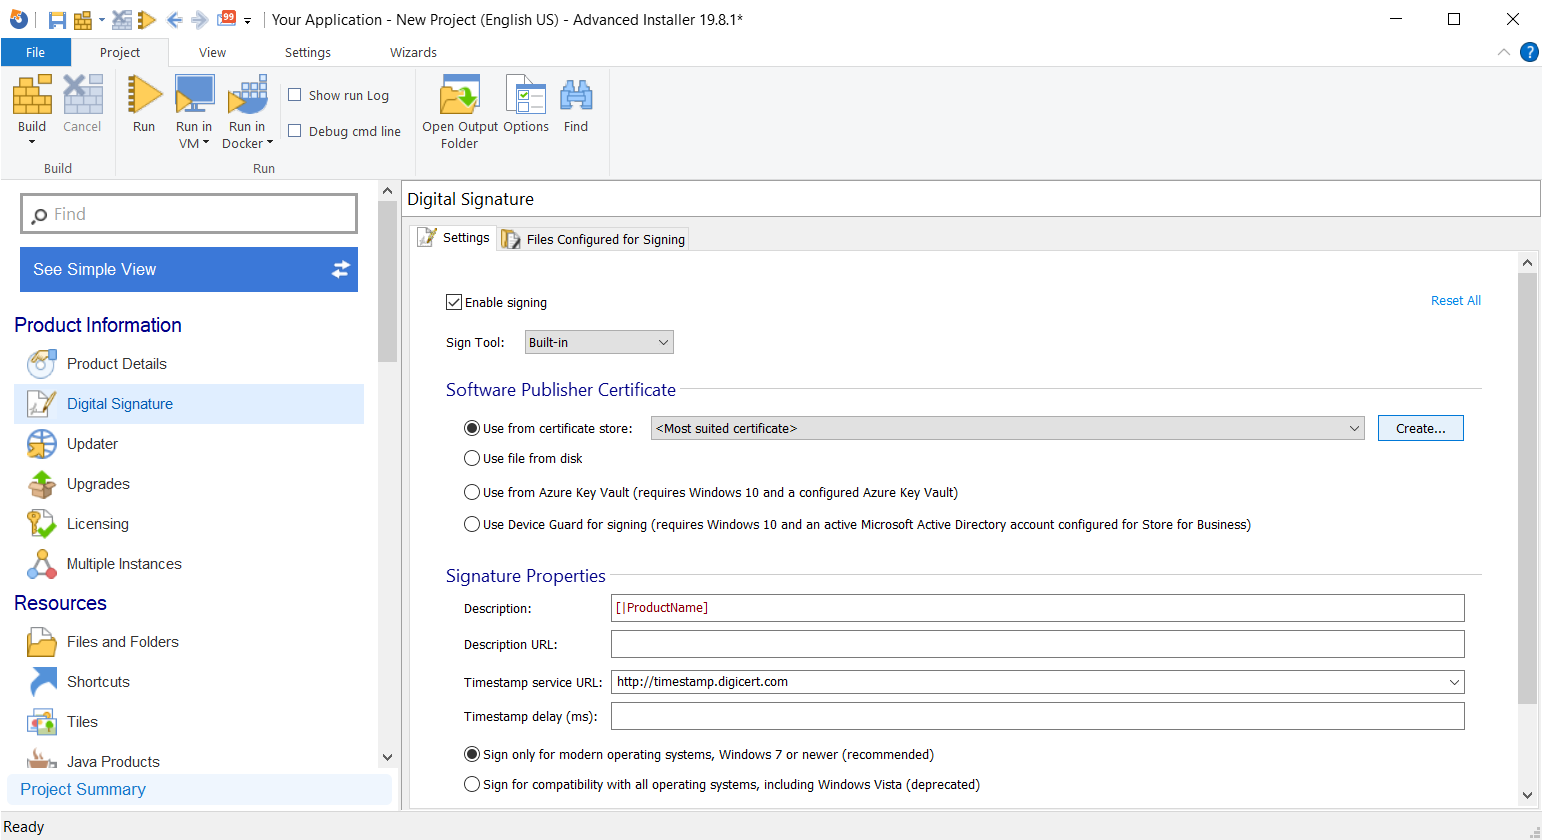
Go to the Digital Signature page and follow these steps:
1. Check “Enable singing”
2. From the Software Publisher Certificate section, Select “Use from certificate store” and click on [Create].
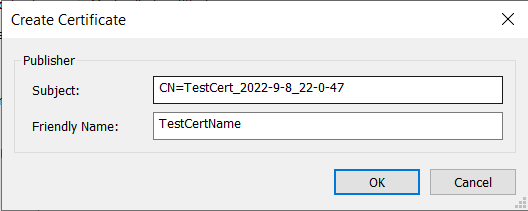
3. Next, you will be prompted with the Create Certificate dialog, where you need to enter the certificate details as needed. Don’t forget to click OK.
That’s it!
You can also check out our video tutorial, which shows how easy the process is.
How to Create a .pfx File From Certificate and Private Key?

Creating a .pfx file from a certificate and private key is a pretty popular question. If you have a private of a certificate. The process to generate a .pfx file for a code sign certificate is simple.
1. Open a certmgr console.

2. Find the certificate you want to export and double-click it.

3. Navigate to the “Details” tab and click on “Copy to file”.

4. This will initiate the Certificate Export Wizard.

If you try to export the certificate from a machine other than the one that generated it, you will encounter the following error screen, and you won't be able to export the .pfx.

5. On the other hand, if the option Yes, export the private key is not grayed out, by the next step you will be able to export the certificate as a .pfx file. This means both the certificate and the private key are on the same machine.

When using the PowerShell commandlet export method, you must set a password.
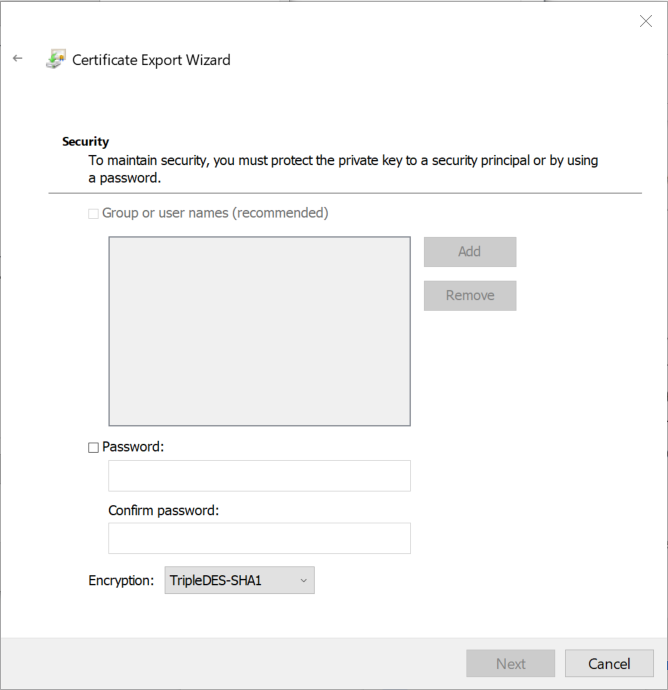
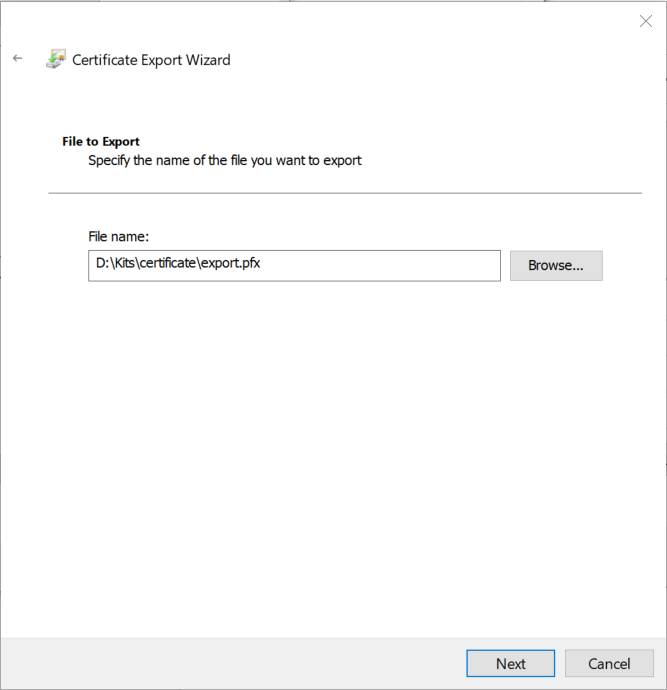
6. Next, define where the PFX file will be stored.
7. Validate the information and click "Finish."

Conclusion

Now you know what a .pfx file is and how to create and use one to code sign your application. In addition to the PowerShell commandlets, the Advanced Installer's user-friendly GUI can help you speed up the process of creating a .pfx file
Please let us know if you have any other questions!
Subscribe to Our Newsletter
Sign up for free and be the first to receive the latest news, videos, exclusive How-Tos, and guides from Advanced Installer.
