How to preserve customizations between IIS updates in just one-click
In this article we’ll go through how you can preserve customizations between IIS (Internet Information Services) updates in just one-click.
It is a feature we talked about briefly in our “How to automate IIS Web App deployment. Local and in Azure” webinar and we'd like to show you more about it and how you can take advantage of it with Advanced Installer.
What is IIS and why is it used?
IIS (Internet Information Services) is a Microsoft general-purpose web server that runs on Windows systems and serves requested HTML pages or files.
Whether we're talking about plain HTML, ASP.NET, PHP or other stacks, Advanced Installer can help you deploy and maintain web applications to IIS web servers.
Like any application, a web app will have multiple releases and these need to be rolled out periodically. When deploying your web app using a Windows Installer package, if an older version of your app is already installed, an upgrade will happen (e.g. from v1.0 to v2.0).
During such an upgrade, the old Web Site, Virtual Directory and Application Pool settings from v1.0 are removed and replaced with those specified in your new (v2.0) package.
Let's take a moment and note that between installing v1.0 and v2.0 the web application is subject to continuous maintenance from the web server administrator. They may tweak particular settings in order to improve response performance or service availability.
These are settings that are not part of your package, as a consequence, they would be lost during an upgrade.
Customizations to the web application made by the administrator are there for a reason, we want to be able to persist them during an upgrade, so that they continue to take effect in v2.0 as well.
How to deploy and configure a website to add customizations?
Before we get started, we need to create a package that has the following characteristics:
- Installs the website contents
- Creates an Application Pool
- Creates the website on the IIS page
- Enables the required IIS Windows Features
- Launches the website at the end of the installation process
Here's a step-by-step tutorial from our user guide to help you create a package that meets these criteria. You can also download this Advanced Installer sample project to explore it further.
If you have the IIS Manager enabled on your machine and use the sample project we provided, you will end up with a website when you finish installing the package – as you can see in the image below:
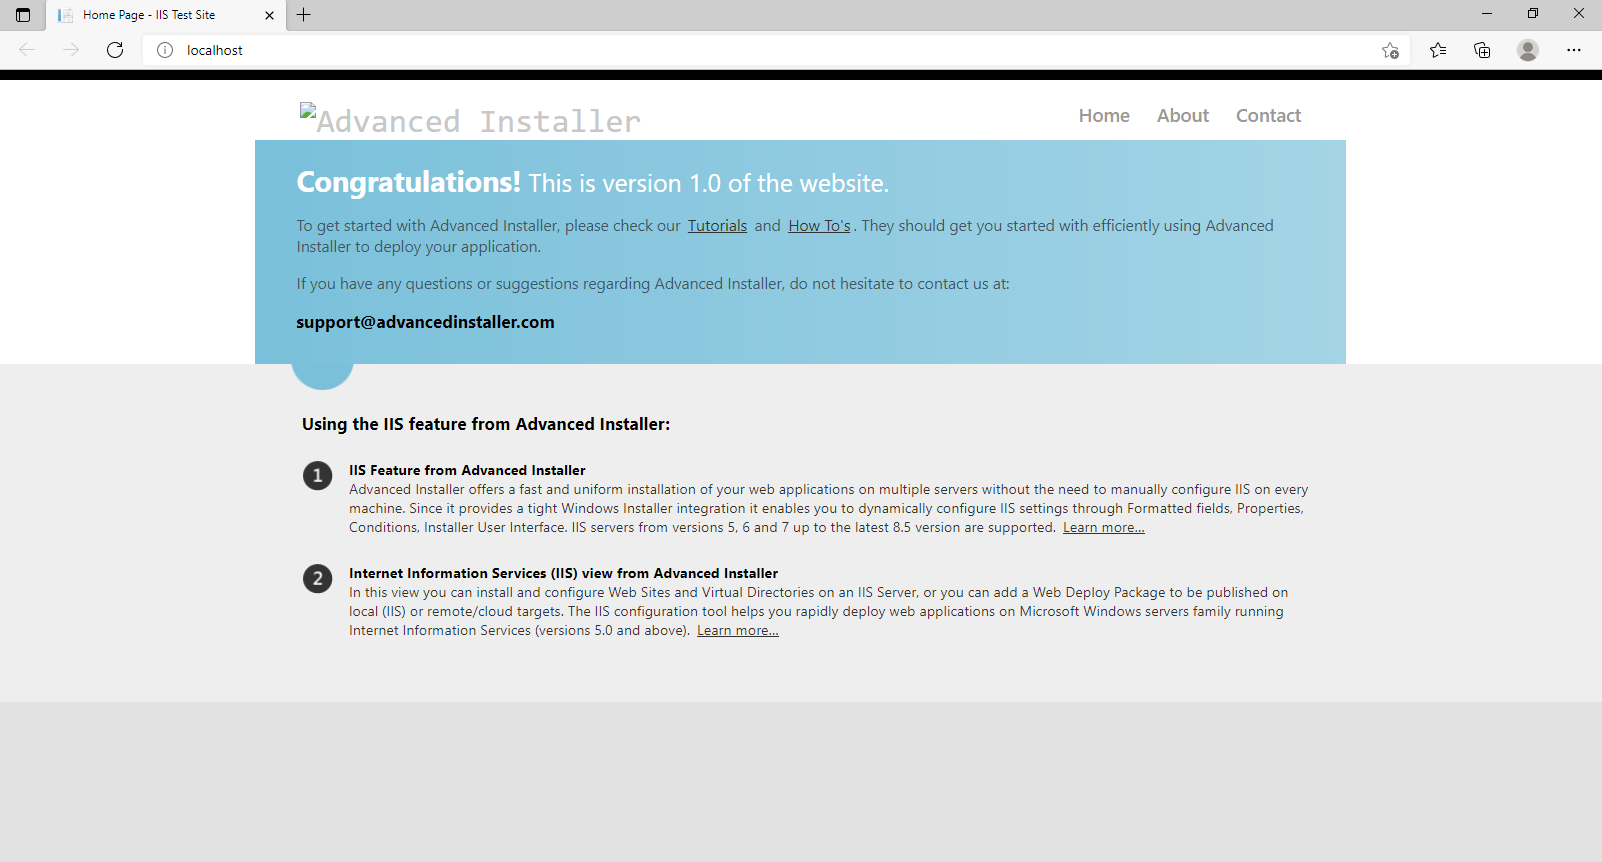
This is version 1.0 of our product, which we will upgrade to version 2.0 to show you that we will preserve customizations between IIS updates.
The server administrator may customize IIS settings between upgrades. We'll put this into practice and add some extra customizations!
Let's assume that you don’t want your users to connect to the website on the default 80 port, so we have to change it.
To do this:
1. Open the IIS Manager.
2. Navigate to the “Sample Website” that was previously installed.
3. Click on it and the Bindings option will be displayed on the right.
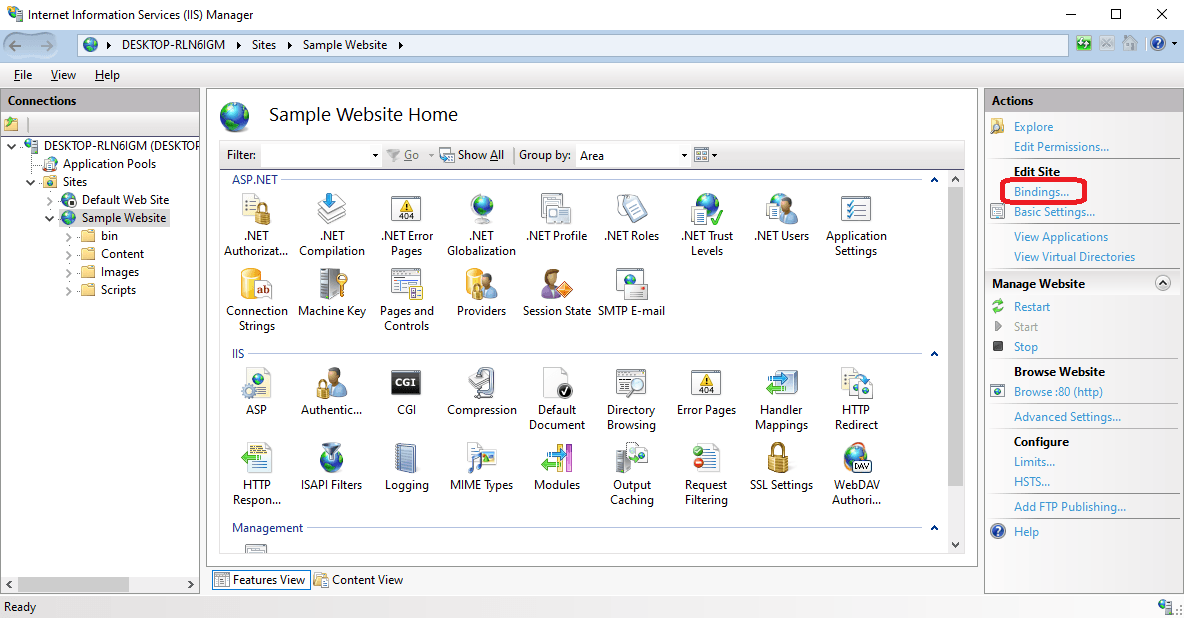
4. Click on the Bindings option to open a new dialog for Site Bindings.
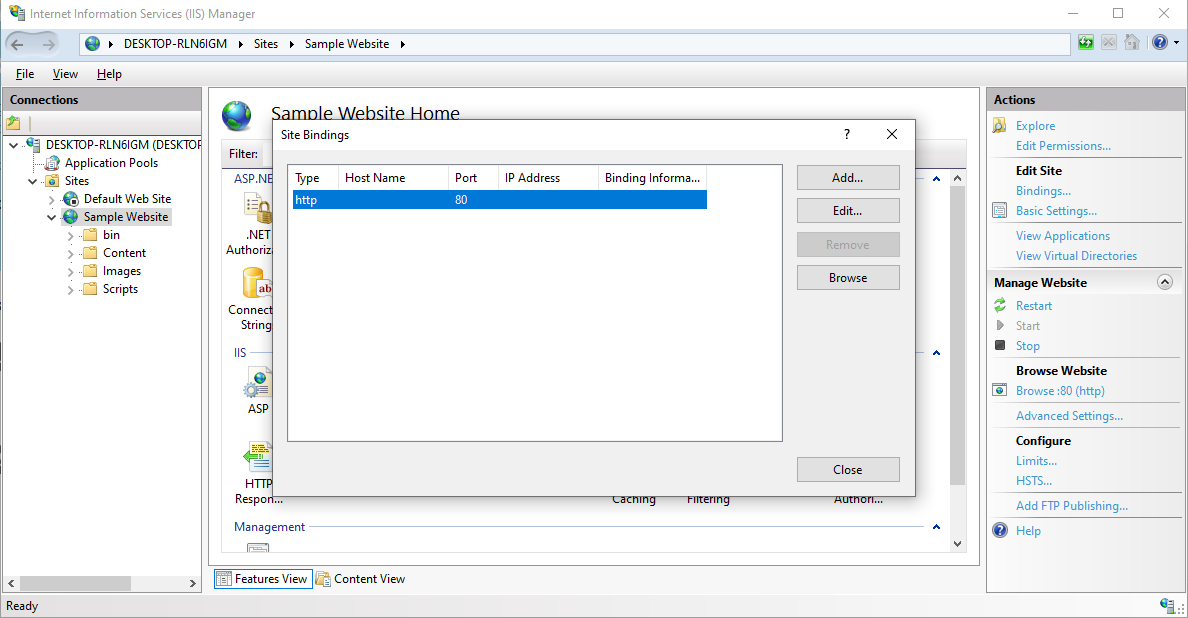
5. Once in the Site Bindings, choose http.
6. Click on Edit to change the port: In our case we used port 8082.
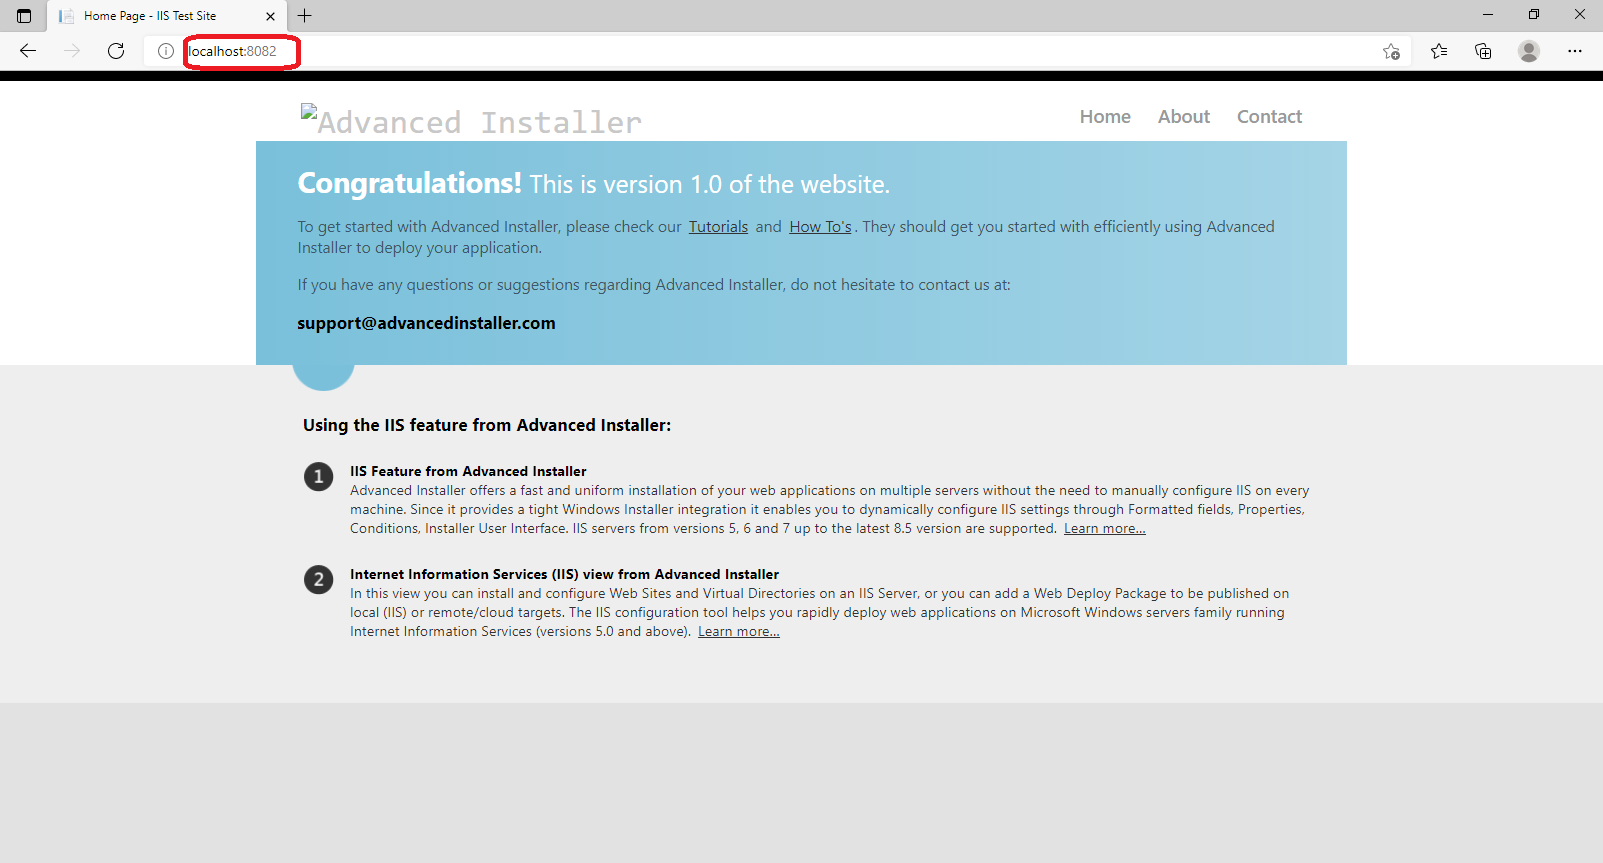
Once these changes are applied, when you try to refresh the “localhost”, the website will not load anymore. That's because we changed the listening port. To access the website, you need to use “localhost:8082”.
How to Preserve IIS Customizations with Advanced Installer?
Once we customize our site by changing the Site Bindings, we need to keep those same settings when we update our website. We can use Advanced Installer to preserve the customizations made between IIS updates.
As mentioned in our user guide, during an upgrade, the client customizations at IIS server level (applicationHost.config) can be preserved. These settings include:
- Website bindings, ports, physical path credentials, limits
- Application Pool configuration settings
- Website and Virtual Directory settings defined in <Location> tags
In order for your version 2.0 to use this feature, follow this steps:
1. Navigate to the IIS page and select “Global Settings”:
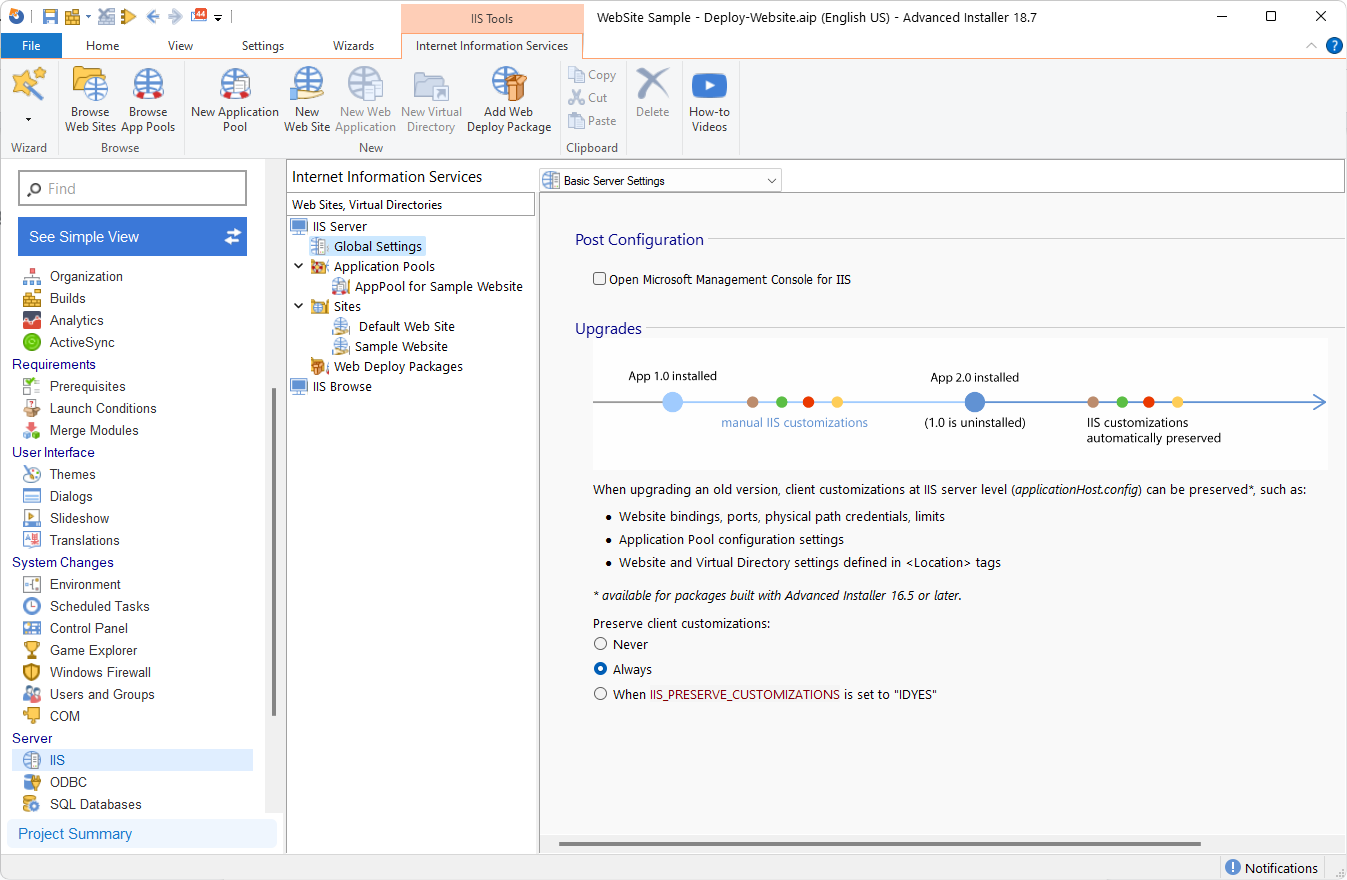
2. Switch Preserve client customizations radio button to “Always”
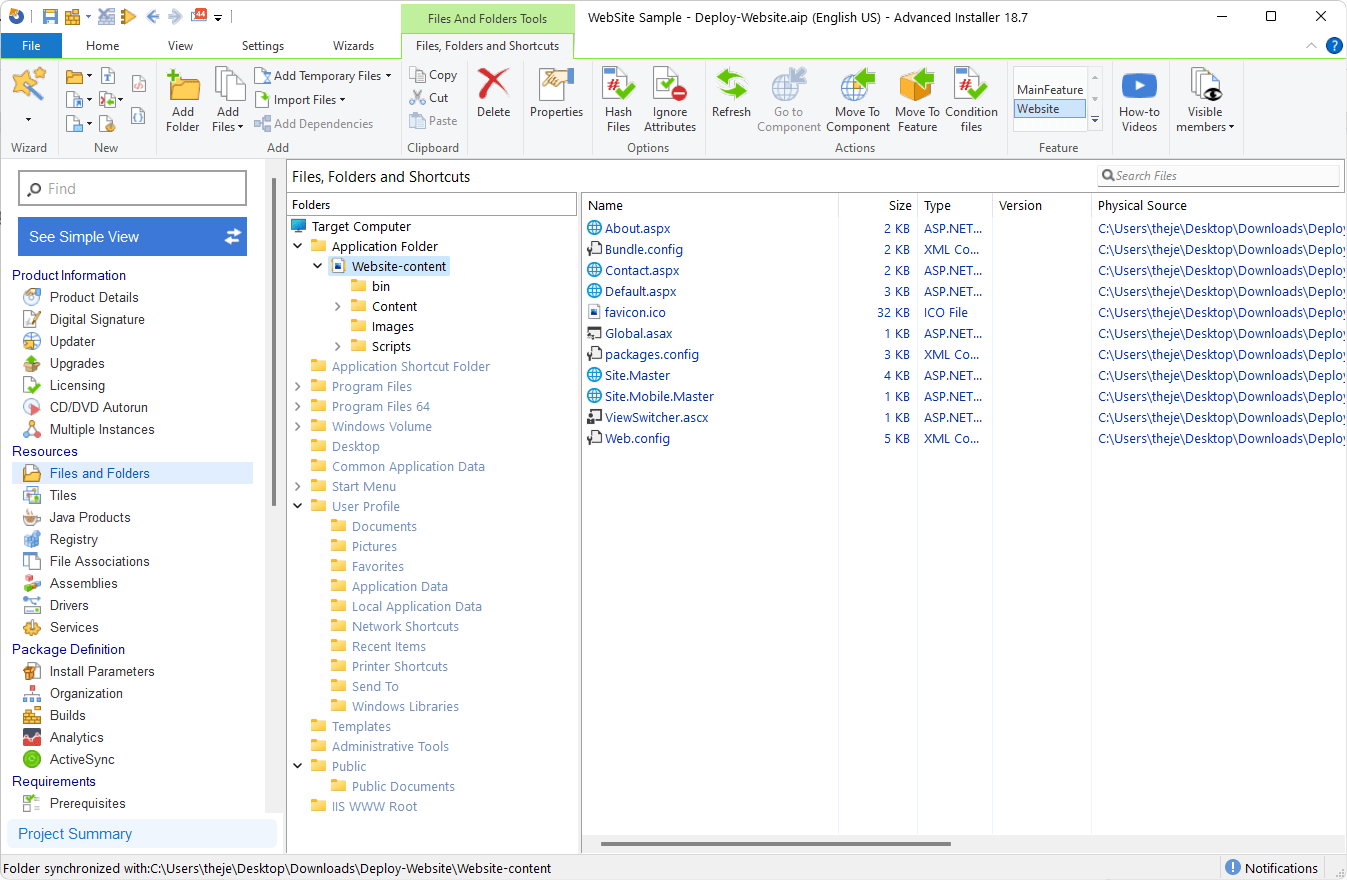
3. Next, update the files in the Files and Folders Page.
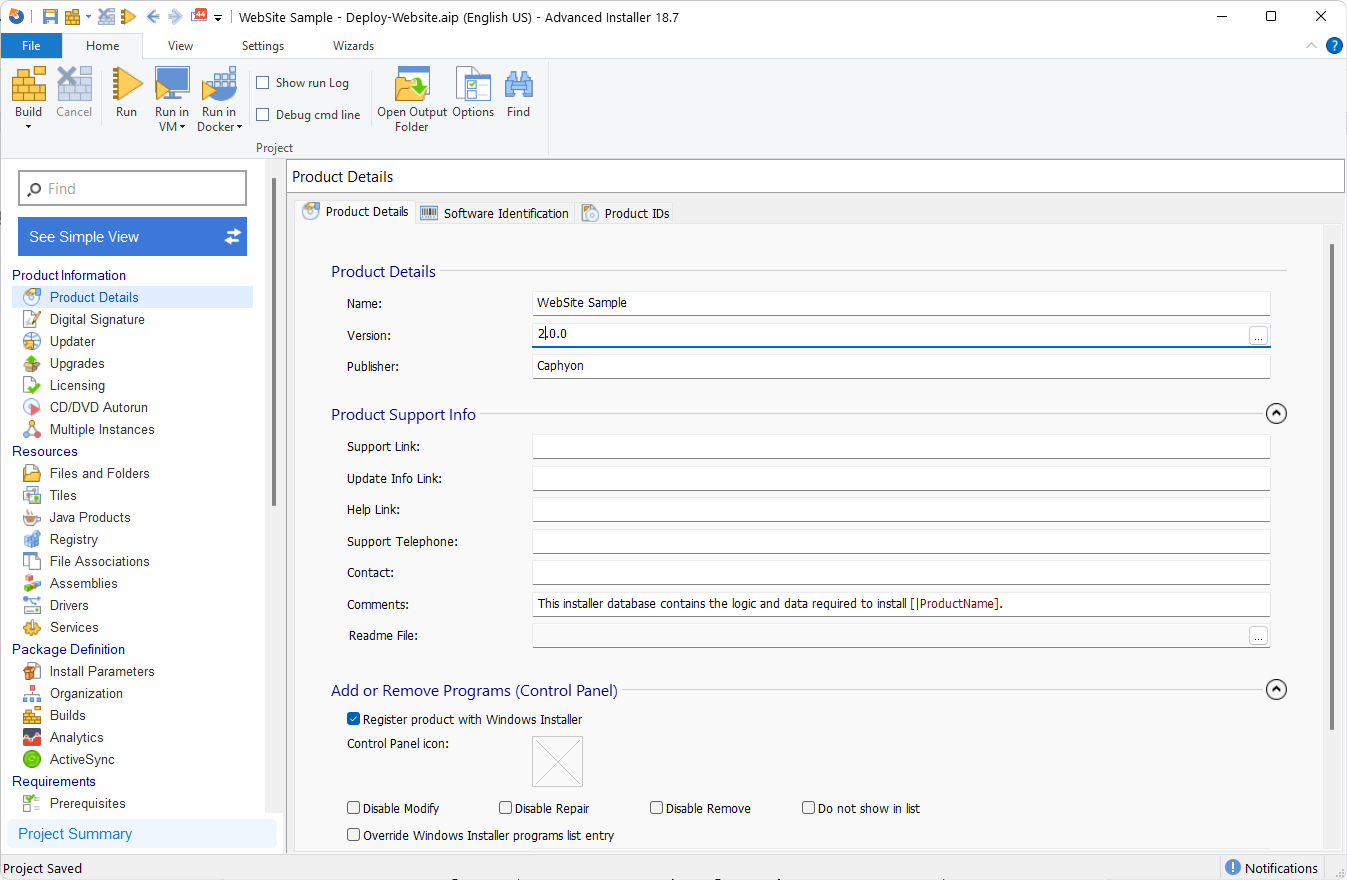
4. Go to the Product Details Page and change the Version of the package.
Conclusion
Once all the changes are done, when we install the new package and try to launch the website, this will only work on “localhost:8082” and not on “localhost”.
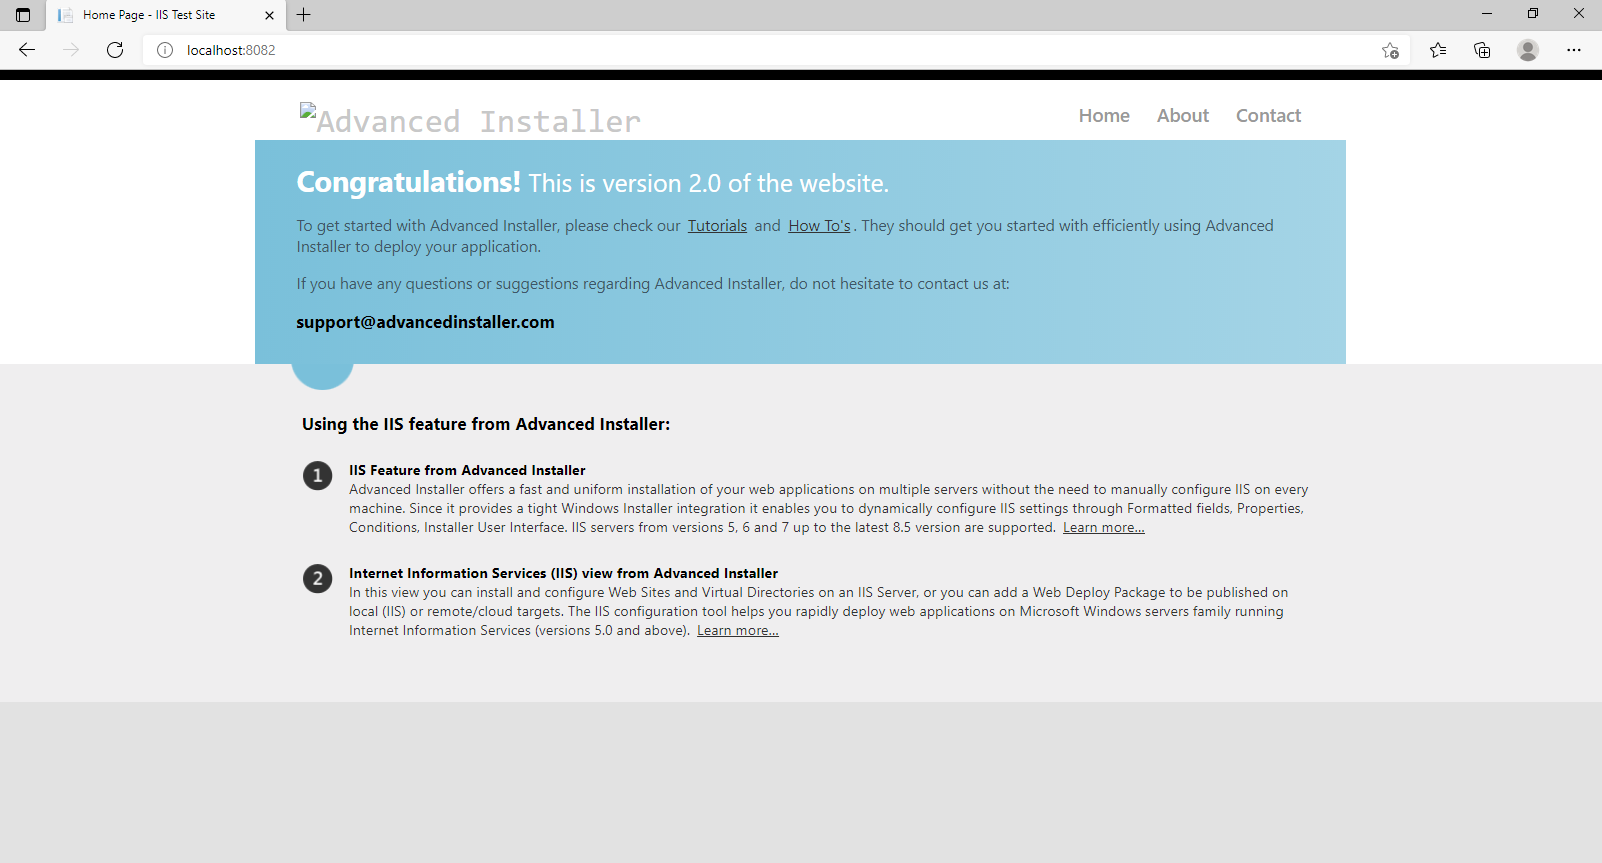
Because we chose the "Always" option , the configurations and changes we make will be preserved after any update. If we wouldn't have chosen "Always", after the installation of version two of the package, the website would have opened on “localhost”.
This concludes our guide on how to enable the preservation of customization between IIS updates with Advanced Installer.
Are you curious about any other feature? Ask away!
Subscribe to Our Newsletter
Sign up for free and be the first to receive the latest news, videos, exclusive How-Tos, and guides from Advanced Installer.