How to Create and Deploy a Windows Desktop App from a Website
There may be cases when you have an in-house web application or simply a website, and you want to offer your users a true Windows desktop app experience.
If you manage an enterprise environment, you can easily deploy it to your employees. In this article, I am going to show you how to achieve that.
Here is what you’ll need:
- Nativefier (under Node.js): convert website into Windows binaries
- Advanced Installer: create the Windows installer
- PacKit: manage and deploy your application
TL;DR:

- Convert your website: Install Nativefier and use the nativefier command to convert the website. You should get an executable version of the website.
- Create a Windows Installer: Create a “Simple” project in Advanced Installer, customize the package information, add the files in “Files and Folders” page under Resource section, and then go to the Builds page and click on the Build button to generate the MSI installer
- Application deployment: Open PacKit, create a workspace, and add your application by clicking on “Import from Disk." You can customize the app information and define requirements and detection methods, then click on either "Upload to Intune" or "Upload to MECM."
 Keep in mind that there is no guarantee that all websites can be fully converted into applications or that all website functionalities will function as intended.
Step One: Website Conversion
As mentioned above, we need to convert the targeted web application (website) into Windows binaries, which we will then insert into our Windows installer builder tool, Advanced Installer.
To do so, we need to install Nativefier, which is an open-source tool that wraps the website using Electron (with Chromium inside).
- Download and install the latest version of Node.Js. Nativefier uses node.js components and requires the installation of npm.
- Restart your device
- Open a command prompt and run the commands below
To install Nativefier:
Npm install -g nativefier
Convert the website (replace with your desired website and save location):
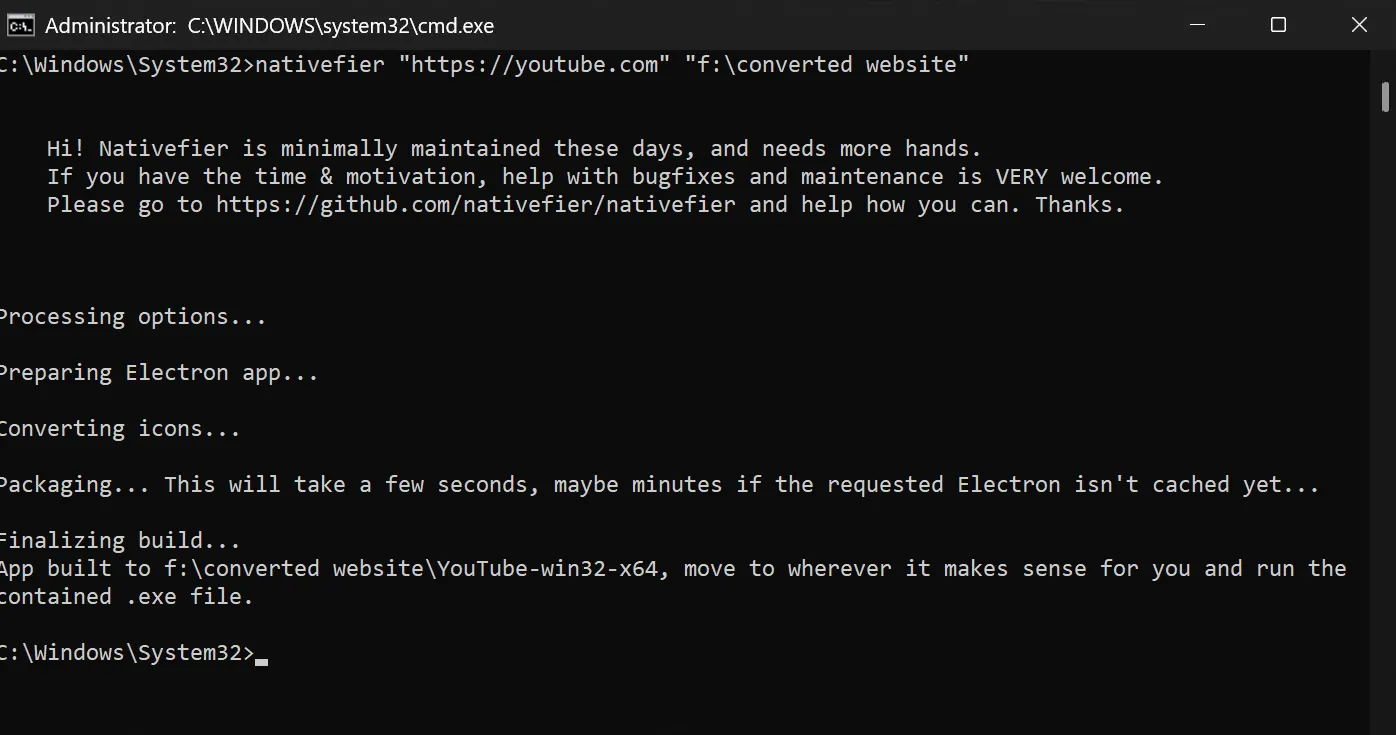
nativefier “https://youtube.com” “f:\converted web”
After the commands are executed, the command should return something similar to the screenshot below:
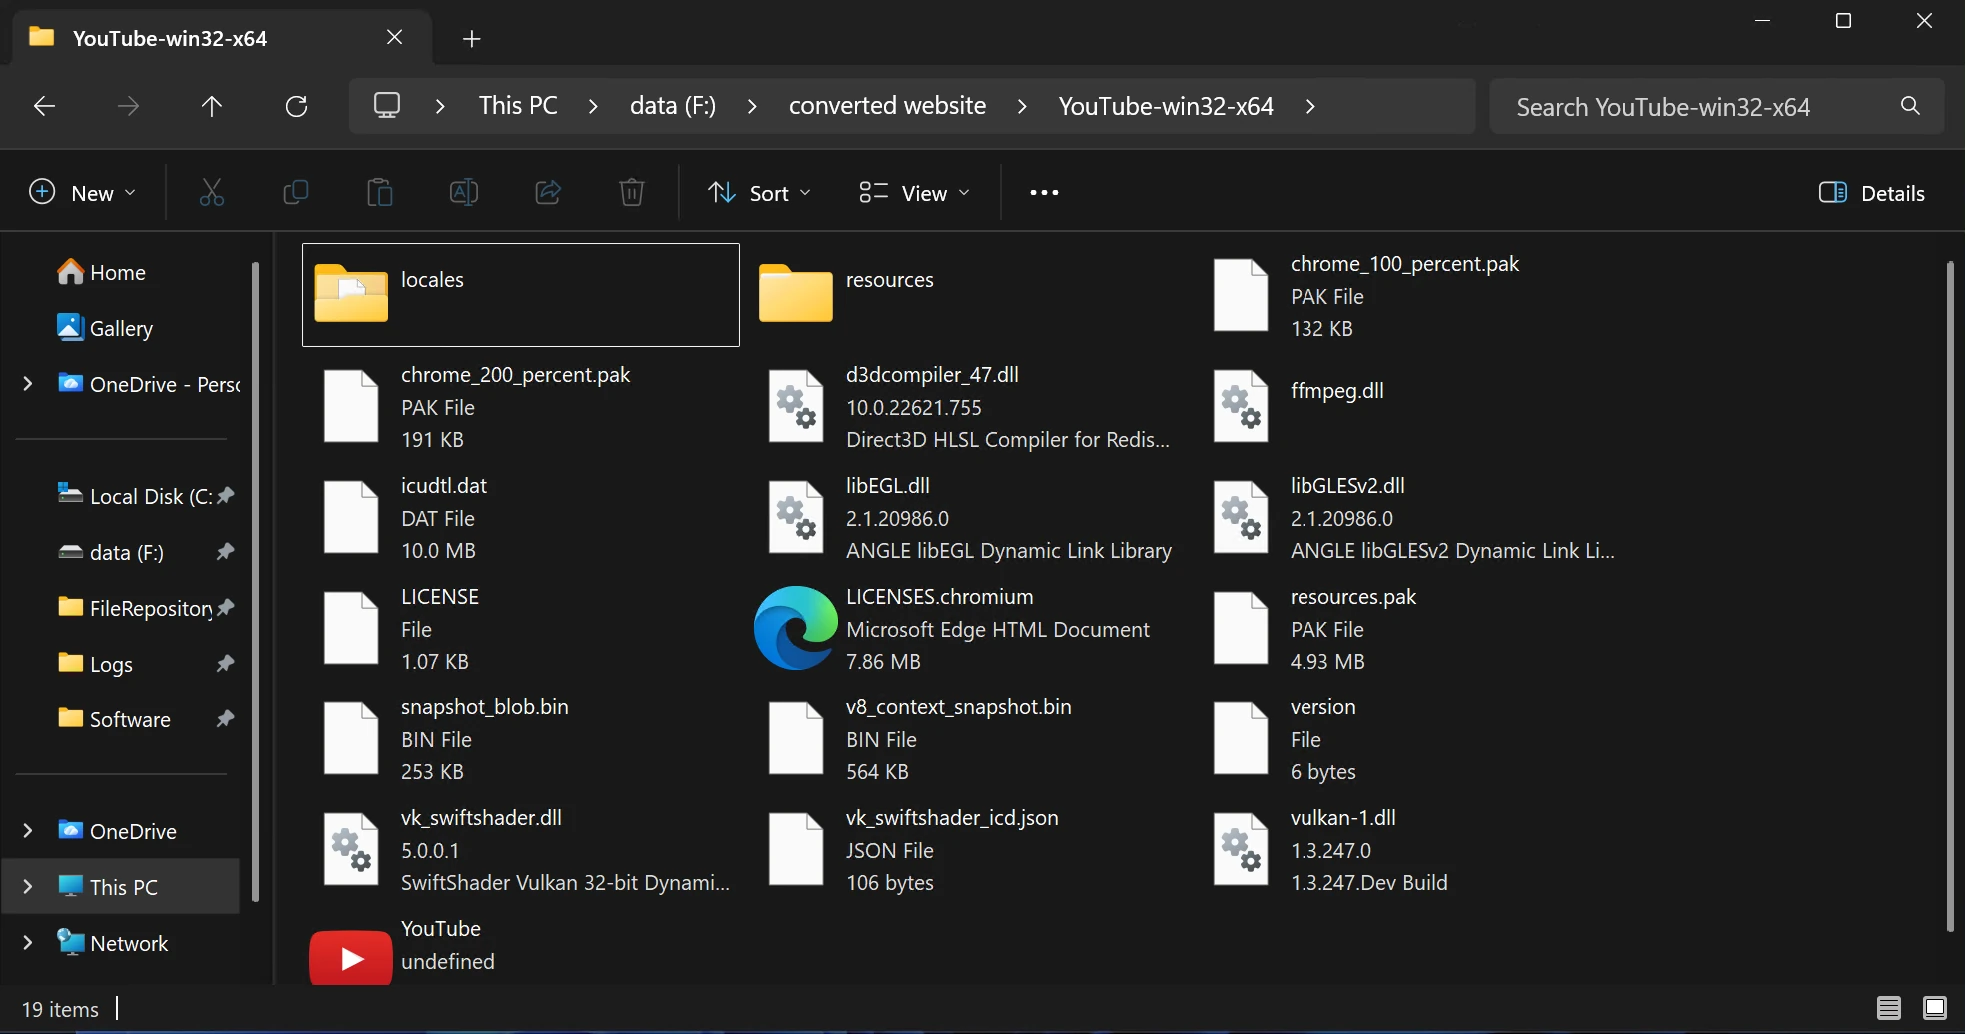
Now, let’s look at the content of your converted website. You can see both the folder structure and the executable.
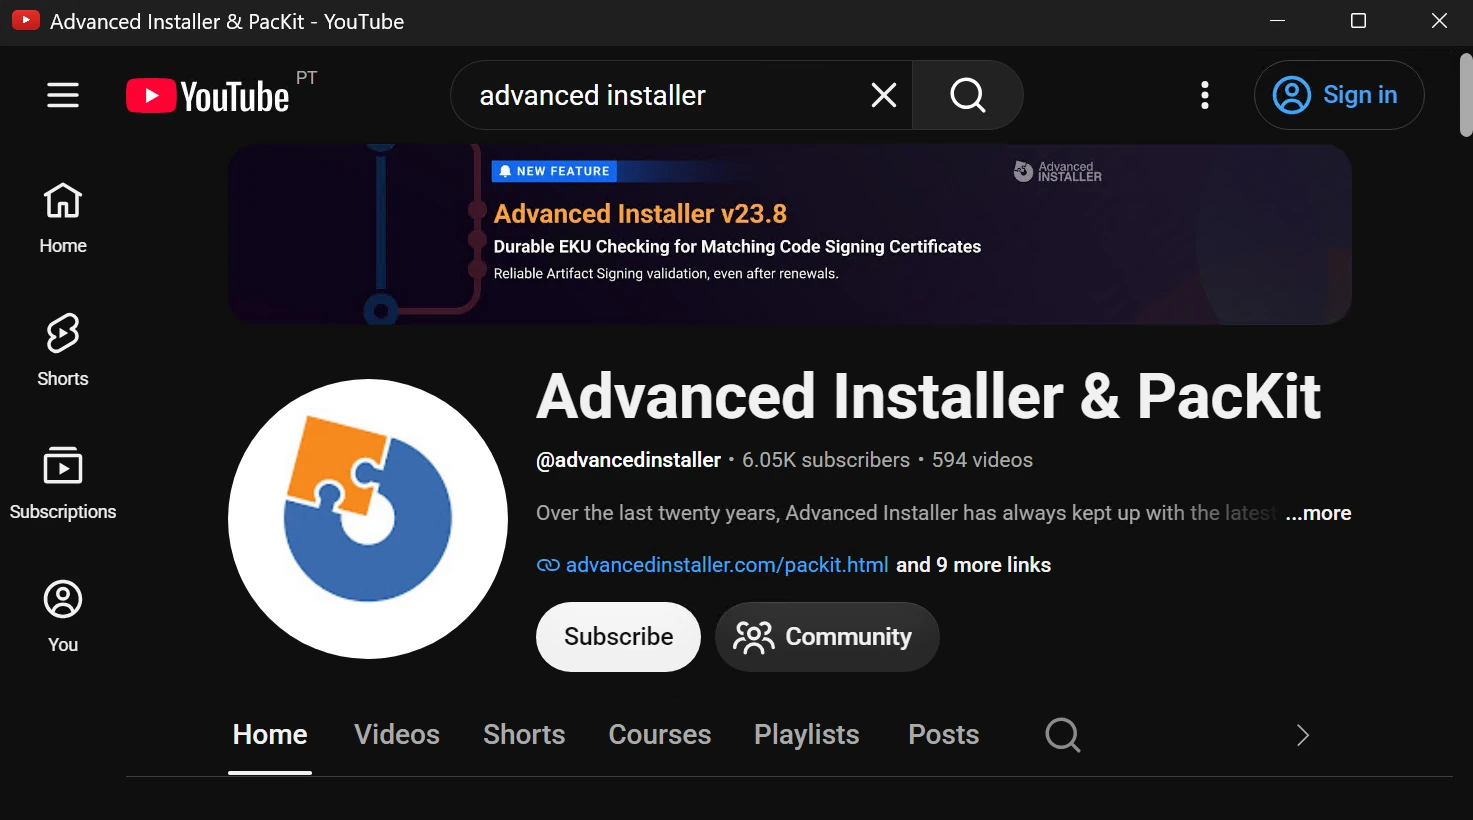
When you execute Youtube.exe, it will launch the desktop version of YouTube.
Step Two: Windows Installer Creation
Now that we have the source files, we can start creating our Windows installer.
 You can download Advanced Installer from here. You will have a 30-day free trial, and after that, you can still continue to make simple installers for free. This is exactly what you need for this project.
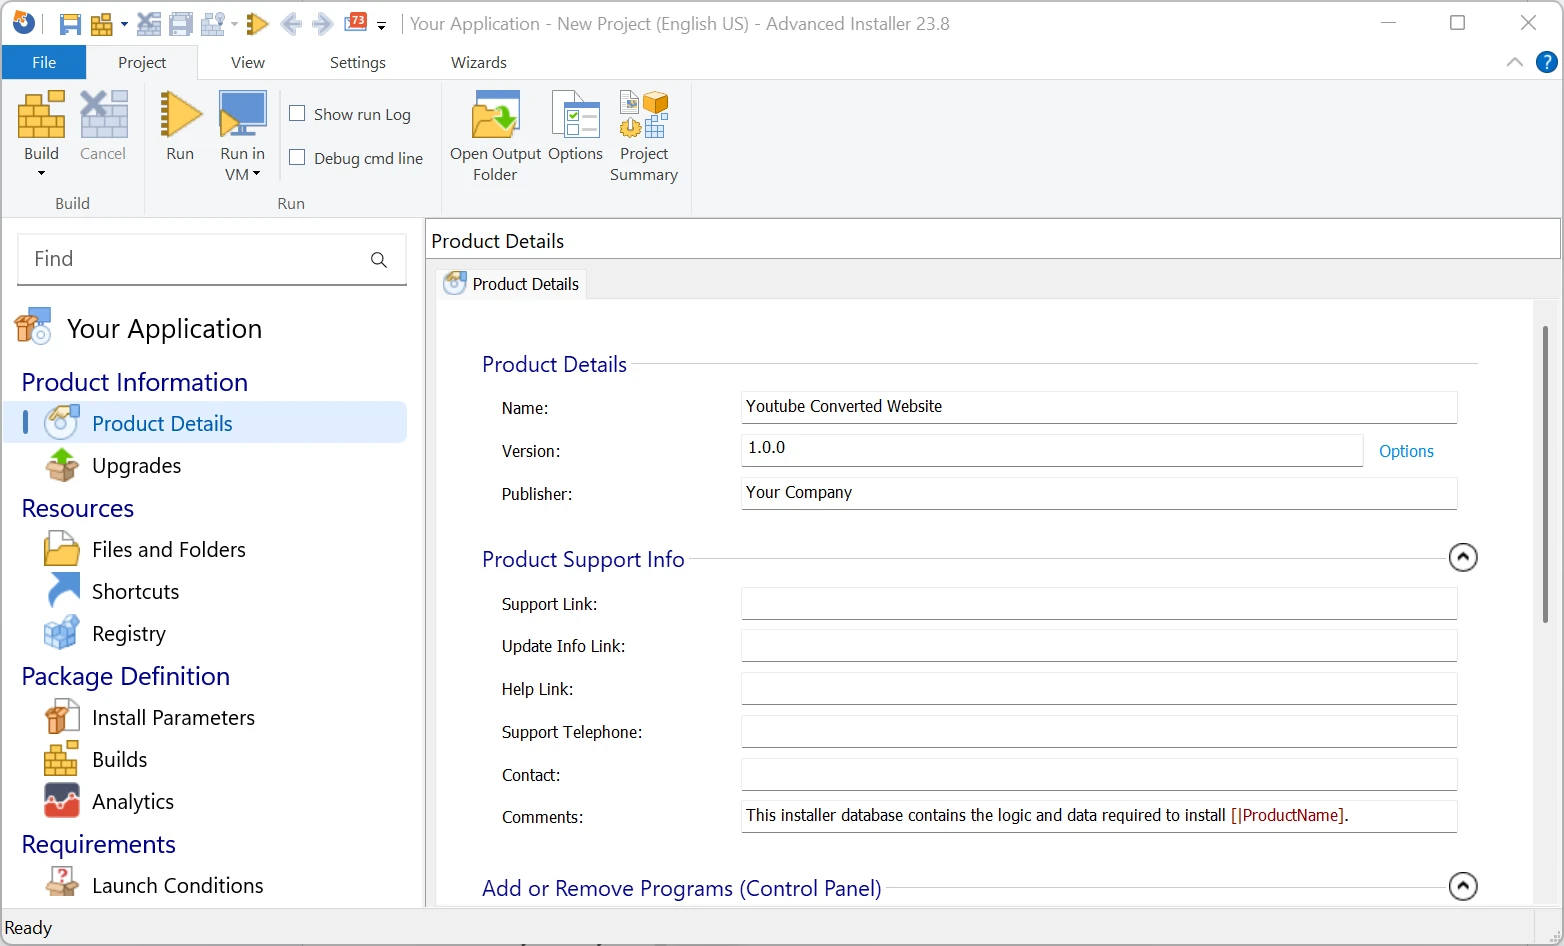
After you download and install Advanced Installer, create a Simple project:

Next, customize your package information as you want. If you want, include a specific name, version, and company.
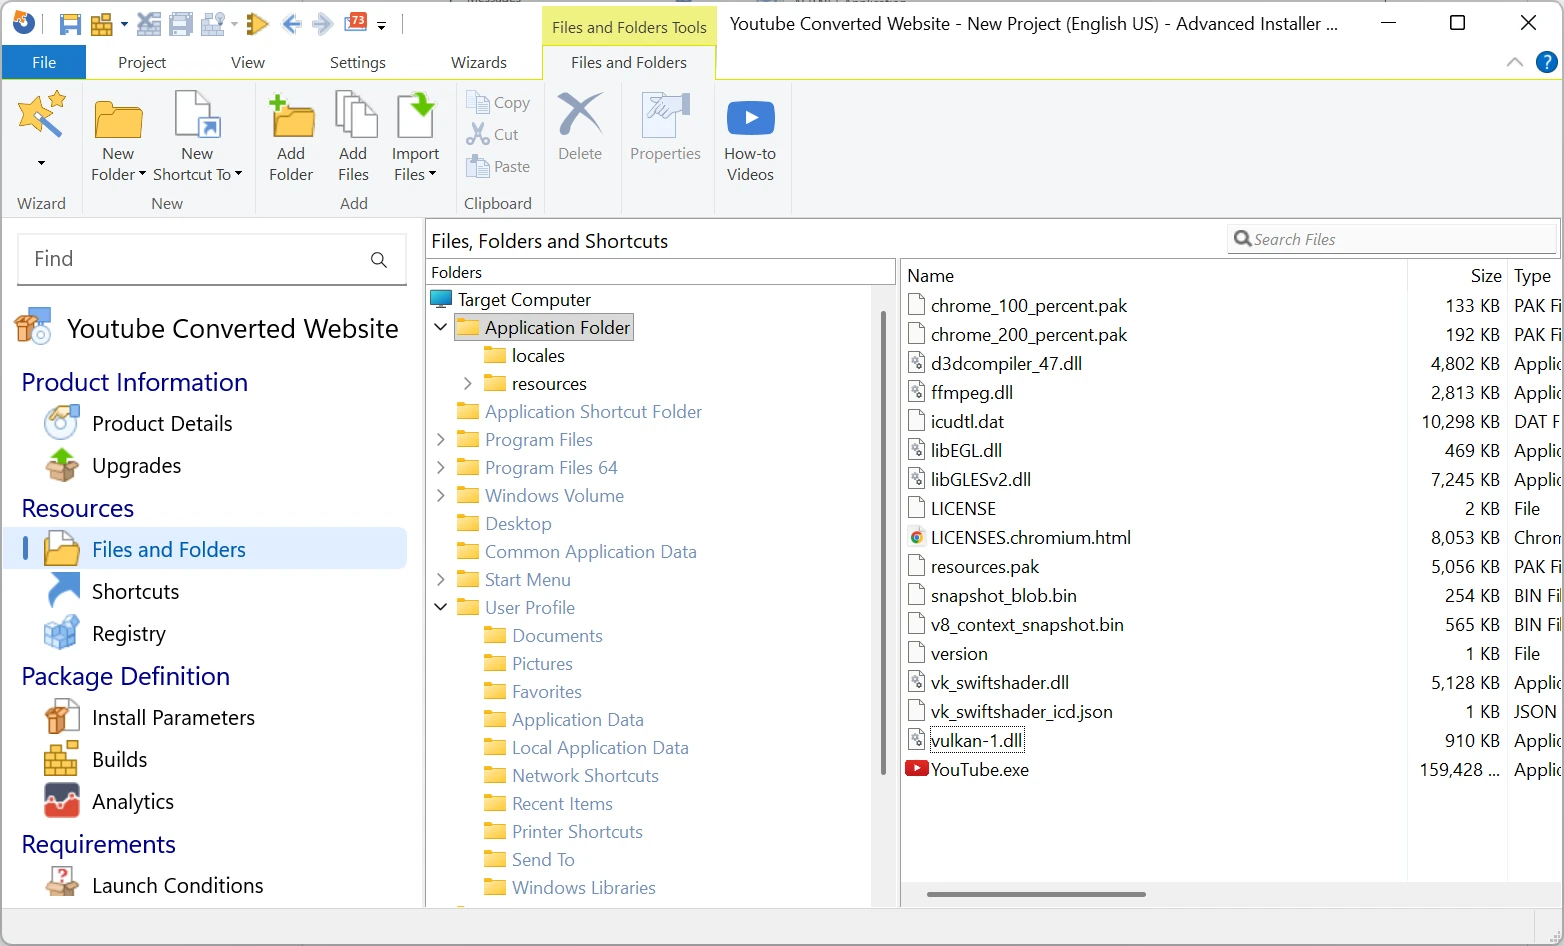
When you are finished, go to the Resources→Files and Folders page:
Here we add our files. Simply drag and drop the files from our converted website directory to the application folder. Any folders from the source directory will be automatically created and populated with the corresponding files.
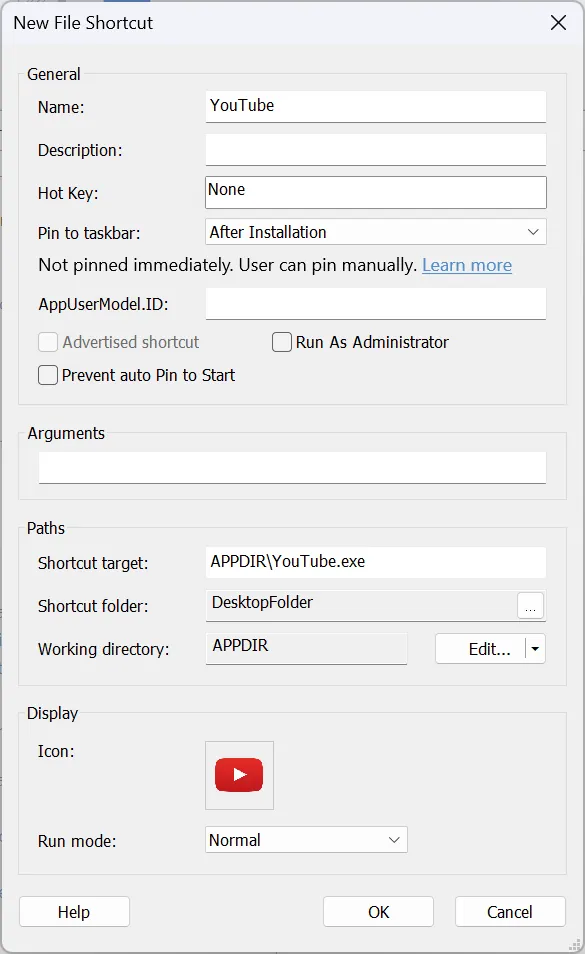
You can also create a desktop or a Start menu shortcut for YouTube.exe by navigating to the targeted destination folder in the subtree, right-clicking, and selecting New Shortcut To -> Installed Files.

On the next pop-up screen, you can customize the shortcut name, arguments, and, most importantly, the shortcut icon.
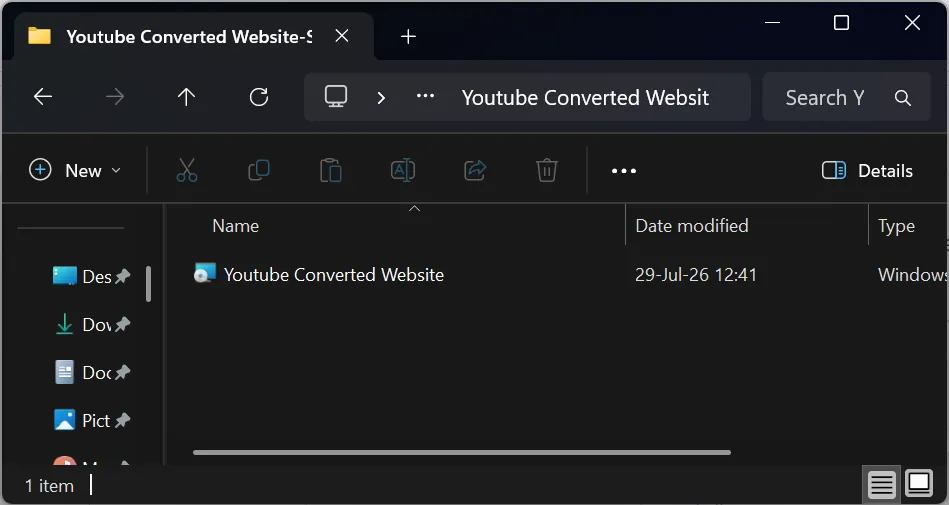
As a last step, go to the Builds page and click on the Build button on the upper left side. This will generate an MSI installer.

Step Three: Application Deployment
PacKit comes in handy now that you have an MSI installer, and you manage applications and do deployments.
PacKit allows you to create a full workspace, add applications from disk (as shown here), import applications from SCCM and migrate them to Intune, and add applications from the WinGet Catalog.
To learn more about PacKit’s capabilities, check out the features page.
Now back to our purpose: once you’ve created a workspace, click on Import from Disk.
After that, double-click on the listed application, and it will reveal the application information.
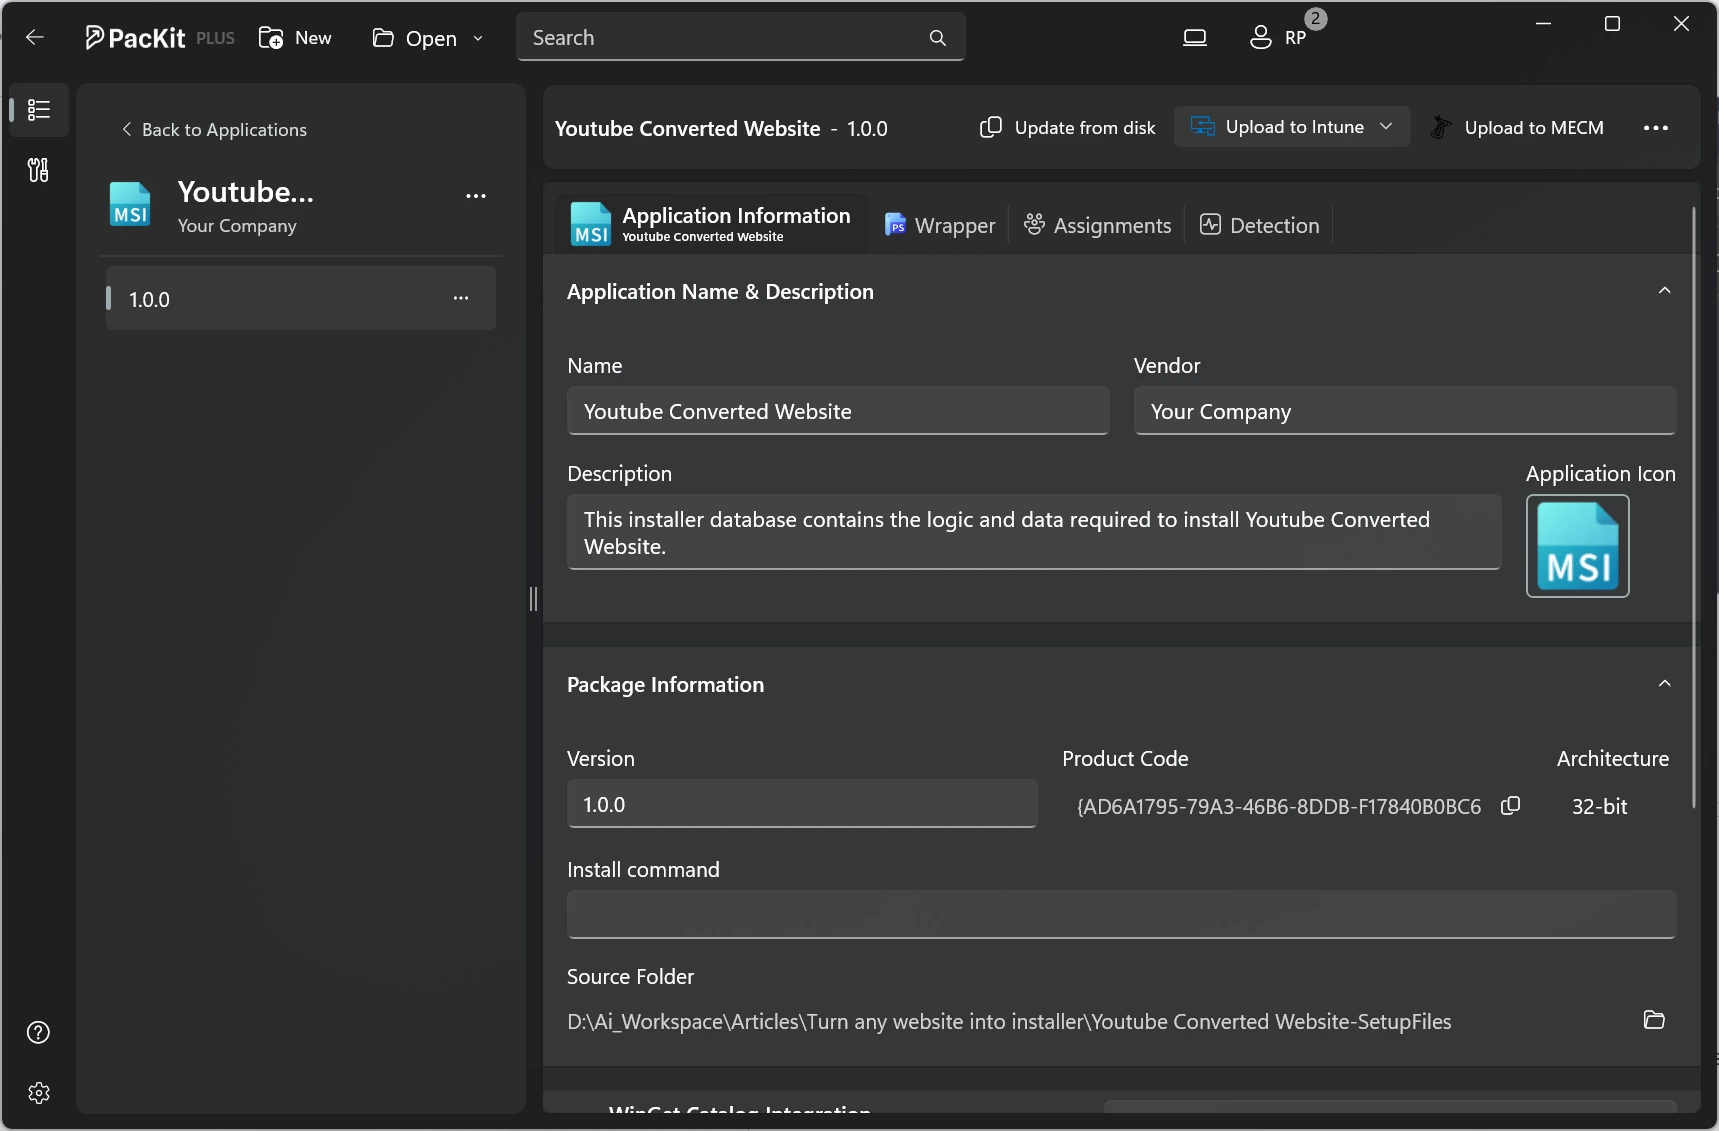
From here, you can customize the application information, define requirements and detection methods, and then click on Upload to Intune or Upload to MECM.
Limited offer: if you use Architect, you can get PacKit Plus for free. You can learn more or look into specifics here.
If you have any questions about this process, please leave a comment below.
Written by

Radu Popescu
Technical Writer at Advanced Installer, Technical Engineer on various enterprise client projects. Experienced in Software Packaging, SCCM infrastructure and System Administrating. Tech enthusiast and music producer in his spare time.