Repackaging Methods
Application Re-packaging with Transforms
The practice of adapting or updating existing installation packages to fit specific criteria is known as application re-packaging. Transforms, which are adjustments to an existing package that are implemented during installation without affecting the original package itself, are one technique for re-packaging.
Transforms can be made with specialist tools like the Advanced Installer's built-in Transform Maker and can include changes to registry settings, file locations, or other package components.
After creating the transform file, it may be applied to the existing package during installation using the proper command-line switches or deployment tools.
To apply the transformation file to the existing package, you have a variety of techniques at your disposal, such as command-line tools, batch scripts, and deployment tools. It is critical to extensively test the changed package to ensure that it installs and works well on the target system and does not cause new problems or conflicts.
One of the benefits of employing transforms for application re-packaging is that they do not modify the original package; thus, it remains unchanged and can be updated or modified in the future.
We will dive into this topic a few chapters later in the book.
Application Repackaging via Snapshot Method
Another approach to application re-packaging is the snapshot method. This method involves producing a new installation package by capturing the changes made to an existing installation on a test machine.
The snapshot approach captures changes to the file system, registry settings, and other application components during the installation process. It then creates a new package that can be further customized or deployed on other systems.
To use the snapshot method for application re-packaging, we need to prepare a test system with the present installation package and any prerequisites or dependencies. The modifications made to the system throughout the installation process are then captured using a snapshot tool. When the snapshot is finished, the captured changes are used to create a new package, which can then be customized further or deployed on other systems.
One advantage of the snapshot method is that any modifications made to the system during installation are captured and can be included in the new package.
Furthermore, because the installation process can be captured and packaged, the snapshot method can be used to package applications that do not have an existing installation package.
Packaging and repackaging both necessitate a thorough understanding of the techniques and technology employed in the application packaging process.
A solid understanding of MSI, the Windows Installer service, and the tools used to create and modify packages is essential. Understanding the target system and the program's needs is crucial. It is equally important to consider how the application will be installed and configured on the target system.
Application Repackaging via PowerShell App Deployment Toolkit
As mentioned in MSI Packaging Essentials ebook, the PowerShell App Deployment Toolkit (PSADT) is a free and open-source framework designed to make enterprise application deployment tasks easier. It was created by Microsoft MVPs and is compatible with PowerShell 3.0 and higher.

The PowerShell App Deployment Toolkit includes a set of functions and tools for easily deploying and managing applications across multiple systems.
Administrators can use it to automate common application deployment tasks like installing, updating, and uninstalling applications.
The toolkit can deploy applications to traditional desktops, laptops, and servers, as well as virtualized environments like Citrix and VMware.
The PowerShell App Deployment Toolkit has a number of features that make it an effective application deployment tool. Among the key features are:
- Easy to use scripting language: PowerShell is a popular and powerful scripting language that is simple to learn and use. It is used in the toolkit which makes common application deployment tasks simple to automate.
- Extensible framework: The PowerShell App Deployment Toolkit is extensible, allowing administrators to customize and extend it to meet their specific requirements. As a result, it is a versatile tool that can be tailored to work with a wide range of applications and environments.
- Application-specific functions: The toolkit contains a set of functions that are specifically designed to work with popular applications like Adobe Reader, Google Chrome, and Microsoft Office. This simplifies the deployment and management of these applications across multiple systems.
- Error handling and logging: The PowerShell App Deployment Toolkit includes powerful error handling and logging capabilities.
Let's look at how to manipulate registry keys in PowerShell. While PowerShell provides straightforward cmdlets for modifying registry keys, there are a few things to keep in mind:
- Does the path to the registry key exist?
- Do we need to create a new registry key?
- Do we need to set a registry key?
The purpose of these questions is to assist you in developing your script. If the path to a specific registry key does not exist, you must create it. As a result, it's critical to test and handle this situation in your script.
$RegistryPath = 'HKCU:\Software\MySoftware\Scripts'
$Name         = 'Version'
$Value        = '2'
# Create the key if it does not exist
If (-NOT (Test-Path $RegistryPath)) {
  New-Item -Path $RegistryPath -Force | Out-Null
}Following the creation of the registry path, we must determine whether the registry already exists or whether a new one is required. You have two options depending on the answer:
1. If the registry already exists, the Set-Item cmdlet can be used to set a specific registry value. As an example:
Set-Item -Path HKCU:\Software\MySoftware\Scripts\Version -Value “2”
2. If the registry does not exist and must be created, use the New-Item cmdlet to create a new registry item and its value. As an example:
New-Item -Path HKCU:\Software\MySoftware\Scripts\Version -Value “2”
The -Force parameter can be used to simplify the preceding steps, but it will make your script more complex with additional functions. The PowerShell App Deployment Toolkit can help with this. It includes custom cmdlets that simplify your script.
You can create or set a registry key using the Set-RegistryKey custom cmdlet that PSADT offers. Simply specify the registry key's exact location, and PSADT will handle the rest of the process for you.
PSADT has grown in popularity and is likely to be used in the majority of infrastructures at the moment, with its main advantage being that it allows IT professionals to customize a specific application installation without having to dive into the MST or repackaging areas.
For example, if you want to add small changes to your package, such as registry keys that disable automatic updates, files, or the EXE file can be installed silently, PSADT makes this much easier to accomplish, and you are essentially doing the same things as you would with repackaging via MST or Snapshot.
However, just like any other software tool, it has some potential weaknesses that IT professionals should be aware of, such as:
- Limited Platform Support: PowerShell App Deployment Toolkit is only compatible with Windows operating systems. This could be a problem for IT professionals who manage heterogeneous environments with a variety of operating systems.
- Lack of Rollback Option: PSADT, unlike MSI transforms, does not support rollback. This means that if something goes wrong during the deployment process, IT professionals may have to remove the application manually from each affected system.
- Limited User Interface Customization: While the PowerShell App Deployment Toolkit can be used to customize some user interface settings, it may not be as versatile as other tools for doing so.
- Dependencies on PowerShell Versions: To function properly, PowerShell App Deployment Toolkit requires PowerShell 3.0 or higher. IT professionals who manage systems using older PowerShell versions may need to upgrade their systems in order to use the PowerShell App Deployment Toolkit.
The PSADT structure is straightforward. In the root of the toolkit, you will find the following files:
- Deploy-Application.ps1
- Deploy-Application.exe
- Deploy-Application.exe.config
These are the files that you can run to begin the installation. The main PowerShell script that must be modified with the logical installation/uninstallation steps is Deploy-Application.ps1.
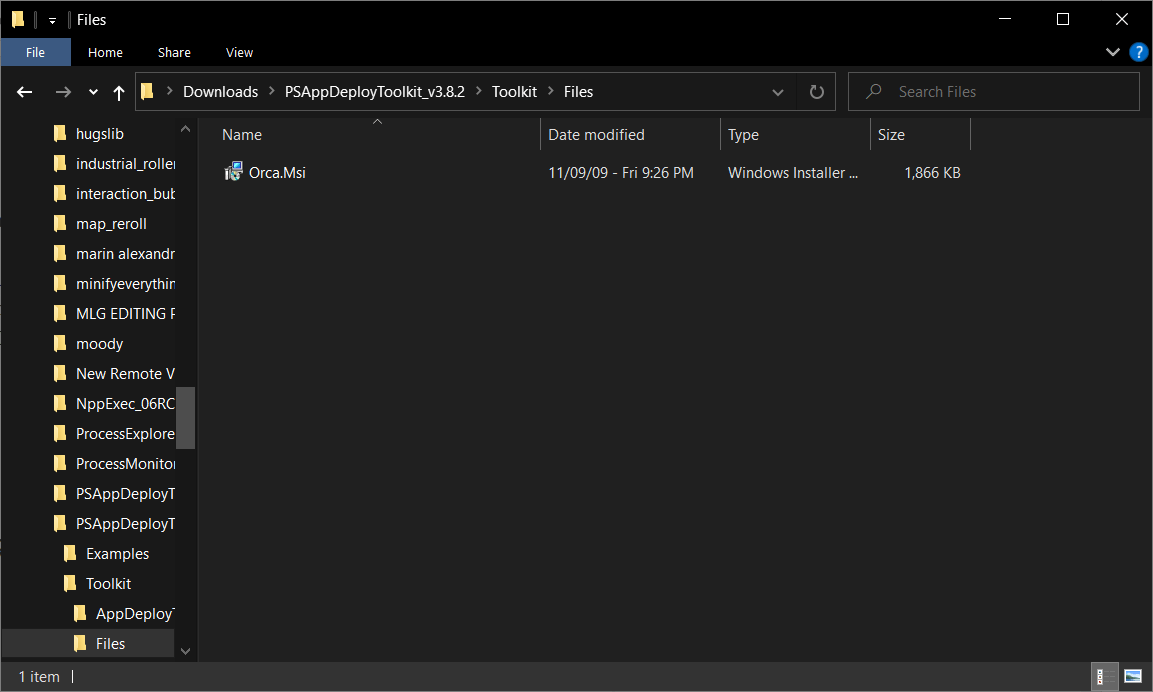
The Files folder will then hold all of your installation files, whether they are installers like MSI, MST, MSP, or other configuration files that you can copy later during installation.

The AppDeployTookit includes not only the previously mentioned configuration files, but also the icons, banner, and main functions file.
If you want to add new functions to PSADT, you can either edit AppDeployToolkitMain.ps1 or create a new ps1 file and include it in the Deploy-Application.ps1.
The final folder is SupportFiles, where you can include any additional files that will be used in the main script. Technically, you can also use the $dirSupportFiles variable to run the installation of a specific file directly from the SupportFiles folder.
