How to Create an MSI Installer with Visual Studio 2026
Visual Studio is a complete development environment for writing, testing, and deploying applications across different platforms. Beyond coding, it also supports creating MSI installers directly within the IDE.
In this tutorial, I will guide you through the necessary steps to create an MSI installer for a C# WinForm application using Visual Studio 2026.
Create the Project

First, let’s create the Windows Forms application:
- In Visual Studio, navigate to File → New → Project.
- From the list of templates, choose Windows Forms App.
- Configure the project settings and create the project.
Add the Setup Project

Once your project is created, you need to add the setup project. For this, you must have the Advanced Installer extension for Visual Studio installed. The extension is available on the Visual Studio Marketplace.
After installing the extension:
1. Right-click on the solution and choose Add → New Project.
2. Select the Advanced Installer Project template.

3. Configure the project and create it. Once created, you should see it in the Solution Explorer.
Configure the Setup Project

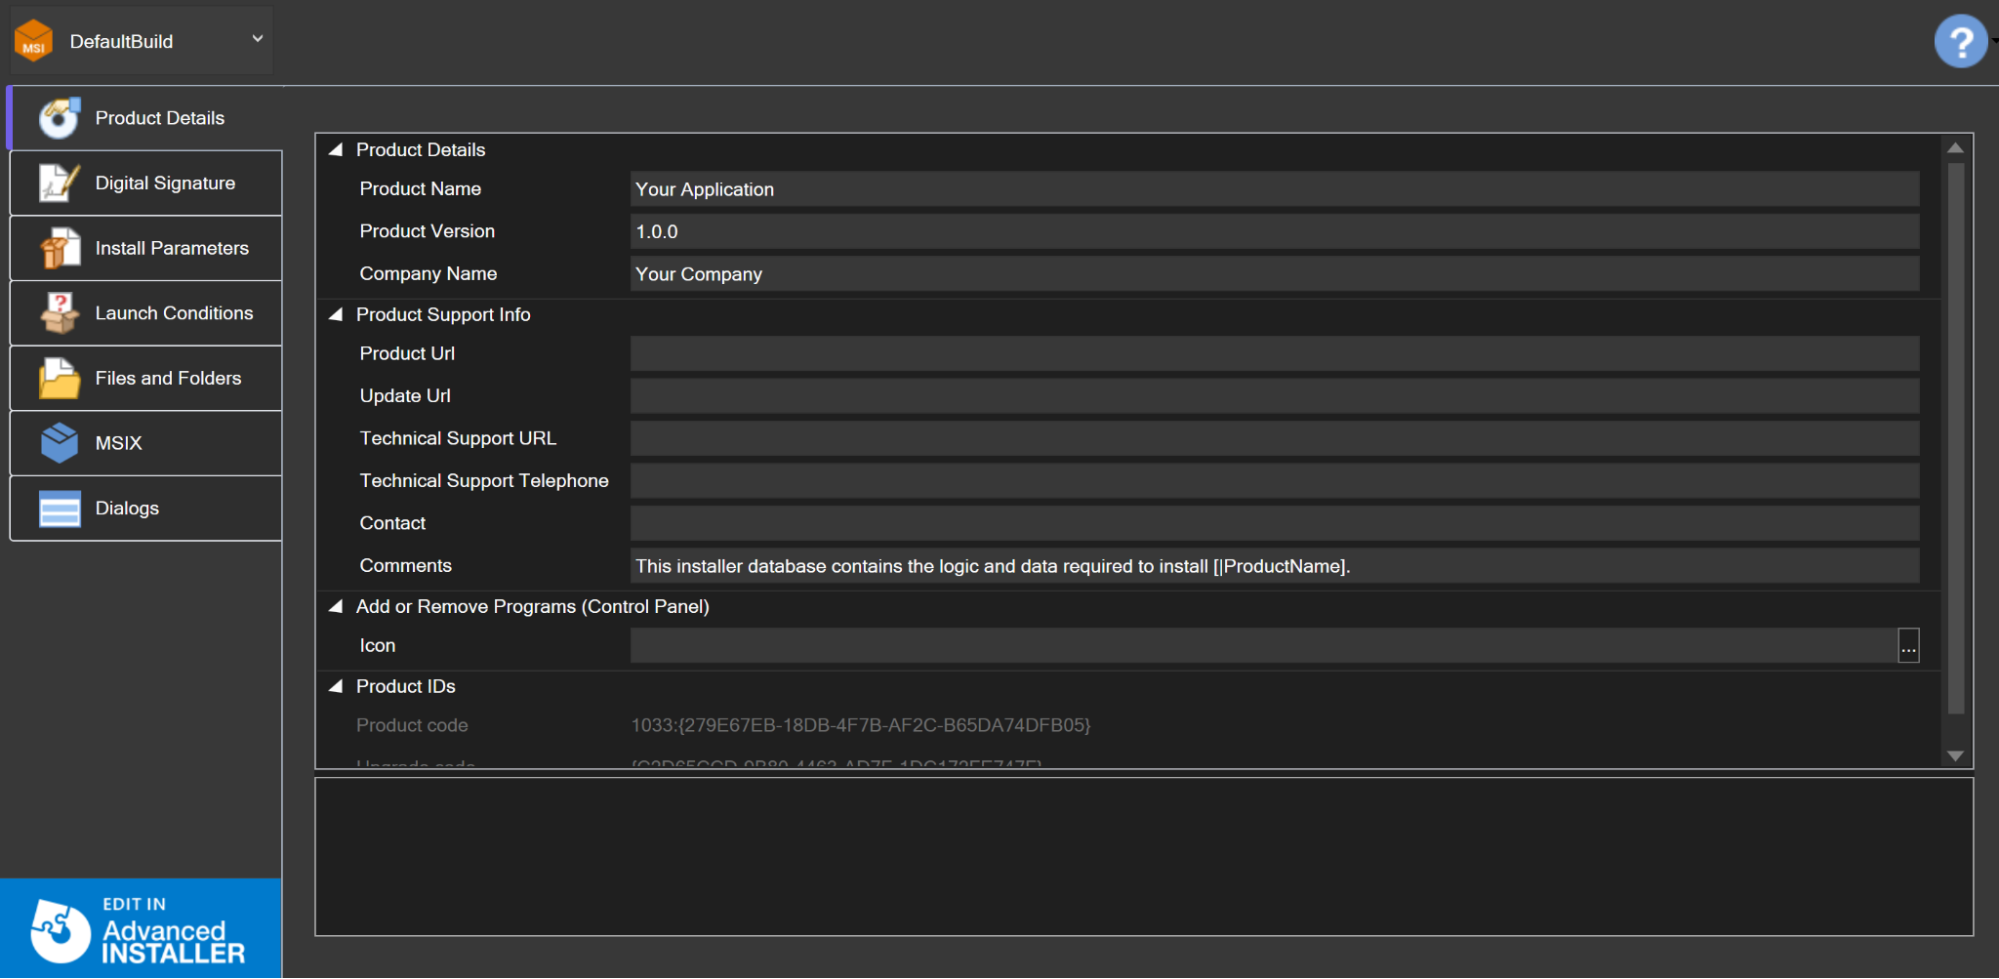
After creating the Setup Project, it’s time to configure it. Select the .aip file to access the Advanced Installer viewer inside Visual Studio. Here you can edit basic information about the installer, such as the Product Details, Install Parameters, or Launch Conditions.

You can also add the Project Output from the Files and Folders tab. Just click the Add Project Output button and select the project.
If your .NET app doesn’t yet have a publish profile, Visual Studio will prompt you to create one before adding the project output.
Advanced Configuration

For more advanced configuration options, you can edit the setup project directly in Advanced Installer. To do this, click the Edit in Advanced Installer button, which will open the Advanced Installer tool.

After making the required changes, you can close Advanced Installer. When you return to Visual Studio, you will be prompted to reload the installer files to apply the changes.
Build and Install

Once everything is set up, build the setup project to generate the MSI installer. After the build completes, run the installer to install the application. That’s all.
Watch the Video Tutorial

Check out the video tutorial to see each step in action—from creating the project to building the final MSI installer.
Conclusion

You can easily create installers directly from Visual Studio using the Advanced Installer extension. This allows you to manage both your application and its installer from a single environment, streamlining your build and deployment workflow.
