What is and how to generate a self-signed certificate from the command line?
When developing software or creating a software package for internal use, self-signed certificates can be really handy.
Unlike certificates issued by trusted certificate authorities (CAs), self-signed certificates are generated and signed by the same entity. Although they aren't suitable for production due to trust issues, they're ideal for development, testing, or internal use.
In this article, we will discover what a self-signed certificate is and how to generate one so you can digitally sign your application package.
What Is a Self-Signed Certificate?

A self-signed certificate is a digital certificate created and signed by its owner instead of a trusted CA. It's used to establish the authenticity of your application package.
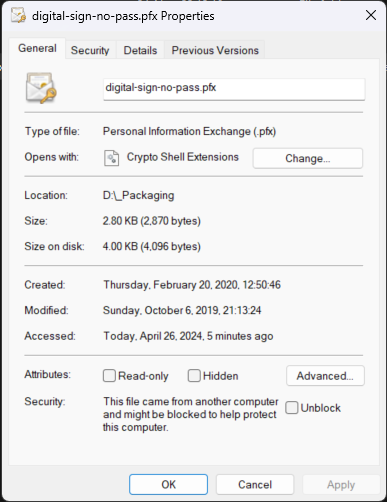
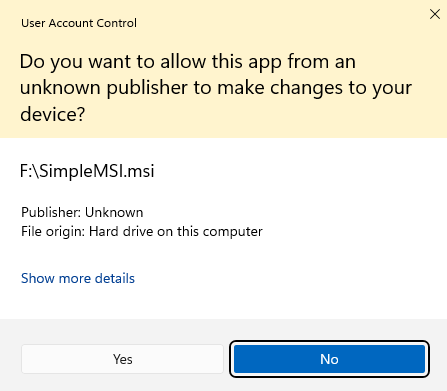
However, since it’s not recognized on its own, you also need to distribute the certificate to the machines where the software will be installed. Otherwise, a warning that the application is not signed, will be displayed during installation.
Creating a Self-Signed Certificate on Windows

You can generate a self-signed certificate on Windows using PowerShell. This built-in tool offers a simple way to create a certificate and store it locally.
Signtool.exe is called to generate the certificate.
Open PowerShell with administrative privileges and run the following command to create a new self-signed certificate:
New-SelfSignedCertificate -Type CodeSigningCert -Subject "CN=MySelfSignedCodeSigningCert" -CertStoreLocation "Cert:\LocalMachine\My"
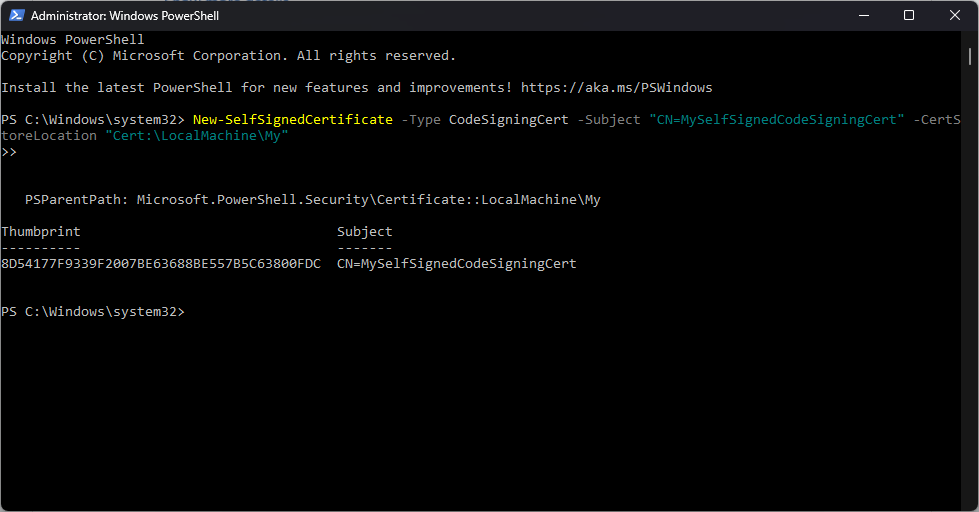
This command creates a certificate and stores it in the local machine's certificate store.
Export the Certificate

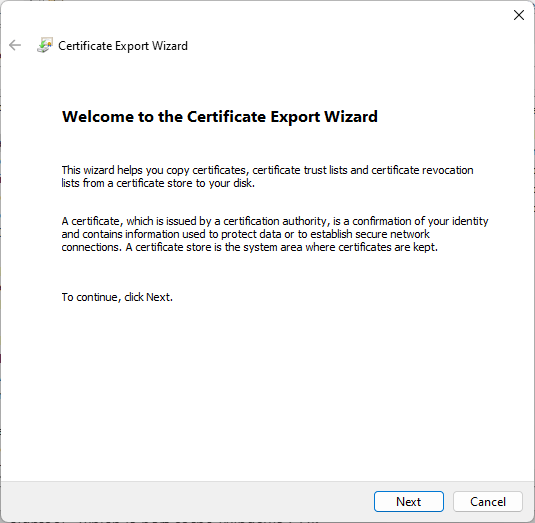
Once the certificate is generated, you can export it to a file so it can later on be distributed to other devices.
1. Open the Certificate Manager by running certlm.msc in the Windows Start menu.
2. Find your certificate under "Personal" > "Certificates."

3. Right-click on it, choose "All Tasks," then "Export.", and go through the export wizard, deciding whether to include the private key. If you do, set a password for security.
Signing Your Application with a Self-Signed Certificate

After creating the self-signed certificate, you can use it to sign a Windows application using signtool, which is part of the Windows SDK.
1. Install the Windows SDK from Microsoft.
2. Open a command prompt with administrative privileges and navigate to the directory containing signtool.
To sign your application with the self-signed certificate, use the following command:
signtool sign /f "path\to\certificate.pfx" /p "your_password" /tr "http://timestamp.digicert.com" /td SHA256 /fd SHA256 "path\to\your\app.exe"
Replace `"path\to\certificate.pfx"` with the path to your exported certificate, `"your_password"` with the private key password if you set one, and `"path\to\your\app.exe"` with the application you want to sign.
The `/tr` flag ensures the signature is timestamped, maintaining its validity even after the certificate expires.
Using Advanced Installer's User-Friendly GUI for Digital Signatures

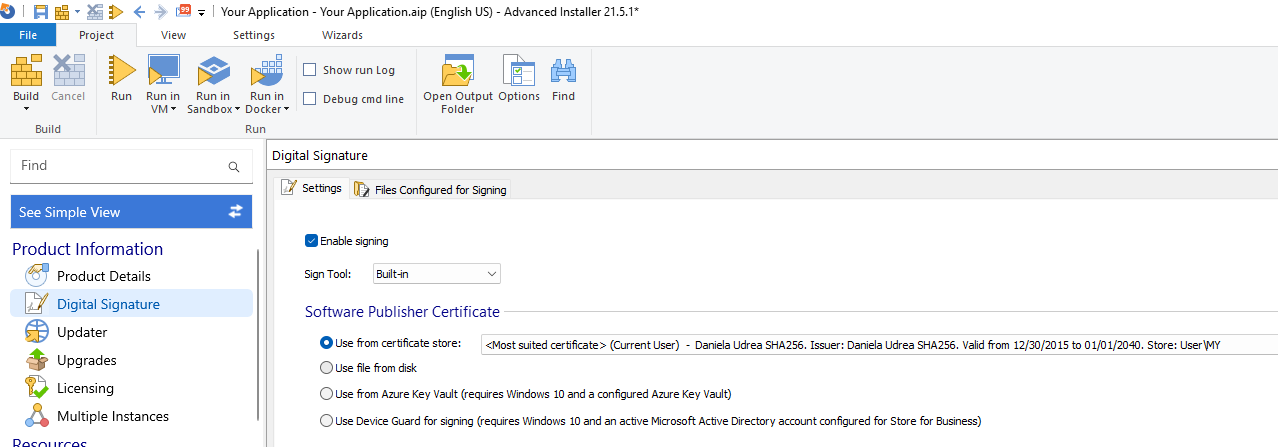
You can also use Advanced Installer to sign your application package.
Advanced Installer is a powerful tool that simplifies the packaging and deployment of applications on Windows. It offers a user-friendly interface and a wide range of features to streamline the software development process.
To sign your application with Advanced Installer:
- Navigate to the "Digital Signature" page.
- Choose either "Use file from certificate store" or "Use file from disk."
- Browse for the saved certificate file.
Conclusion

Self-signed certificates are useful for internal testing or development but aren’t suitable for public distribution due to their untrusted status. If you're distributing software for public use, it's best to obtain a certificate from a trusted CA to avoid security warnings and ensure a seamless user experience.
