How to Install Custom Fonts for Your Application Users
Have you developed an app that uses a custom font, only to find that end-users reported the font isn’t displaying correctly? This often happens when the font isn’t installed on the Windows operating system.
When creating an installer, it’s not enough to include a custom font in your installation package; you also need to install and register the font properly.
In this article, I’ll show you how to easily achieve this by using Advanced Installer.
Try Advanced Installer for free and simplify font registration and application packaging from day one.
Download Advanced Installer Free
Create the Package Project

Let’s assume you’ve built an app that uses a custom font, and you now want to package it for deployment. The first step is to create your installer project in Advanced Installer:
1. Open Advanced Installer.
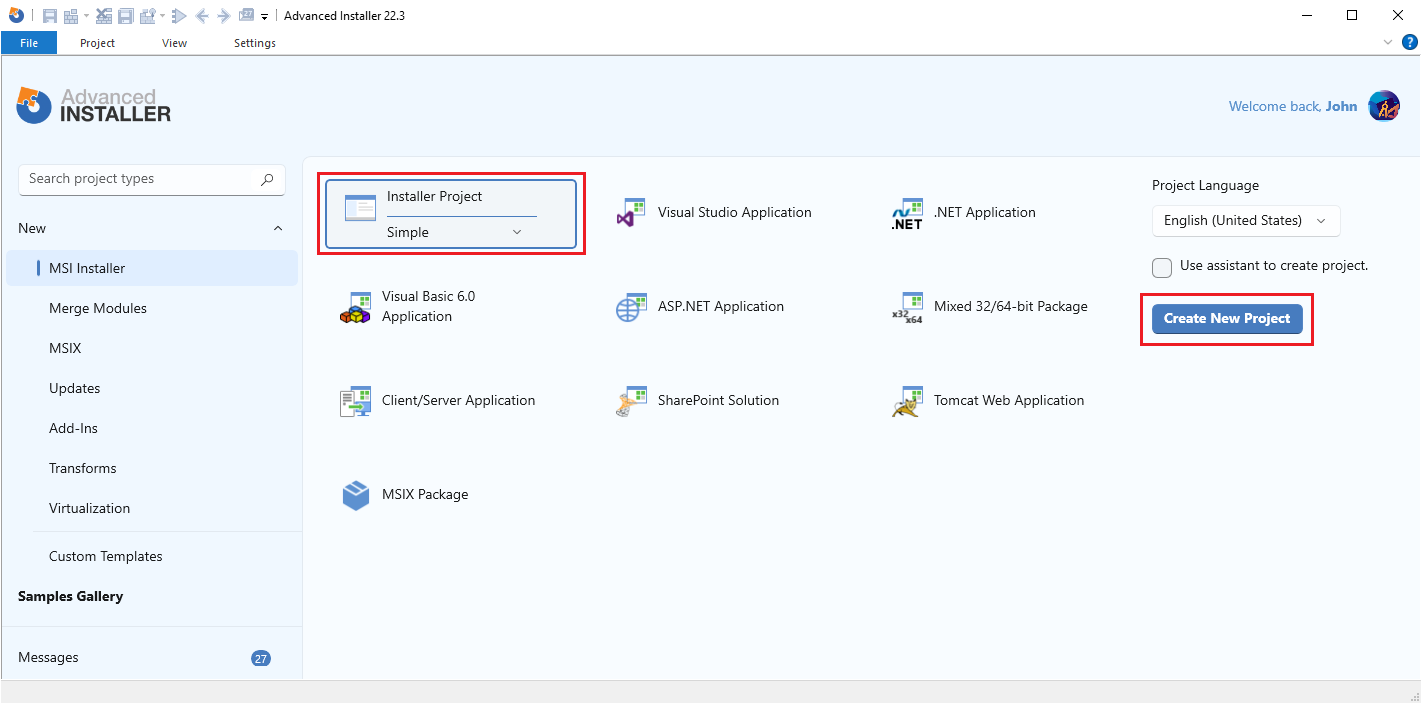
2. In the Start Page, select Simple Installer Project and click Create New Project.

3. Once the project is created, navigate to the Product Details page (in the left pane) to set your product information.
Add the Resources

Now that the project is set up, you’ll need to add your application files:
- Navigate to the Files and Folders page.
- Click on the Add Files button and select the app files.
- Once the files are added, you should see them listed in the right-side pane of the view.
Add the Font File

After you’ve set up the project details and added the resource files, it’s time to include the custom font your application uses:
- In the Files and Folders tab, navigate to Windows Volume\Windows.
- Add your font file to the Fonts directory.
- Once added, it will be listed in the right-side pane.

Register the Font

Now, register the font so it becomes available to the system:
- Right-click on your font file → Properties.
- Go to the Registration tab and check the Register font checkbox.
- If your font file is a TrueType (.ttf) or TrueType Collections (.ttc) font, leave the Registration Name field blank; otherwise, provide a name for your font.

And that’s it, Advanced Installer takes care of the rest.
Advanced Installer is a GUI-based authoring tool that provides a wide range of features for installing, updating, and configuring your products seamlessly.
See the full feature list.
Build and Install

Once you’ve added and registered your font:
- Build the installer project.
- Run the installation.
- Open your app to verify that the new font has been correctly installed and is displayed as expected.
Conclusion

Registering fonts is an essential step when packaging apps that rely on custom typography. With Advanced Installer, you can easily embed and register fonts as part of your installer, ensuring a smooth and professional experience for your users.
