MSIX App Attach Step-by-Step Guide: How to configure MSIX App Attach for Azure Virtual Desktop
In our previous blog post, Azure Virtual Desktop - Step by Step Guide of Creating, Configuring and Managing your AVD setup, we took a look at how we can set up an Azure Virtual Desktop environment.
Since we think MSIX App Attach is pretty neat and helpful, we're going to be covering it in this article.
Let's dive in and take a look at what MSIX App Attach is and how you can set it up.
What is MSIX App Attach?

Before going into the step-by-step tutorial on how to set up the MSIX App Attach, it’s vital to understand how it works and how it can help you.
The most notable aspect when working with App Attach is that it does not use a traditional MSIX/MSIXBUNDLE package; instead, it uses .VHD,.VHDX, and.CIM files to deliver applications to active user sessions in Azure Virtual Desktop.
.VHD,.VHDX, and.CIM files are virtual hard disks (VHD) that you can attach to your personal computer by double-clicking them.
For more detailed information regarding MSIX App Attach Image, please see our tutorial: How to create an MSIX App Attach Image
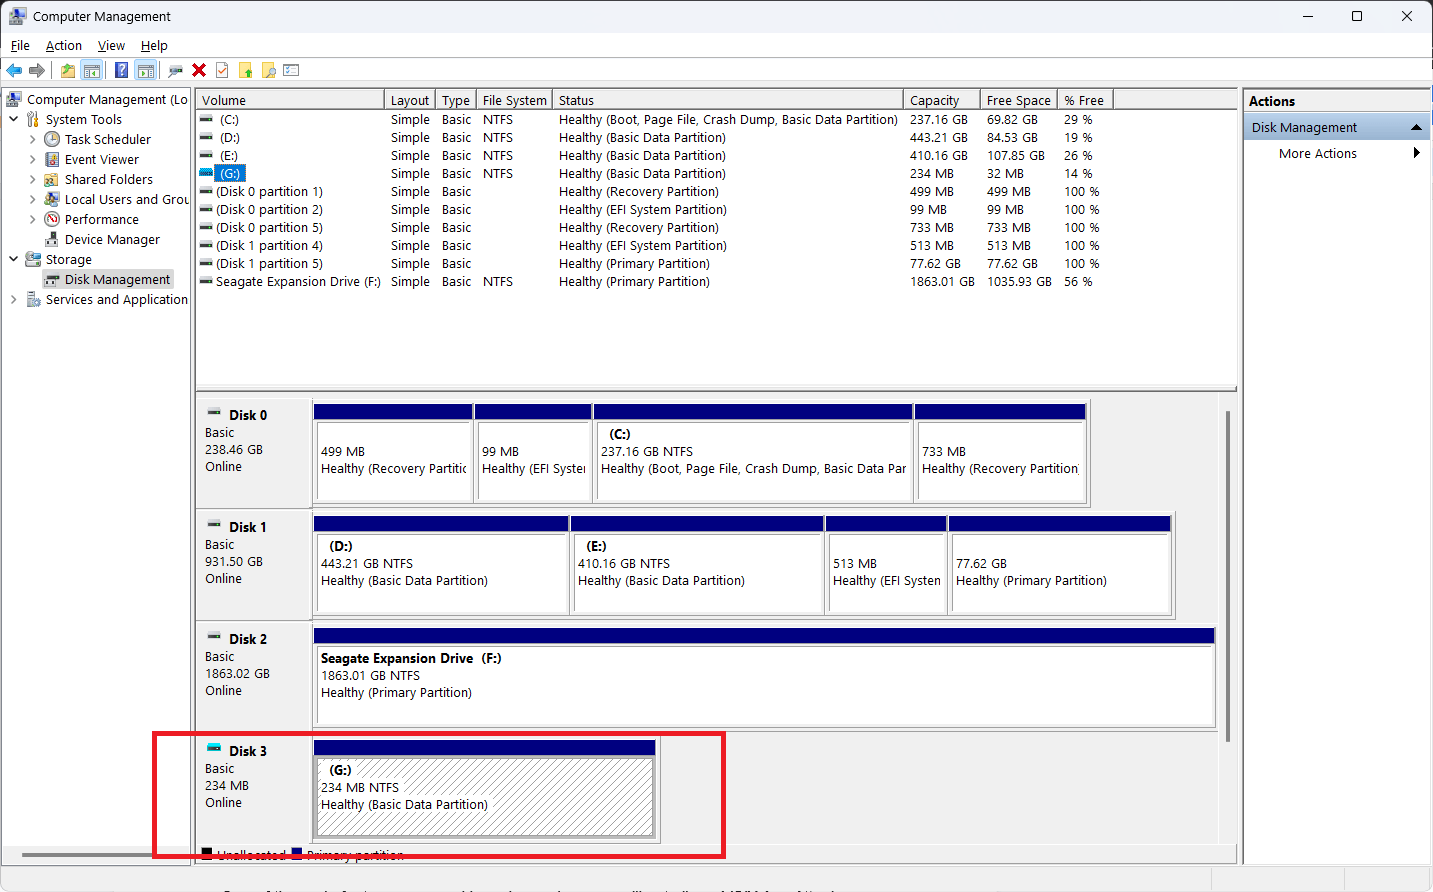
For example, if you mount a VHD, open up the Computer Management utility, and navigate to Disk Management, you will see your attached virtual hard drive.
To convert an MSIX to a VHD/VHDX/CIM, there are some specific steps that you need to take. For a step-by-step guide, check out Prepare an MSIX image for Azure Virtual Desktop Microsoft article.
One important aspect about MSIX App Attach is that it doesn’t require Azure Virtual Desktop. You can set up the same environment by using PowerShell scripts; all you need to do is follow these exact steps in this specific order:
- Stage
- Register
- Deregister
- Destage
Now that we understand what App Attach is and how it works, let’s see what the required prerequisites are for Azure Virtual Desktop:
- Azure AD Domain Services
- Storage Accounts
- Permissions
- Assign MSIX packages via App Attach
How to create Azure AD Domain Services?

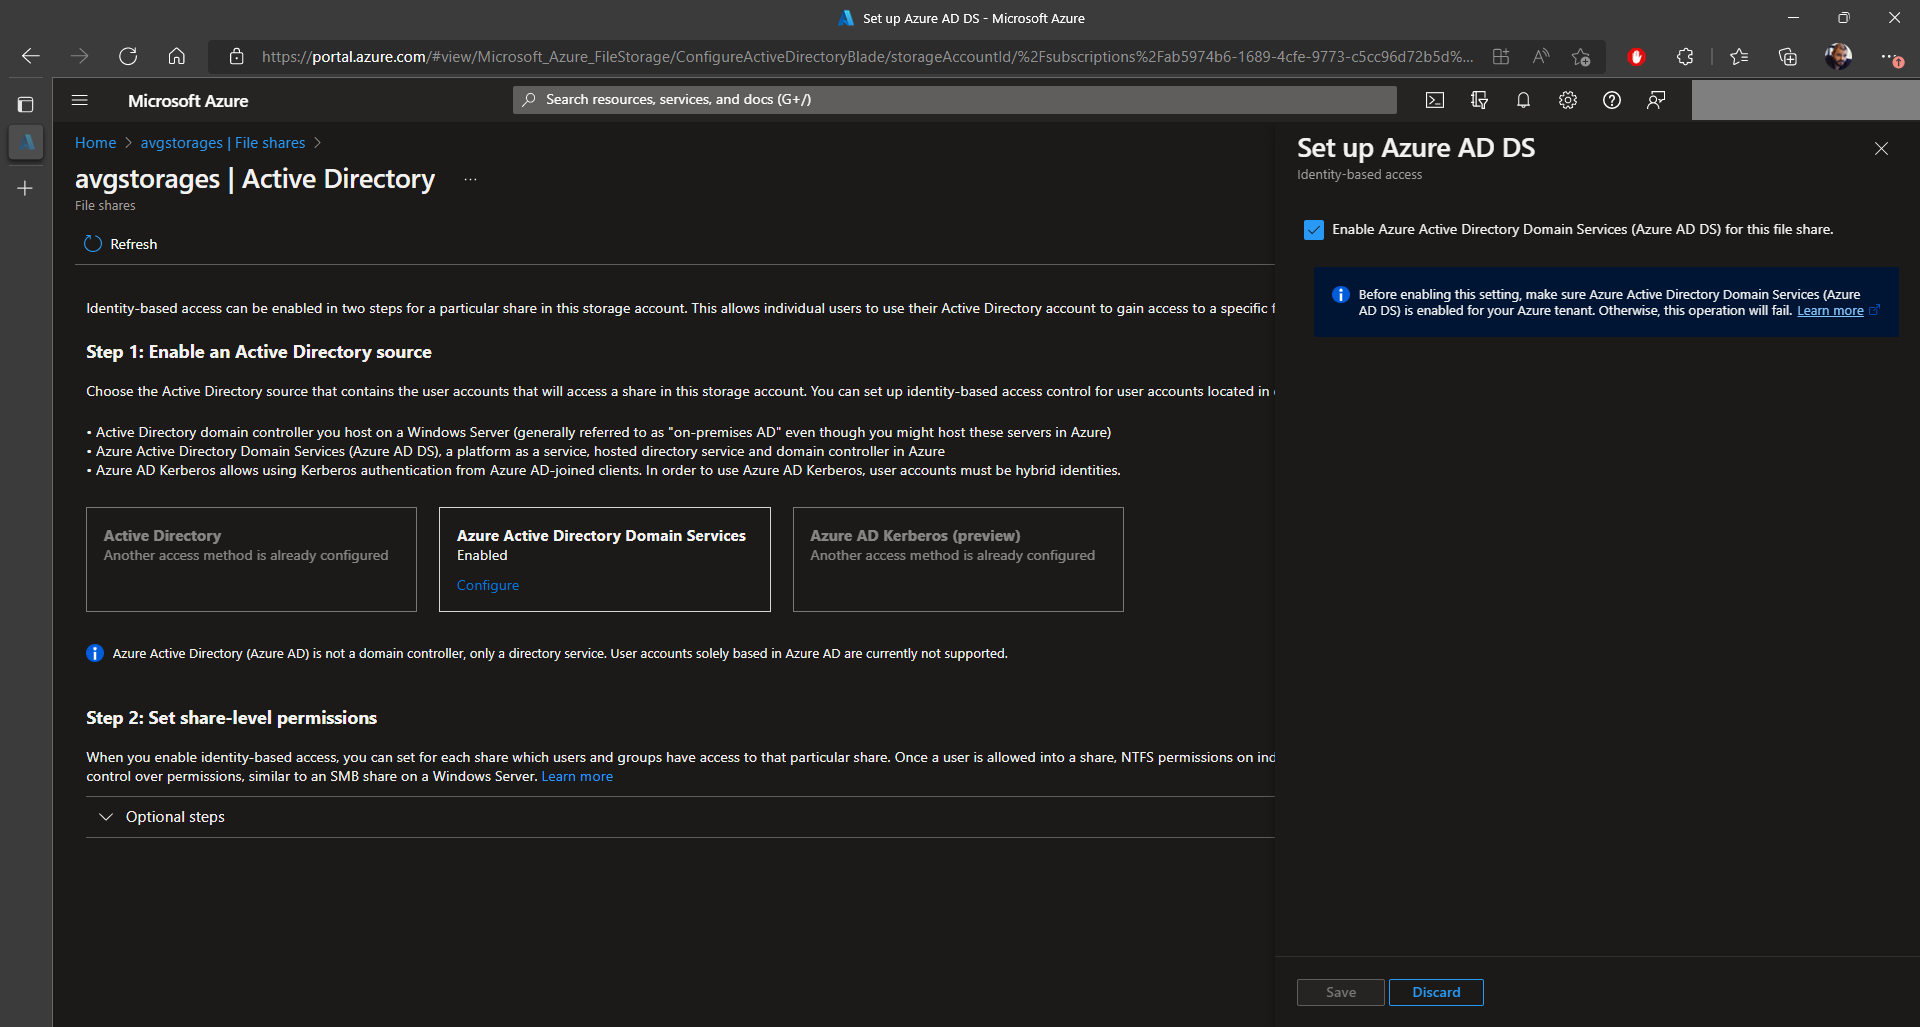
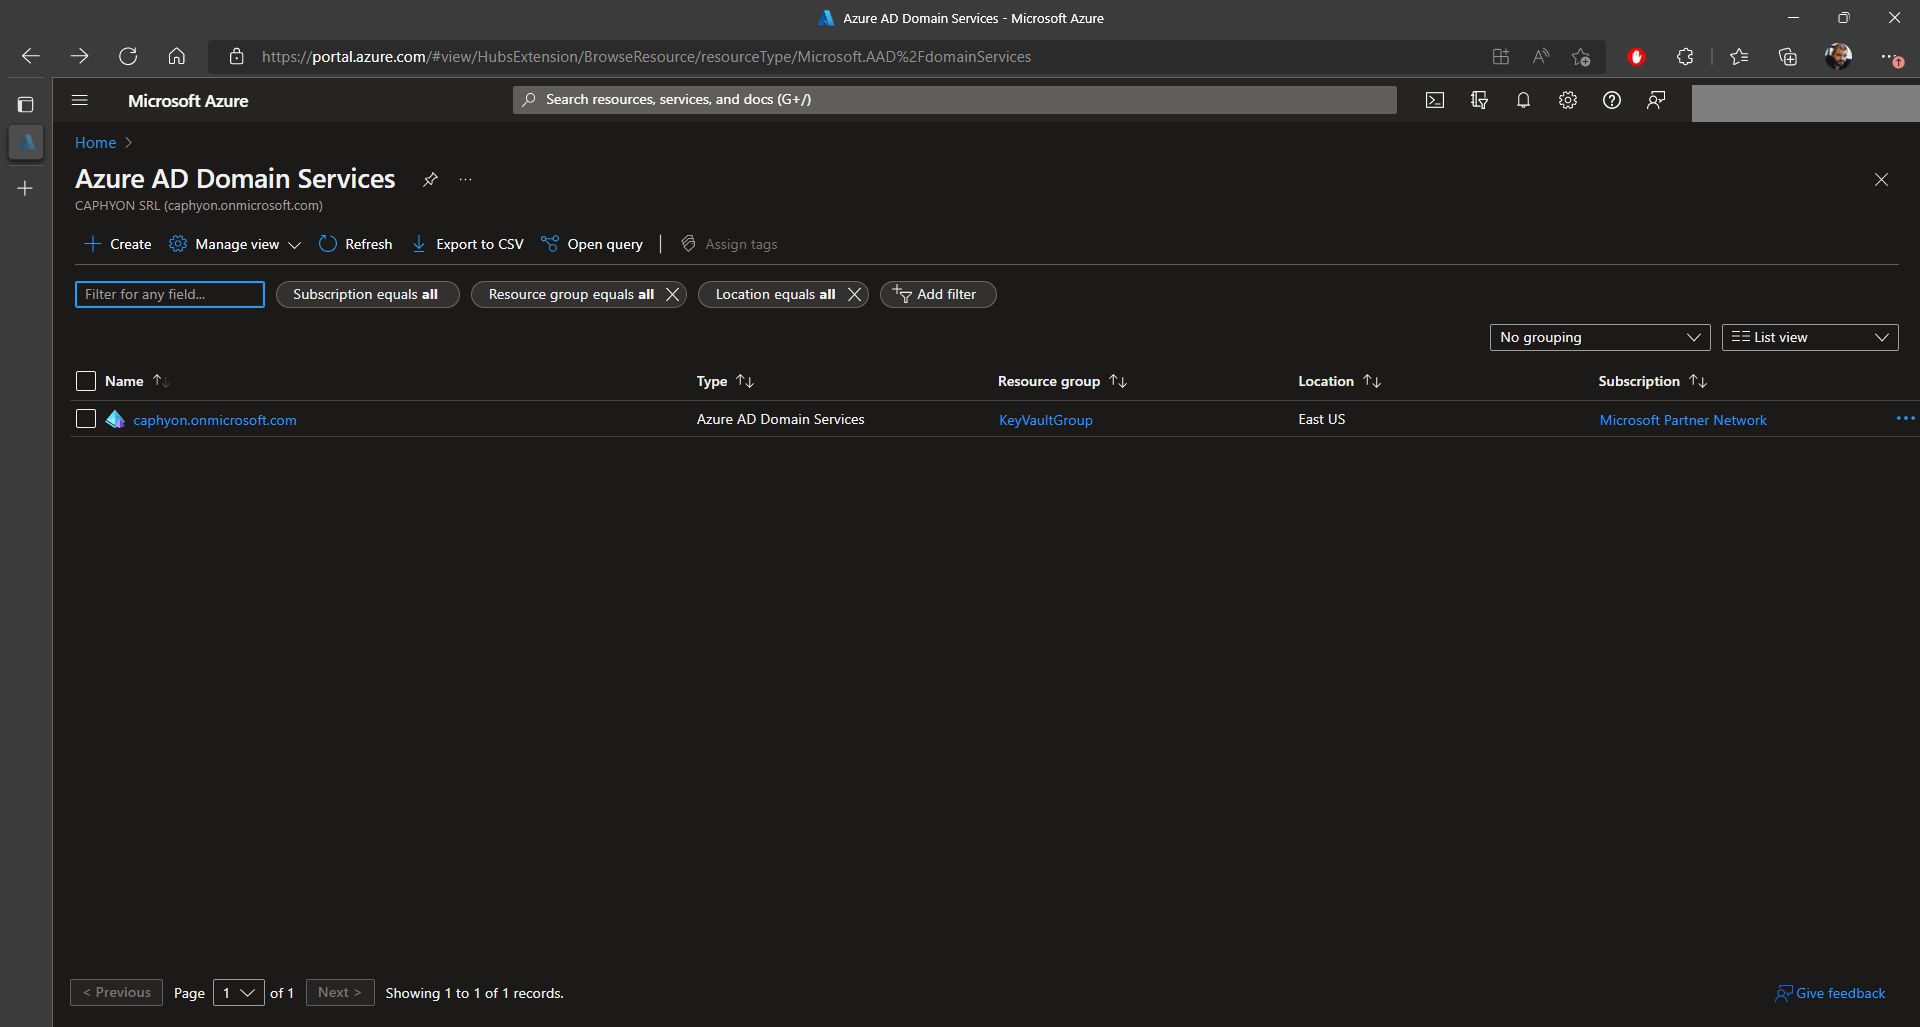
The first thing we need to do in Azure is create a new Azure AD Domain Services (Azure AD DS).
This is used to provide managed domain services such as domain join, group policy, lightweight directory access protocol (LDAP), and Kerberos/NTLM authentication.
To create an Azure AD DS, click on the Create button and input the required details.
Make sure to assign the AADS to the same resource group where you created your Azure Virtual Desktop.
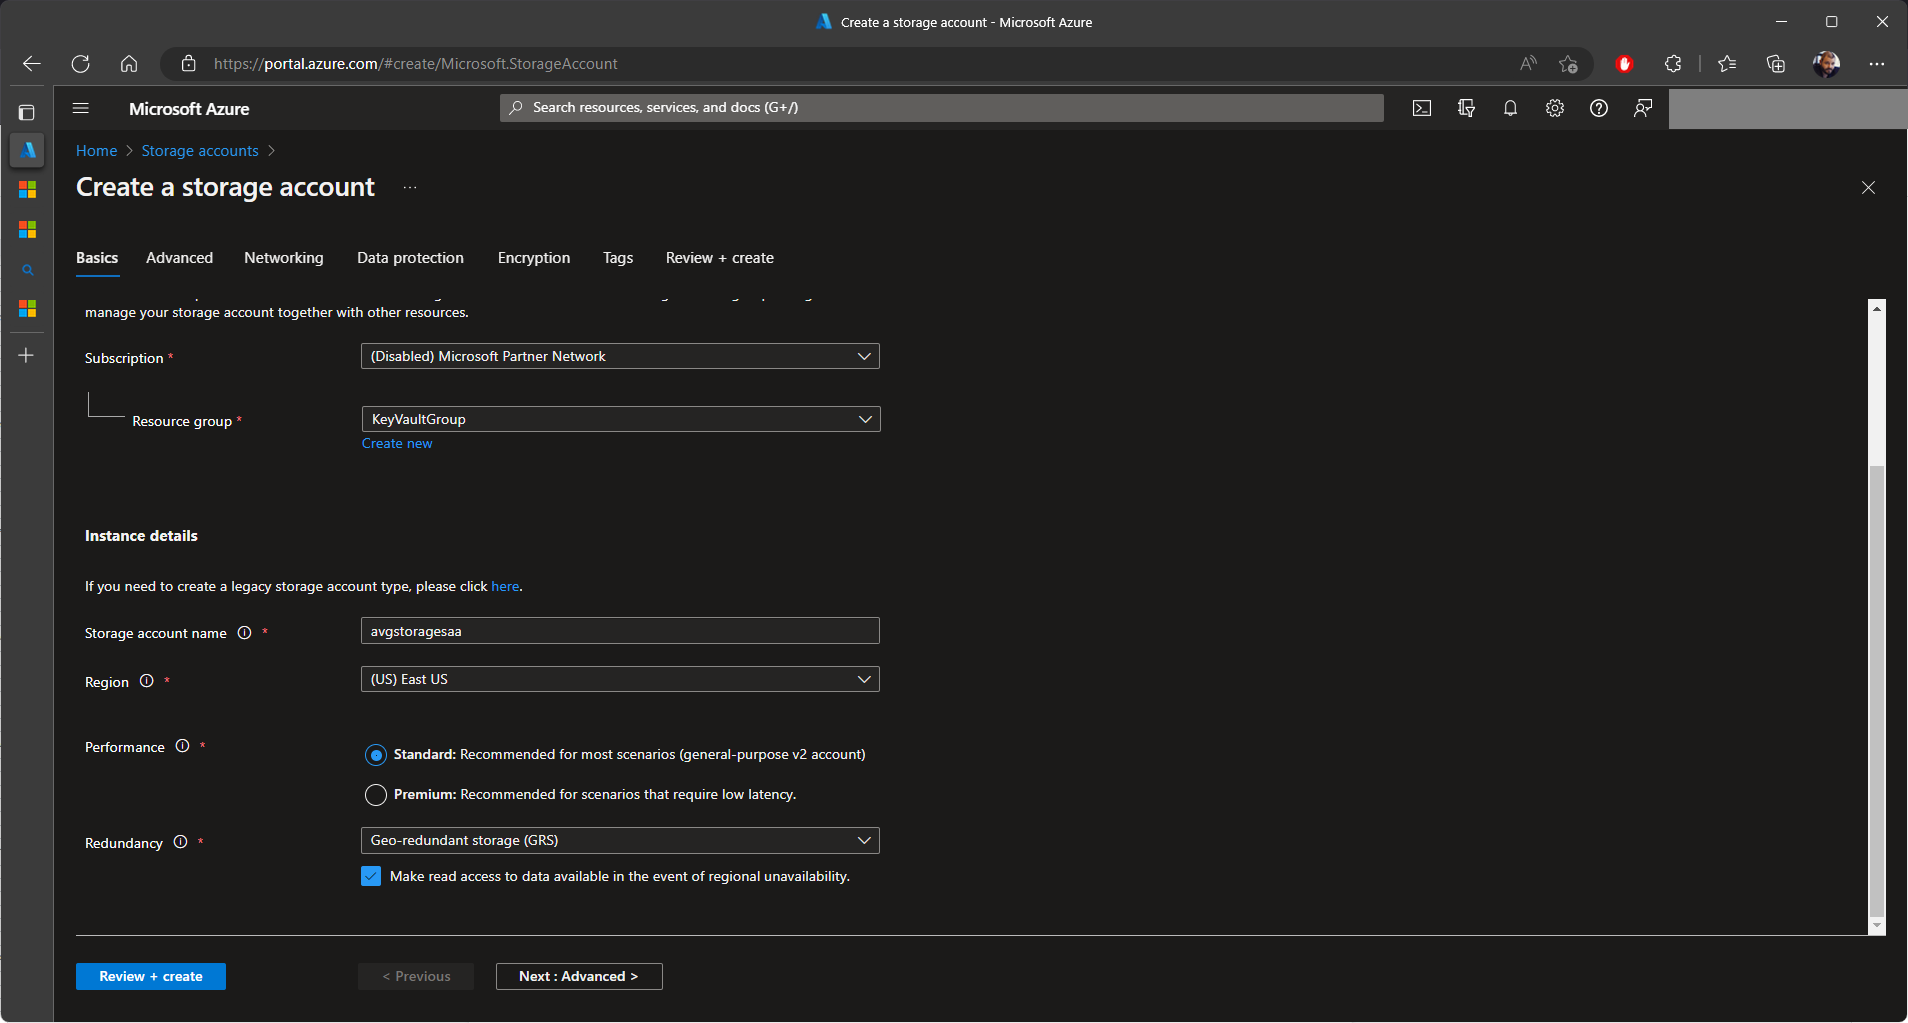
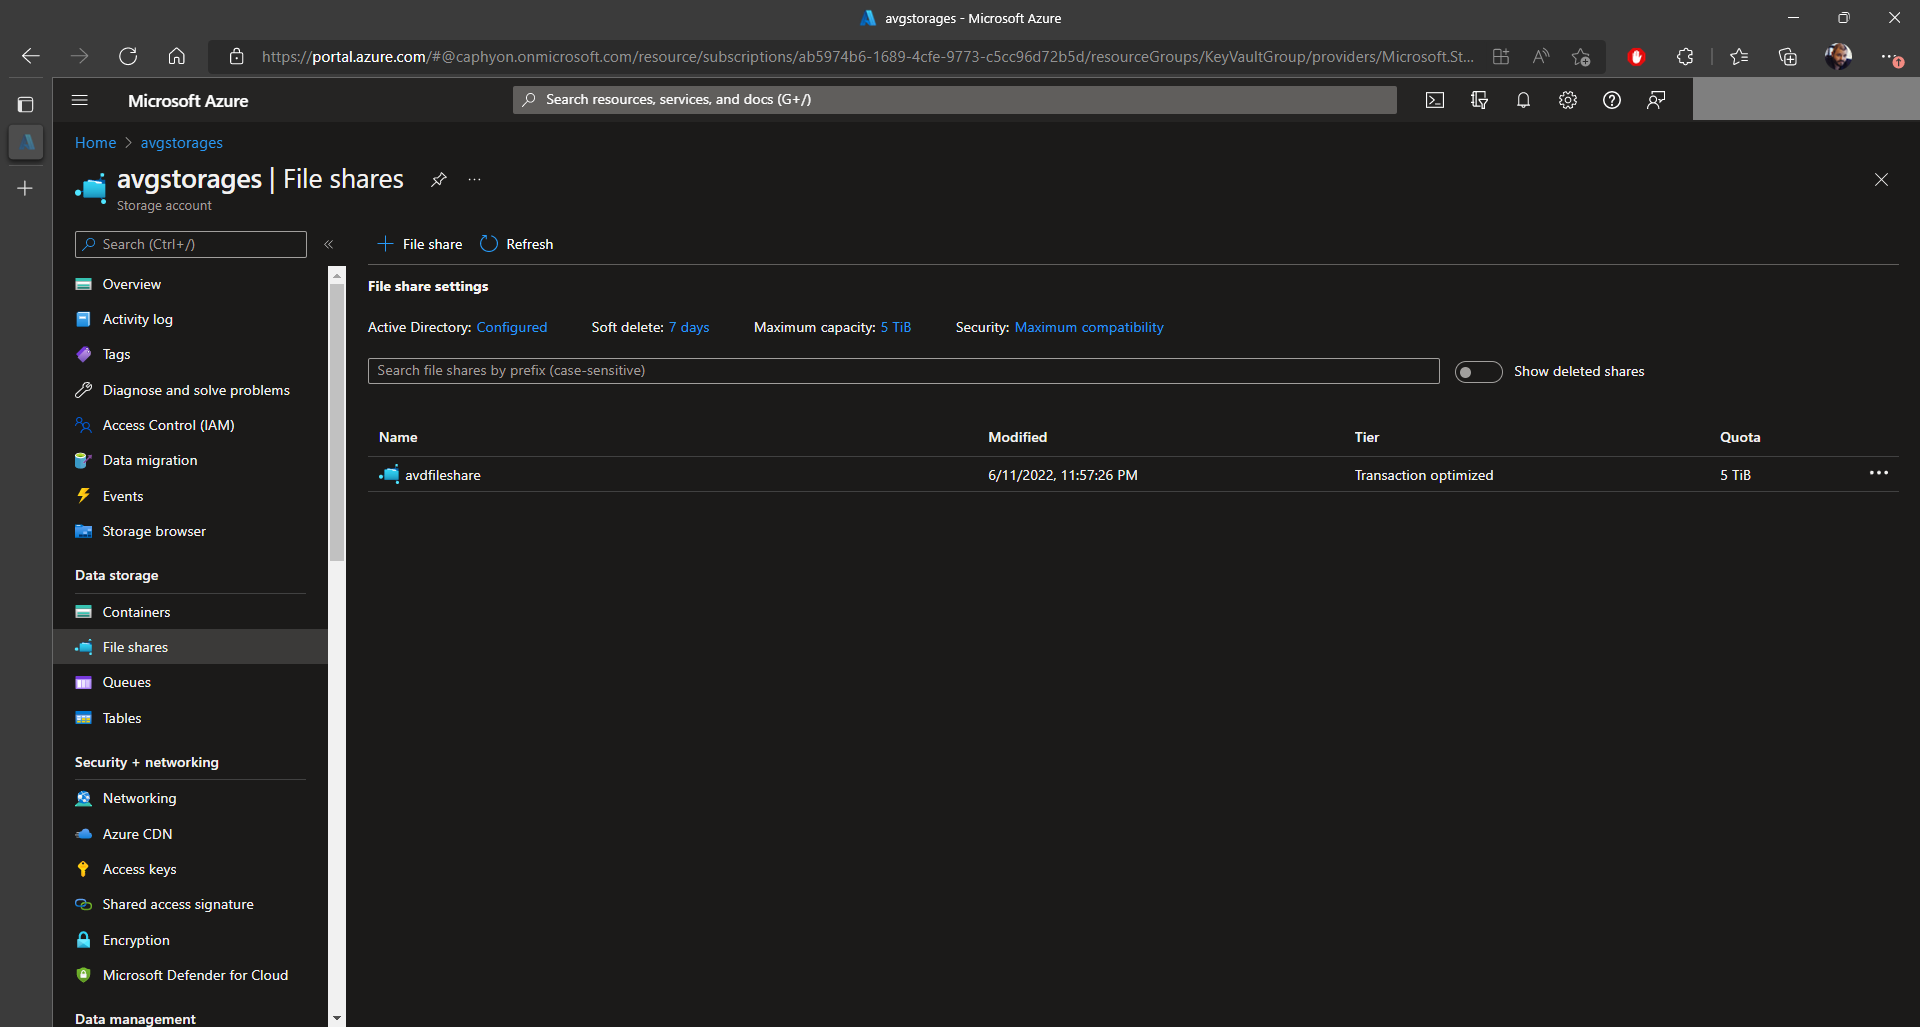
Storage Account

How to Set Permissions

Now that we have our Azure Virtual Desktop, Azure AD Domain Services, and Storage Account configured, it is time to add the proper permissions for the virtual machine to access the file share.
Here’s how to achieve that:
1. Navigate to the Storage accounts
2. Select your previously created storage account
3. Go to Access Control(IAM)
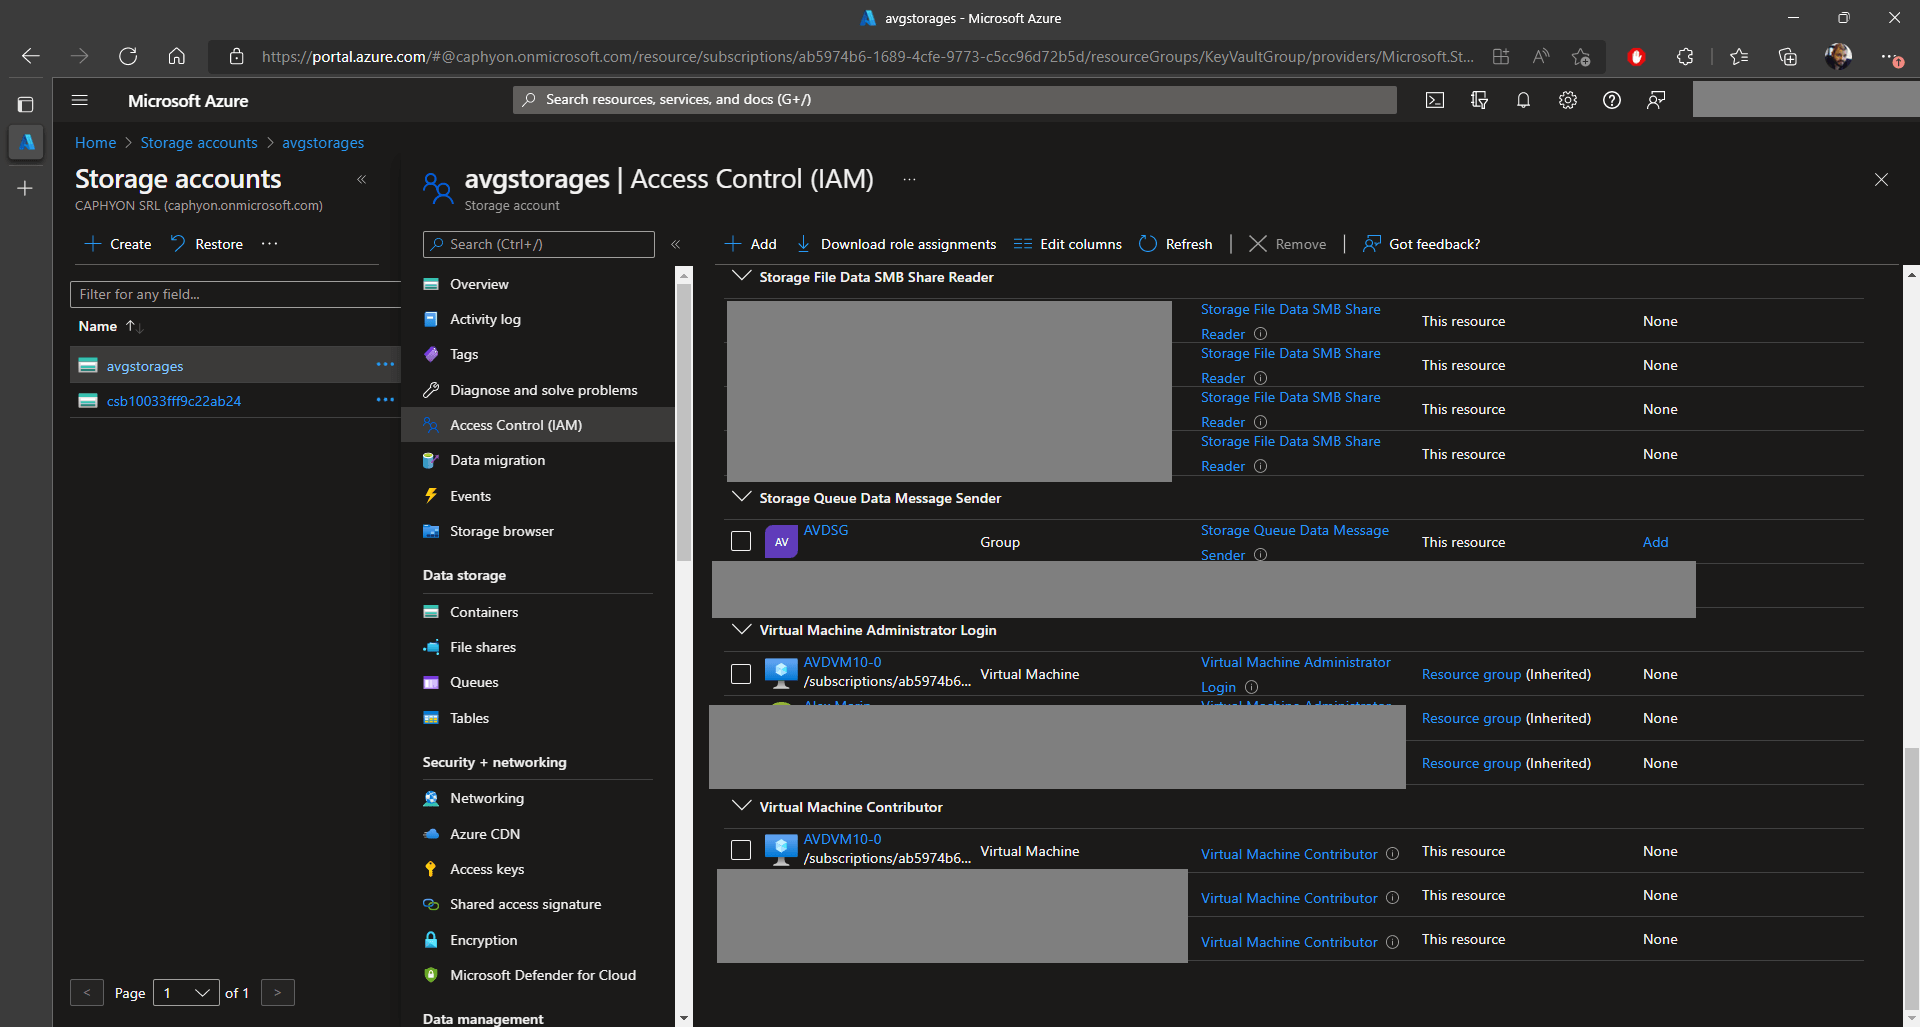
4. There, we need to click on Add and add the following roles:
- Storage Account Contributor
- Storage Blob Data Contributor
- Storage Blob Data Reader
- Storage File Data SMB Share Contributor
- Virtual Machine Administrator Login
- Virtual Machine Contributor
For each of these roles, your account and virtual machine must be added like this:
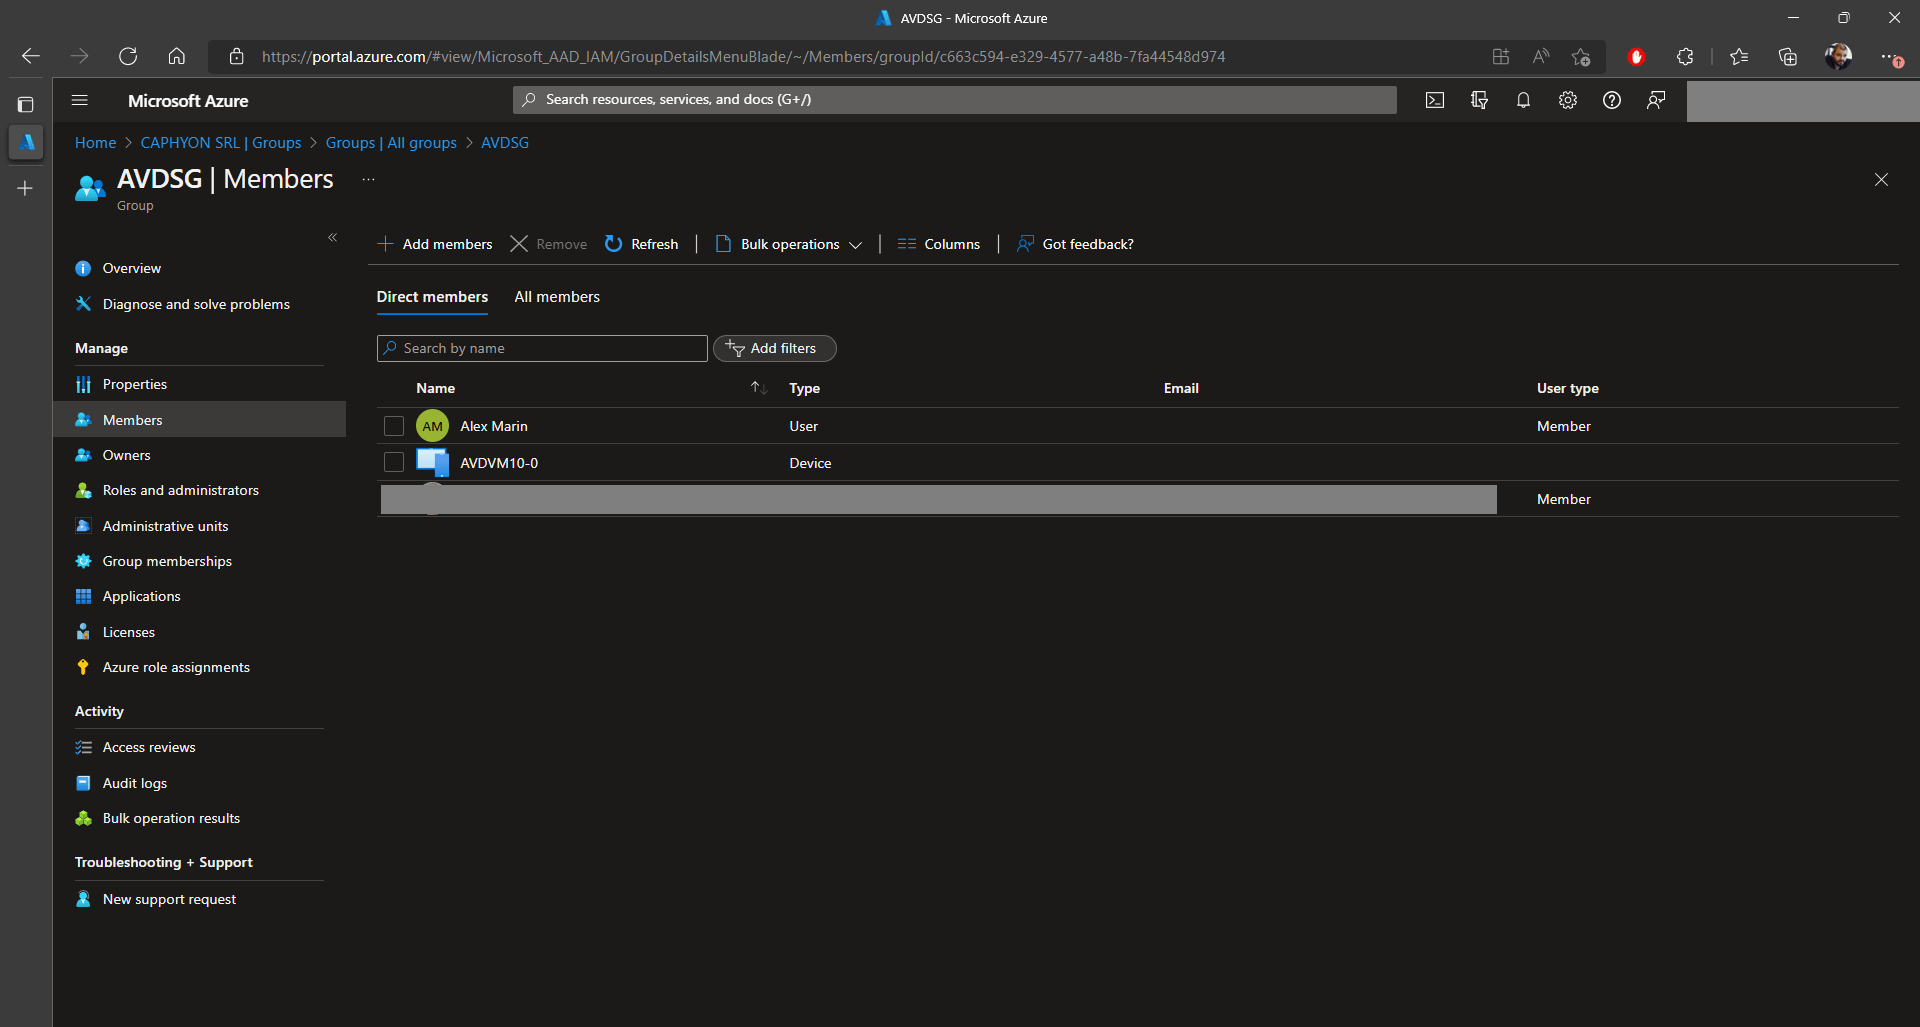
If you need to grant access to multiple users or machines, it is much easier to create a group in Azure Active Directory that includes both the machines and the users.
Assign MSIX packages via App Attach

Now that everything is configured, it’s time to assign our VHD, VHDx, or CIM via App Attach.
To do this, go through these steps:
1. Navigate to Azure Virtual Desktop and select your Host Pools.
2. In your host pool, you will see the MSIX Packages option. Click on the +Add option.
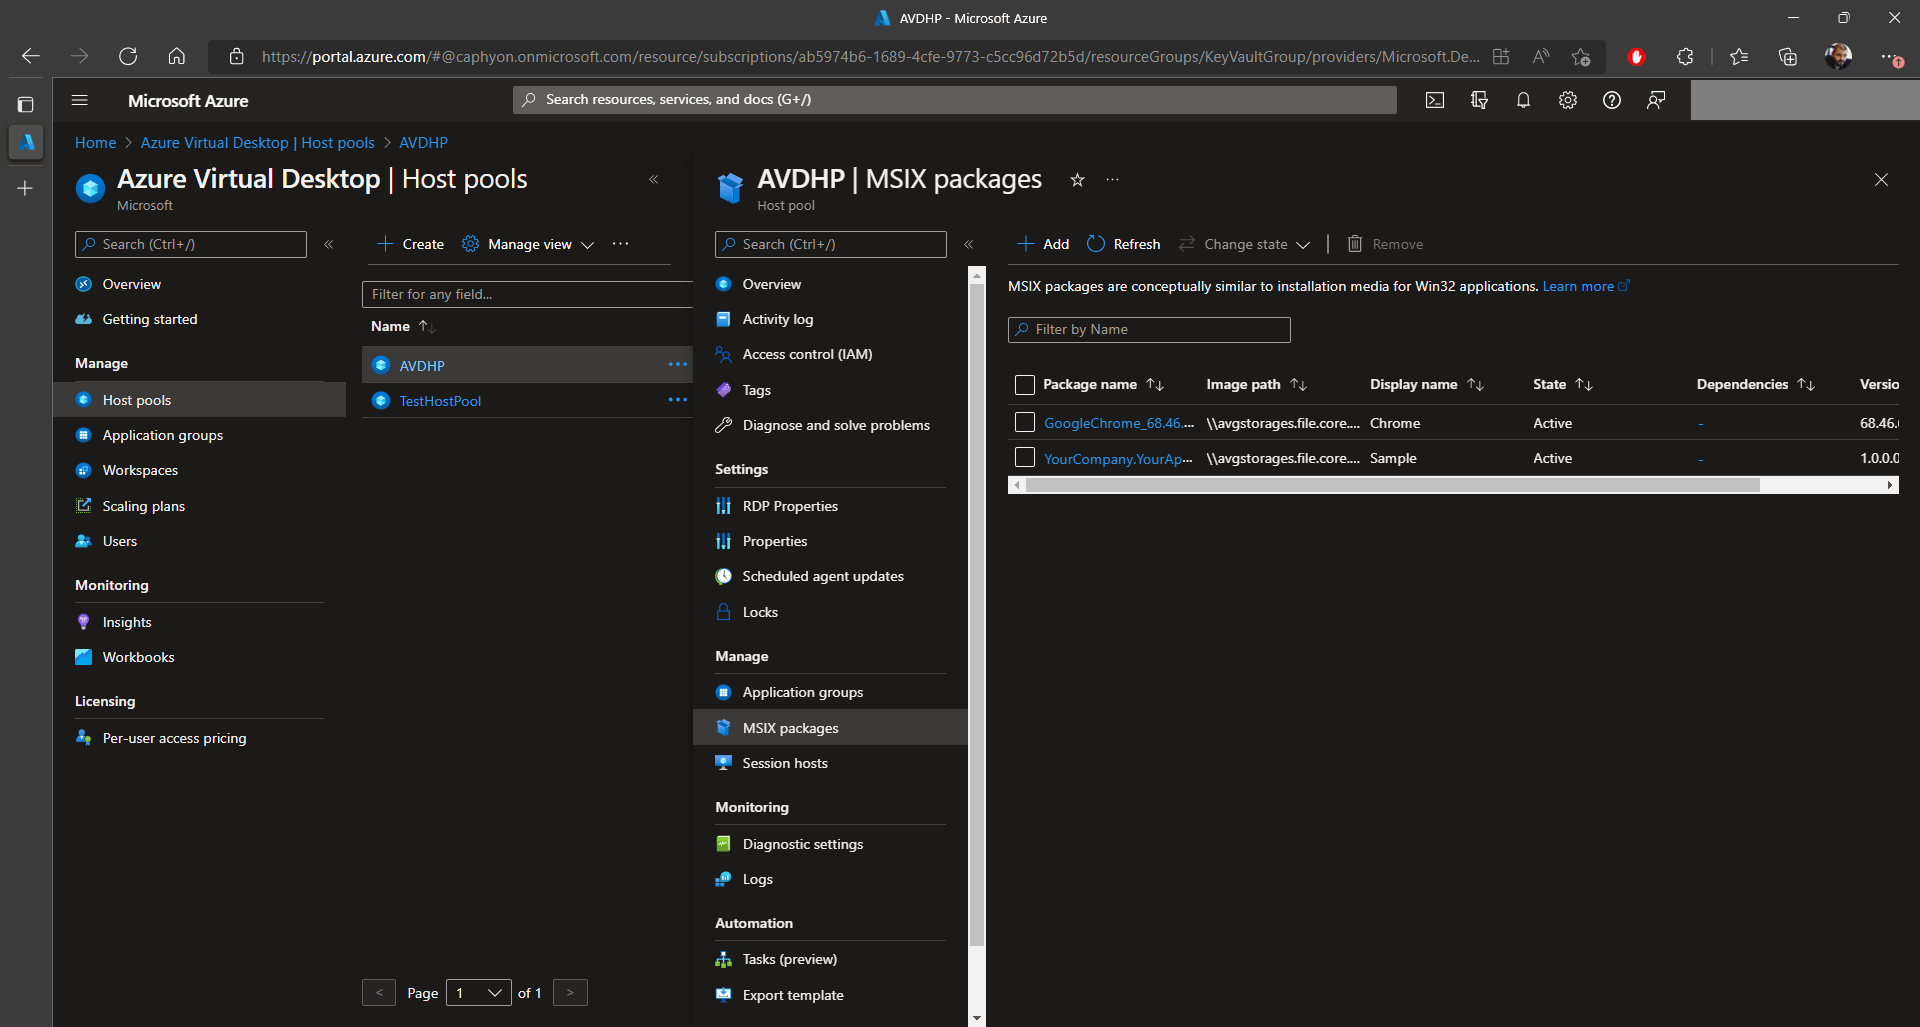
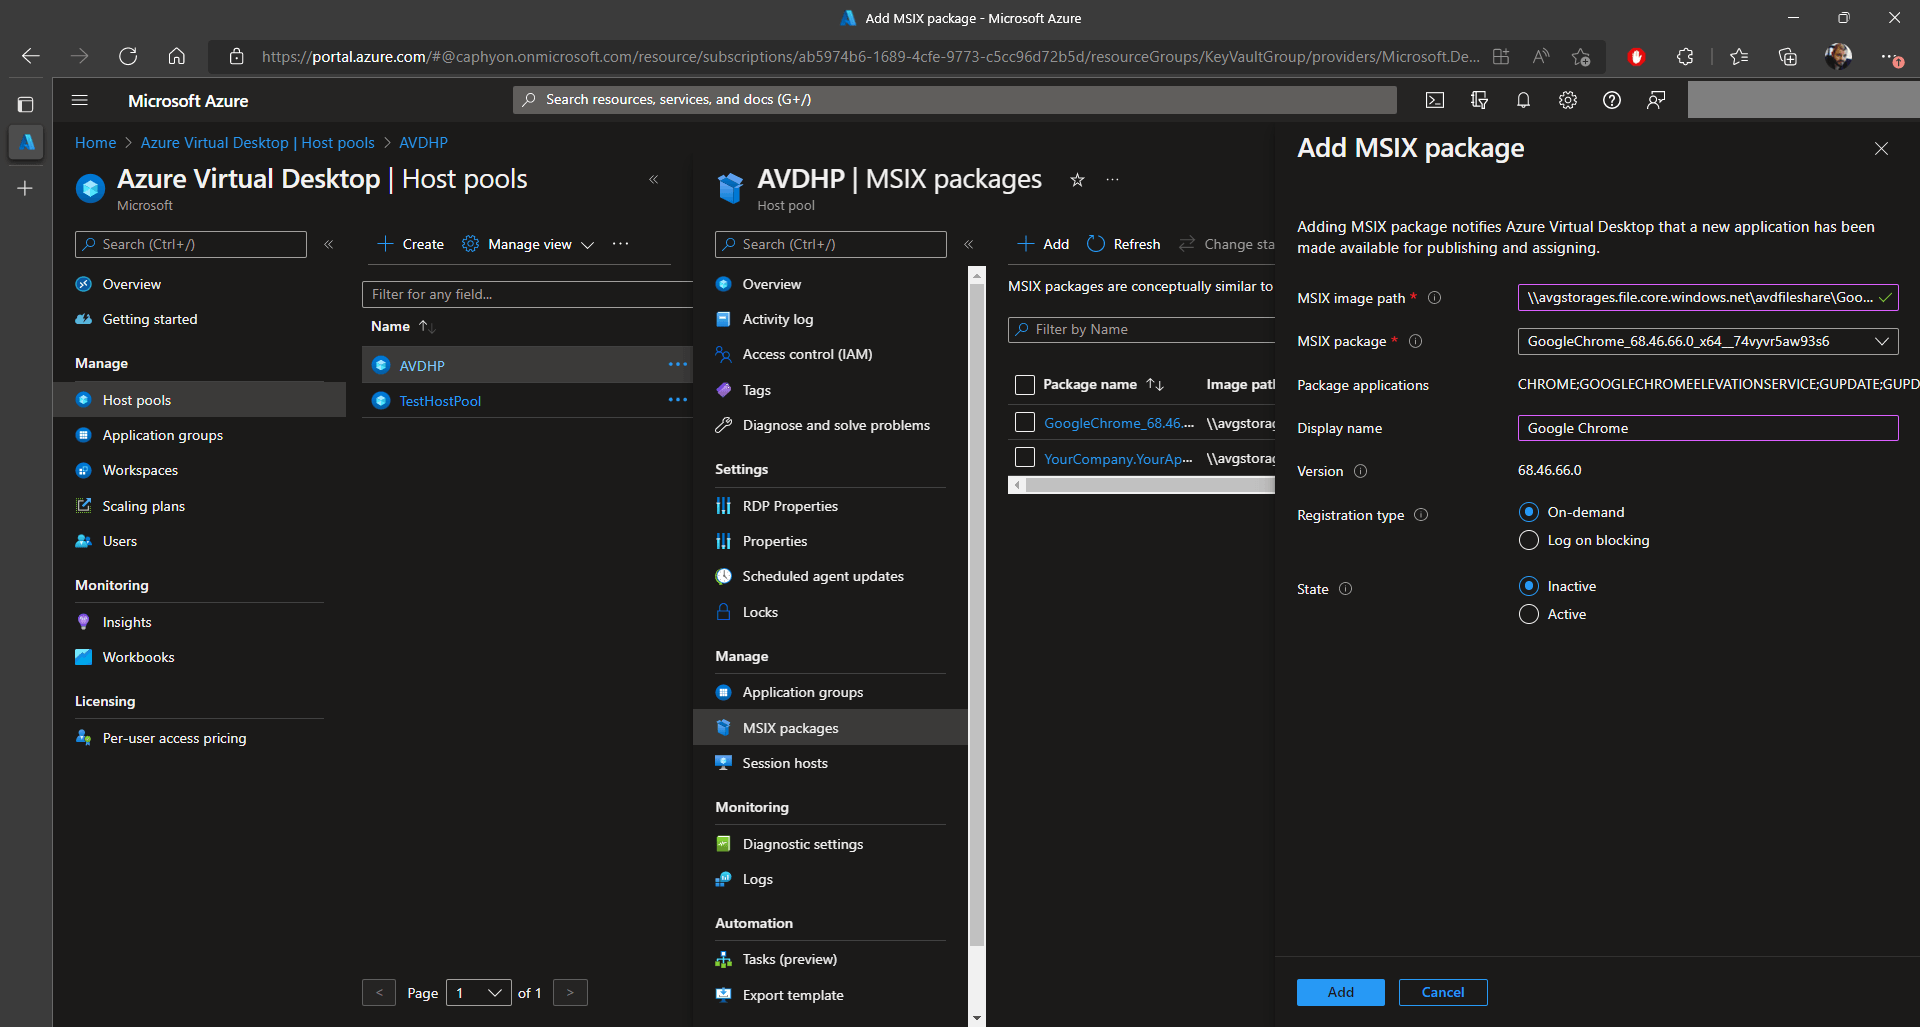
3. As you will see, this will require an MSIX image path - this path must correspond to the your storage account path that we previously created.
4. Add files to your Storage Account, navigate to the file share and click on Upload.
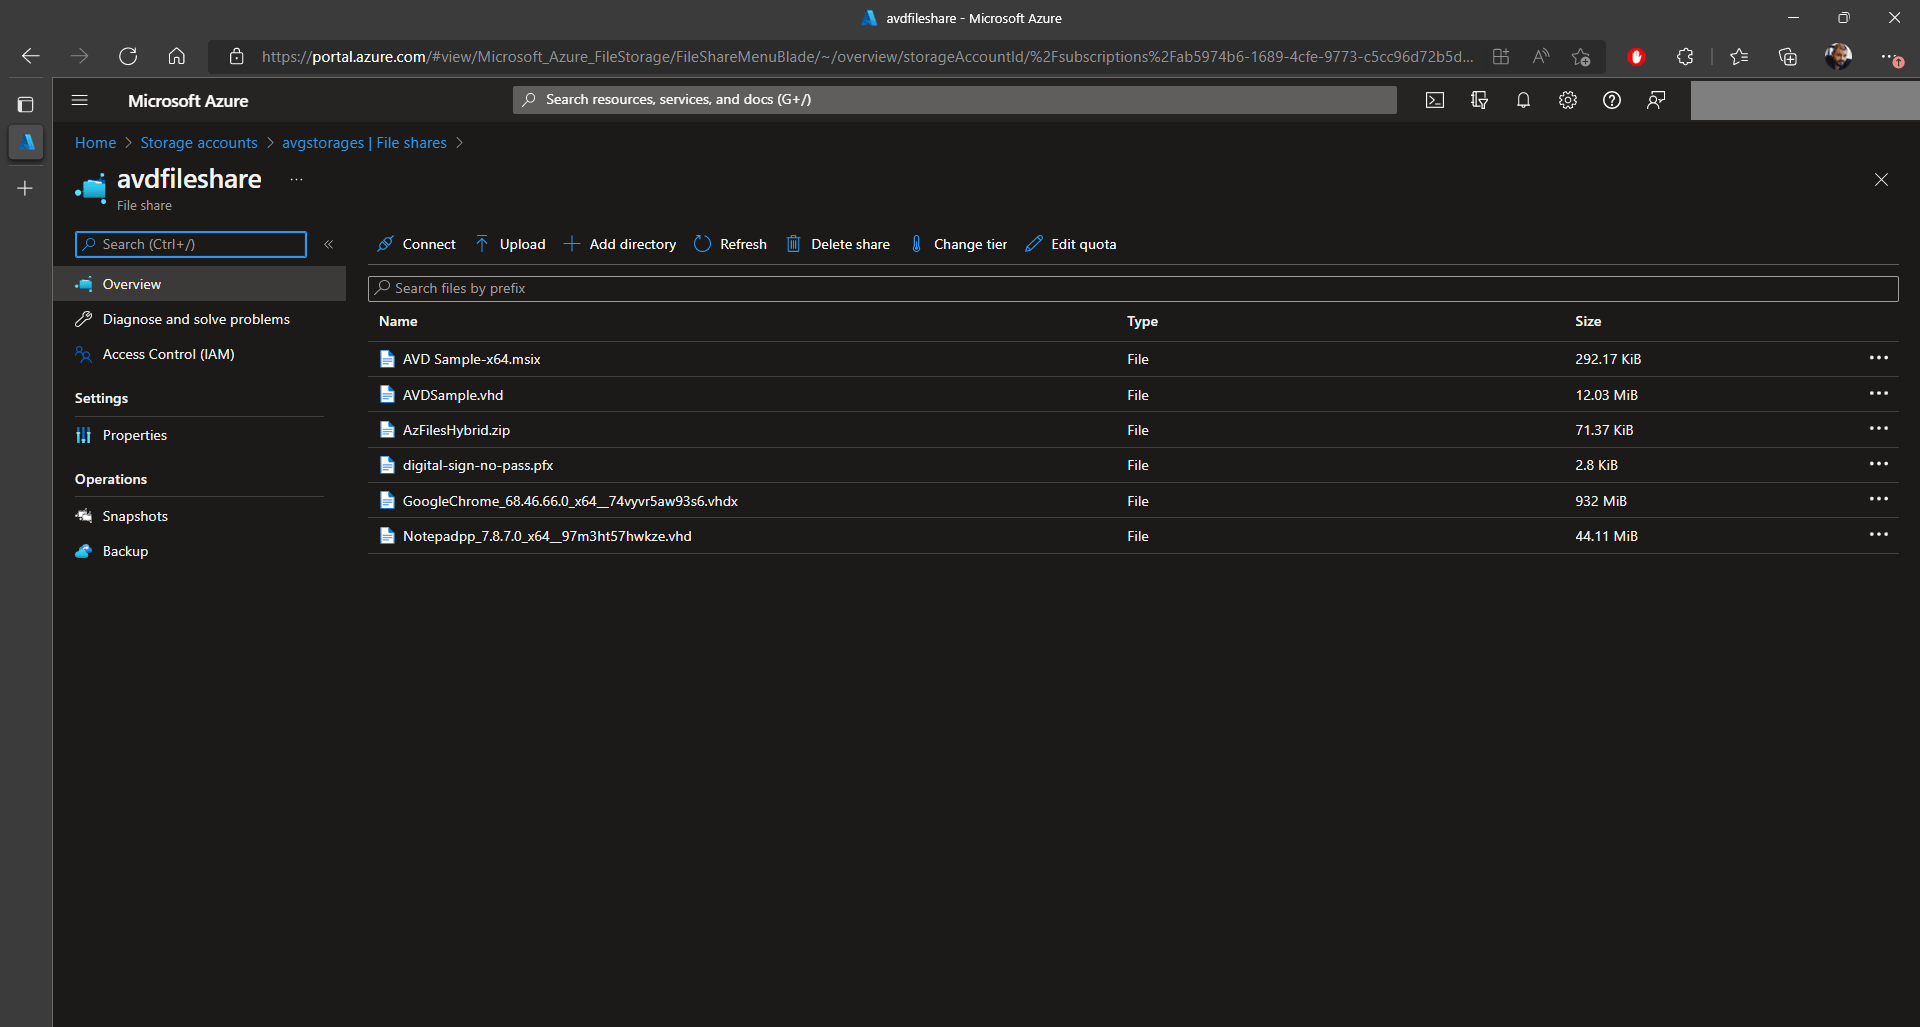
The path that must be specified to MSIX App Attach is as follows:
\\STORAGEACCOUTNAME.file.core.windows.net\FILESHARENAME\filename.vhd
In our case, the path would look like this:
\\avgstorages.file.core.windows.net\avdfileshare\GoogleChrome_68.46.66.0_x64__74vyvr5aw93s6.vhdx
5. Once the path is provided to Azure, a few options will appear such as Display name, Registration Type and State (it must be set to active).
6. To create the application group for assignment, click on Application Groups in your host pool.

7. Next, in the app group, select Applications and click on the +Add option:

8. Select your MSIX package from the list and press Save.

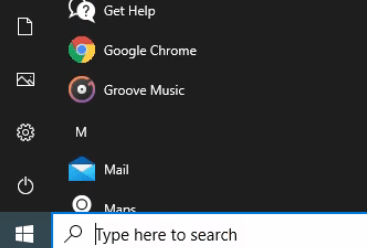
The sync with AD will take some time, but the application will appear on your virtual machine after a few minutes.
Conclusion

There are several steps that must be completed in order for MSIX App Attach to perform efficiently. Keep in mind that this and the prior article, Azure Virtual Desktop - Step by Step Guide, are only meant to demonstrate how things work from a basic perspective.
We even had a small issue with obtaining access to the Azure Storage Account with our Azure Virtual Desktop, more on this topic can be found in the MSIX App Attach Code 400 error article.
Want us to dive deeper into the topic? Let us know in the comments!
Subscribe to Our Newsletter
Sign up for free and be the first to receive the latest news, videos, exclusive How-Tos, and guides from Advanced Installer.
