How to Create ASP.NET Application Installers Efficiently
ASP.NET applications are not something new in the world. However, having a powerful tool that streamlines and deploys your ASP.NET applications is a must these days.
In this article, we’ll have a look at how you can use Advanced Installer to create ASP.NET application packages efficiently.
Simple ASP.NET Setup Creation

Advanced Installer offers a powerful wizard that is easy to use and lets you create your ASP.NET installer in a few minutes.
Here’s how:
1. Open Advanced Installer, and click on the ASP.NET Wizard to start creating your installer, MSI or EXE.
2. Input the details of your application, your product and company name, and then choose the distribution type of your application:

3. Set the location of your project, and add all your ASP.NET resource files, which are necessary for installation:

4. Configure the application runtime environment, define the ASP.NET version, and IIS version. This will act as a launch condition for the installer:

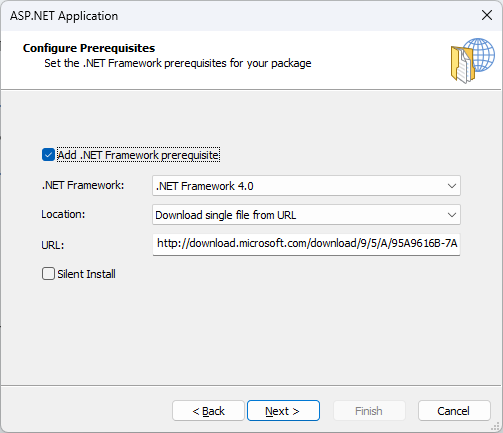
5. Select a .NET prerequisite for your package, and add it to automatically download and install prior to the main package installation.

6. Define a new web application. There are two options: to create a new website or create a new virtual directory under the Default Web Site of your IIS server:

6.1 If you create a new website, there will be an additional step in the wizard that lets you configure your website binding and define it for your website:

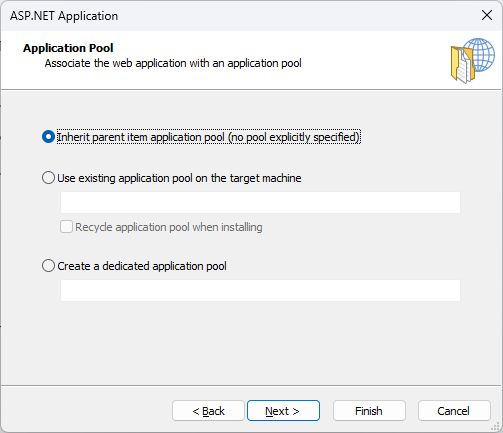
6.2 If you choose to create a new virtual directory under the Default Web Site in IIS, the next step is to associate the web application with an application pool:

7. Next, configure your application’s behavior after installation. You can choose to launch the application after the installation and configure some extra details:

7.1 You can also configure the installer UI theme and main installation dialog:

8. The last steps are to localize your package and choose the build languages, and add an EULA to your installer.
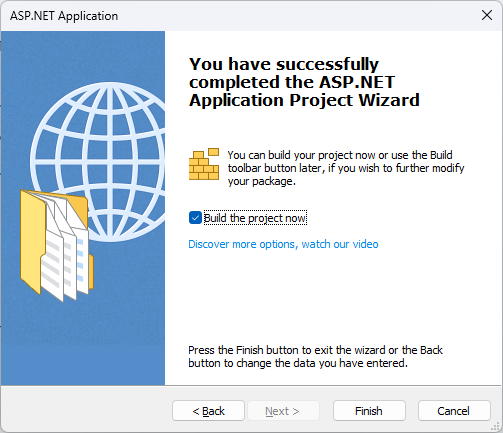
Once you configure them, click Finish, and a new project will be created and opened in Advanced Installer.

Prerequisites and Target Platforms

Customizing the runtime environment and specifying any prerequisites it’s essential when deploying a web application. For ASP.NET applications, you should consider prerequisites like .NET Framework, ASP.NET, and Internet Information Services (IIS) prerequisites.
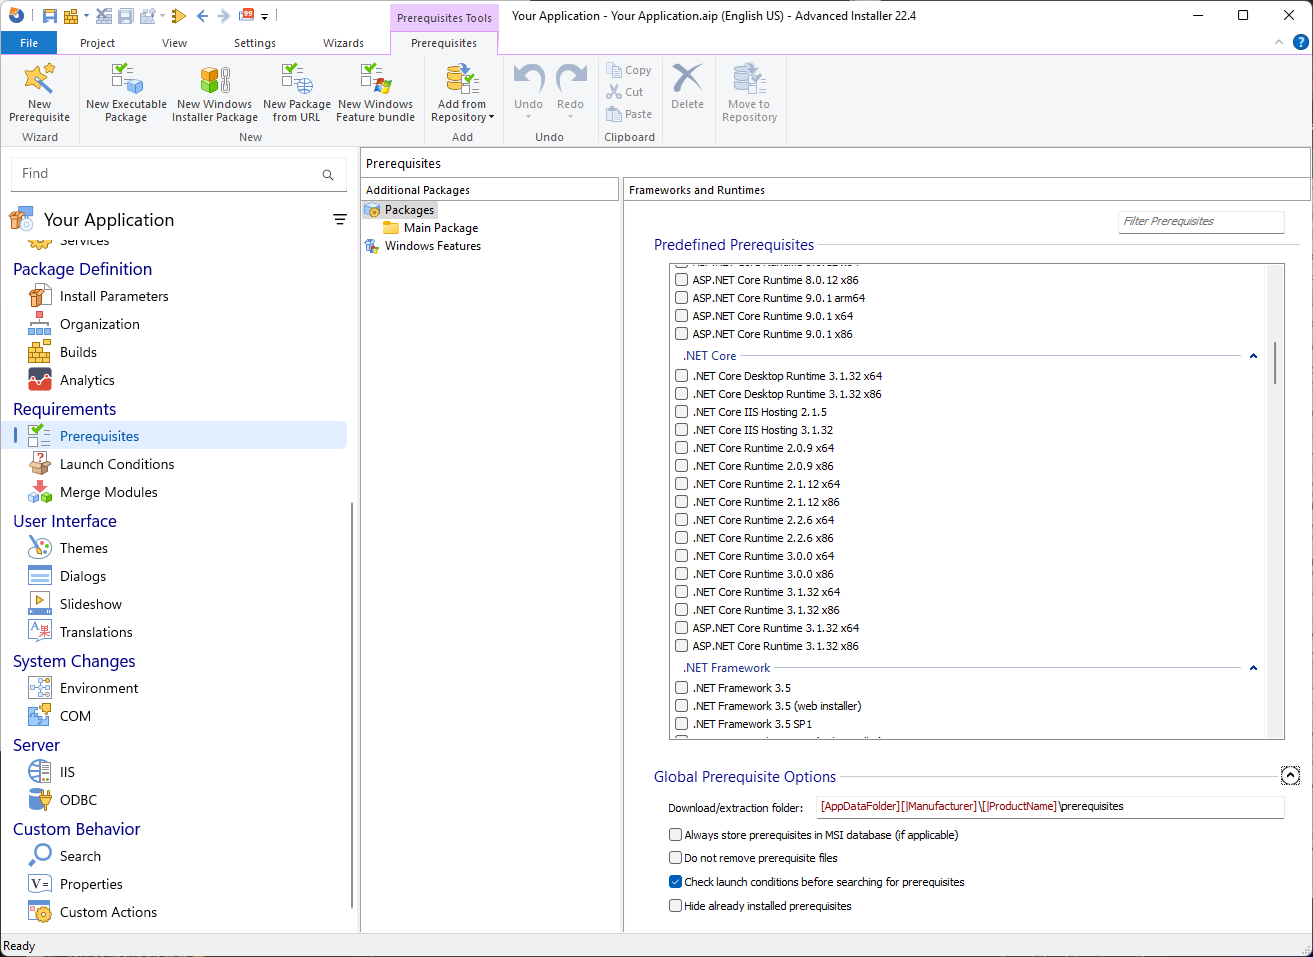
If you need to add more prerequisites, navigate to the Prerequisites Page, in the left menu.
There, you can check if any of the above prerequisites are present, or install them. Just check the prerequisite you want, and define the Global Prerequisite Options (if required).

Internet Information Services (IIS)

If you need to adjust the configuration of the IIS server, go to the IIS Page in your project. The IIS configuration tool simplifies web app deployment on Windows servers running Internet Information Services version 5.0 or newer.
Use the Software Launch Conditions Tab to ensure packages install only on compatible operating systems.
Advanced Installer automates and standardizes web app installations across multiple servers, eliminating manual IIS configurations.
You can configure global IIS settings like post-install actions, ISAPI filters, or MIME maps in the "Global Settings" section, which activates after adding a Web Site or Virtual Directory.
You can add, rename, delete, or manage Application Pools, Web Sites, Virtual Directories, and Web Deploy Packages.

Advanced Installer lets you automatically create a new website for your web application by setting up the Host Name, IP address, and Port to ensure proper functionality.
It also lets you deploy the application to an existing website by updating its content or organize it under the Default Website using a virtual directory.
You can configure application pools to optimize performance, you can inherit the parent item's application pool, use an existing one with predefined settings, or create a dedicated application pool with customizable options after setup.
Conclusion

Advanced Installer makes creating ASP.NET installers simple and efficient. Its user-friendly wizard lets you set up MSI or EXE packages in minutes, guiding you through adding application details, ASP.NET versions, IIS settings, and .NET prerequisites. You can create new websites or virtual directories in IIS, customize bindings, and configure application pools to ensure your web app runs smoothly.
You can try Advanced Installer support for ASP.NET installers through its 30-day full feature trial. Download it from here.
