How to Configure Azure Key Vault Digital Signature in TeamCity Pipeline
This article will teach you how to configure an Azure Key Vault Digital Signature in a TeamCity Pipeline.
- Preparing the Advanced Installer Project (AIP)
- Storing the Key Vault secret as a TeamCity build configuration parameter
- Configuring the Advanced Installer build step
In a previous tutorial, we learned how to configure the Advanced Installer build step in a TeamCity pipeline.
Now, we will show you to edit the build step and enable a digital signature step using a certificate stored in Azure Key Vault.
Let’s dive in!
1. Preparing the Advanced Installer Project (AIP) 

Before we start, we must prepare our Advanced Installer Project(AIP in order to configure an Advanced Installer build step.
To do so, we need to follow these steps:
1. Launch Advanced Installer and load the AIP project file.
2. Switch to the Digital Signature page.
3. In the Software Publisher Certificate group, choose Use from Azure Key Vault and input the required information:
- Tenant ID
- App ID
- Vault Name
- Certificate Name and Version
After you prepare the AIP project, all the above settings will be stored inside your current file.
During the signing process, Advanced Installer requires the Azure Key Vault Secret. Since this is sensitive information, we do not store it in the project file but as a build configuration parameter.
4. Save and push the project file in the repository you are using in the TeamCity pipeline.
Here’s how the AIP file should look like after the previous steps:

2. Store the Key Vault secret as a TeamCity build configuration parameter

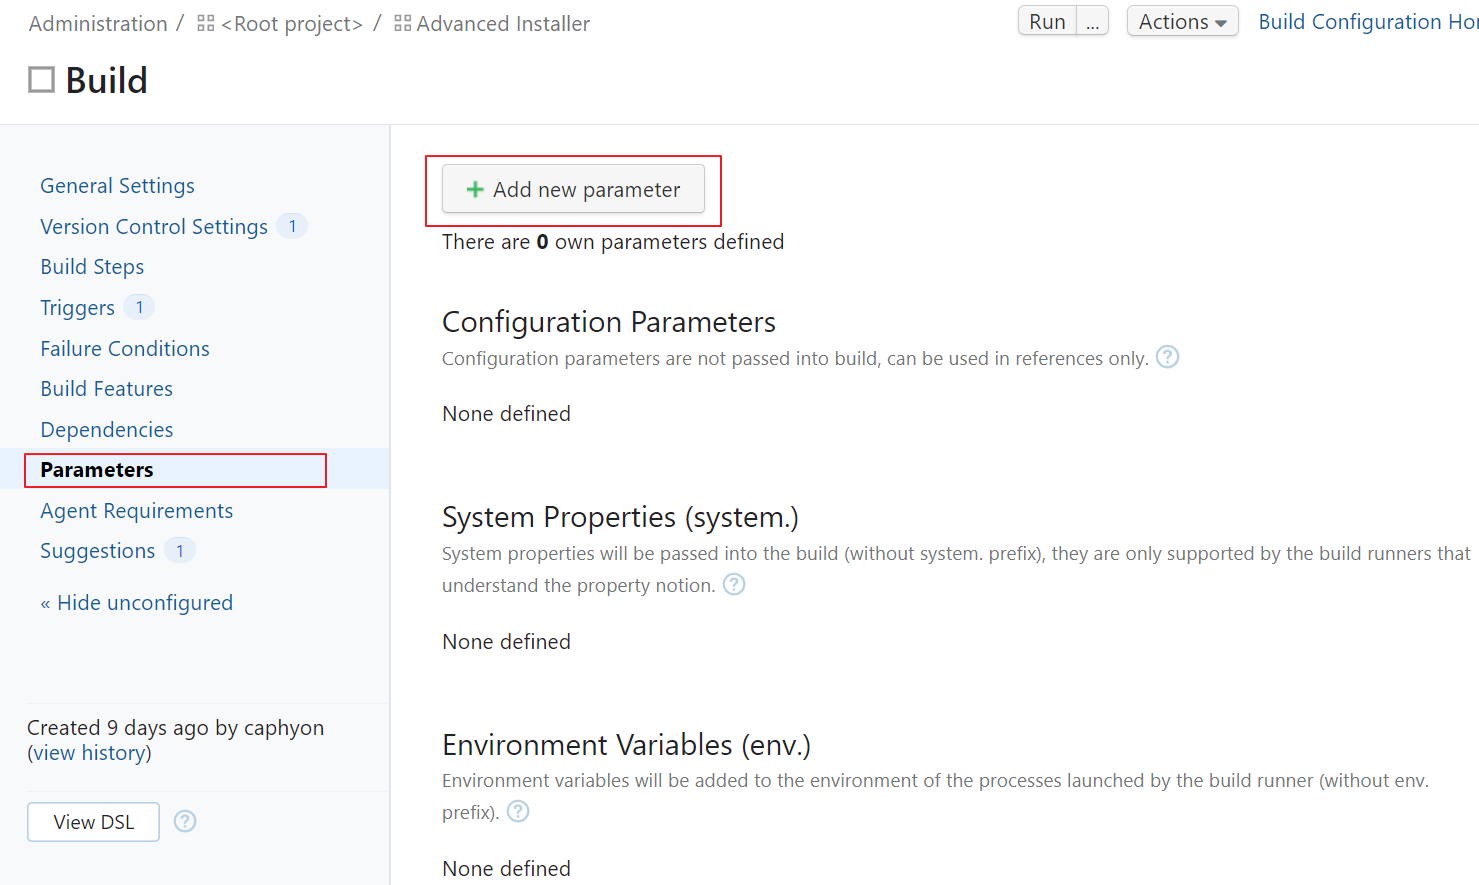
To create a new configuration parameter you need to switch to the Parameters view and use the Add new parameter option.
The Azure Key Vault integration is useful when managing secrets,passwords and digital certificates.
A secret is any information that you wish to restrict access to, such as API keys, passwords, certificates, or cryptographic keys.

After we select the Add new parameter option, we need to complete the following fields:
- Name - Id of the parameter. It will be used for referencing the key vault secret in the pipeline
- Kind - Configuration parameter
- Value - Your Azure Key Vault Secret
- Spec - Edit the parameter specs
Here’s an example:

To complete the build configuration parameter, select the Edit button and fill the following fields:
- Label - not required
- Description - not required
- Display - Hidden
- Read Only - True
- Type - Password

Don't forget to Save your progress!
3. Configure the Advanced Installer build step

Switch to the Advanced Installer build step in your pipeline. To enable the digital signature using Azure Key Vault certificate, go to the Commands field under Advanced Settings and add the following code:
SetAzureKeyVaultSecret %azure.key.vault.secret%

Conclusion

Now it’s your turn to configure an Advanced Installer build step in your TeamCity Pipeline and enable digital signing with Azure Key Vault.
Don’t forget you can request a free-license, NFR (not-for-redistribution) Advanced Installer Architect license for your personal use if you are an active Microsoft MVP or MCT.
Comment down below for any additional questions.
Subscribe to Our Newsletter
Sign up for free and be the first to receive the latest news, videos, exclusive How-Tos, and guides from Advanced Installer.