How to Add a Launch Condition for .NET Framework in WiX Toolset
When installing an application, it’s important to ensure all components required for the application to function properly are already installed on the target machine.
In this article, I’ll show you how to add a launch condition to an installer package created with WiX. Specifically, we’ll configure a condition that prevents the installation if the required .NET Framework version is missing on the target machine.
The steps outlined below can also be applied to other software components, not just the .NET Framework.
If you need help setting up a WiX project, you can refer to the tutorial here.
Find the .NET Framework Version in the Registry
To add a launch condition in WiX, you first need to perform a registry search in the Product.wxs file.
Before updating the WiX code, you can manually verify whether a specific .NET Framework version is installed on your machine using the following PowerShell command.
(Get-ItemProperty "HKLM:\SOFTWARE\Microsoft\NET Framework Setup\NDP\v4\Full").Release
This command retrieves a value, which corresponds to a specific .NET version.
Here are some release values and the corresponding .NET Framework versions:
.NET Framework Version | Release Value |
|---|---|
.NET 4.7.2 | 461808 |
.NET 4.8 | 528040 |
.NET 4.8.1 | 533320 |
Add the Registry Search in WiX
Once your application and the setup project are configured, the next step is to modify the Product.wxs to include the registry search.
We’ll use the <RegistrySearch> element to search for the required .NET Framework version in the Windows Registry.
Here is the code snippet to check if the .NET Framework 4.8.1 is installed. If it is installed, the Release value is stored in the NETFRAMEWORK481 property.
<Property Id="NETFRAMEWORK481">
	<RegistrySearch Id="NetFramework481"
	  Root="HKLM"
	  Key="SOFTWARE\Microsoft\NET Framework Setup\NDP\v4\Full"
	  Name="Release"
	  Type="raw" />
</Property>
Add the Launch Condition
After retrieving the registry value, we need to add the launch condition to prevent the installer from running if the .NET Framework 4.8.1 is missing.
<Condition Message="This application requires .NET Framework 4.8.1 or later. Please install .NET Framework 4.8.1.">
	<![CDATA[NETFRAMEWORK481 = “533320”]]>
</Condition>
How to Easily Add a Launch Condition with Advanced Installer
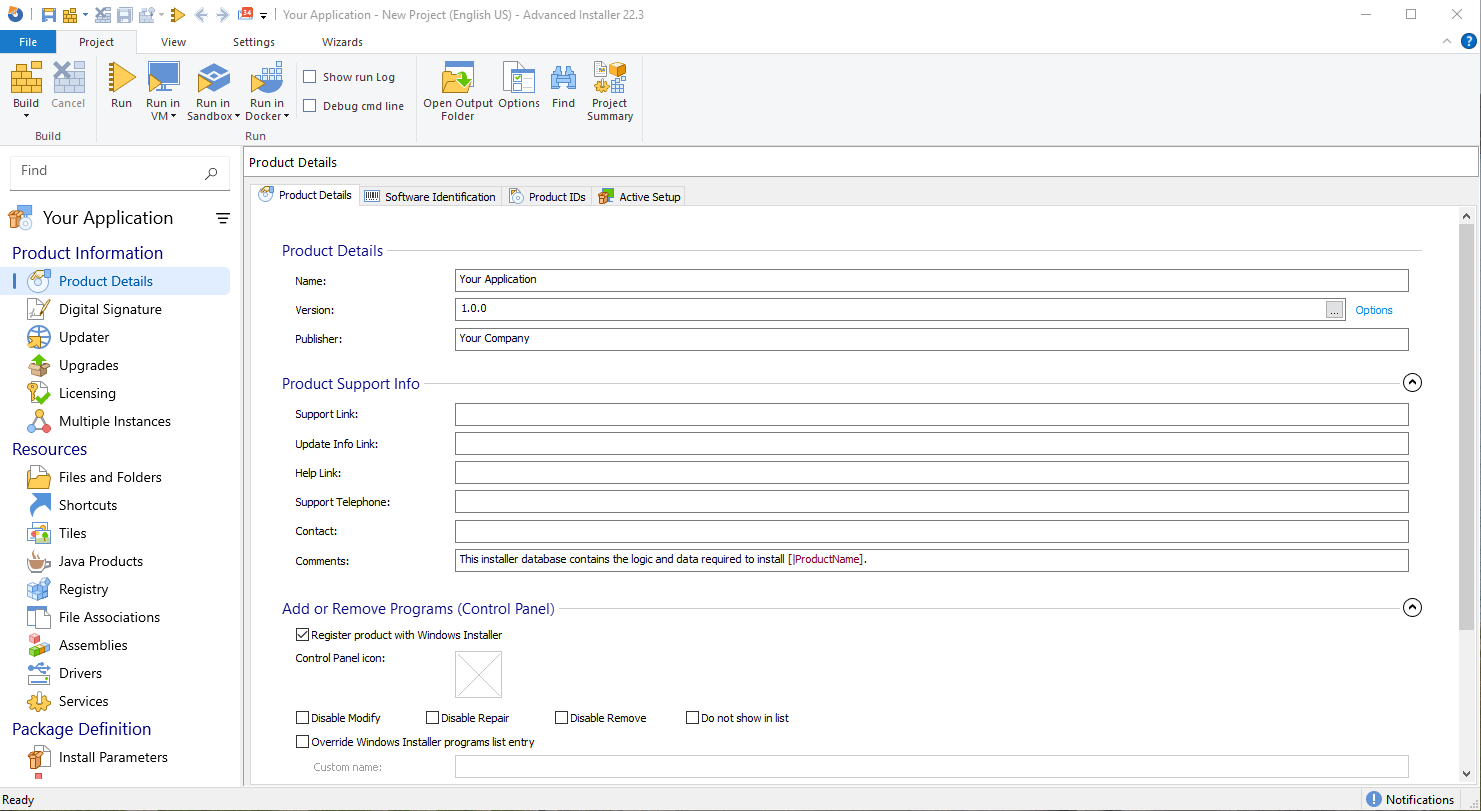
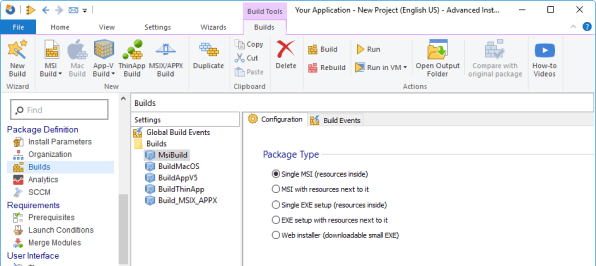
If you prefer a simpler, no-code method to create and customize installers, consider using the Advanced Installer.
This tool provides a graphical user interface that allows you to customize your installers quickly and efficiently.

If you’re new to Advanced Installer and want to learn how to create an MSI package, check out the tutorial here.
Once you create an installer project in Advanced Installer, follow the next steps to add a launch condition:
- Navigate to the Launch Conditions page in the left pane.
- Open the System-related or Software-related conditions tab.
- Check the conditions based on your app’s requirements.
- Create a custom condition if needed, from the Custom tab.

Video Tutorial
A video tutorial is also available if you prefer a visual walkthrough of the steps described above.
Conclusion
Adding a launch condition in WiX involves manually editing the XML to include a registry search and a condition block. This ensures the installer runs only when the required .NET Framework version is present, preventing runtime issues after installation.
However, if you’re looking for a faster and more user-friendly approach, Advanced Installer offers a powerful GUI that simplifies the process. Whether you choose the flexibility of WiX or the convenience of Advanced Installer depends on your project needs and development workflow.
Let us know if you'd like help automating other requirements in your setup package!

