How to Use WiX MSI to Update an Installed Application
The process of developing software should always include a solid mechanism for application upgrades.
In this article, we will see how we can use WiX to create an installation package that will install a new version of an MSI application after removing the previous one.
How to Create a Windows Forms Application in Visual Studio
For this tutorial, we'll use Visual Studio to create a simple Windows Forms application that will be installed and then updated. To create the application, follow the next steps:
1. Go to File → New → Project.

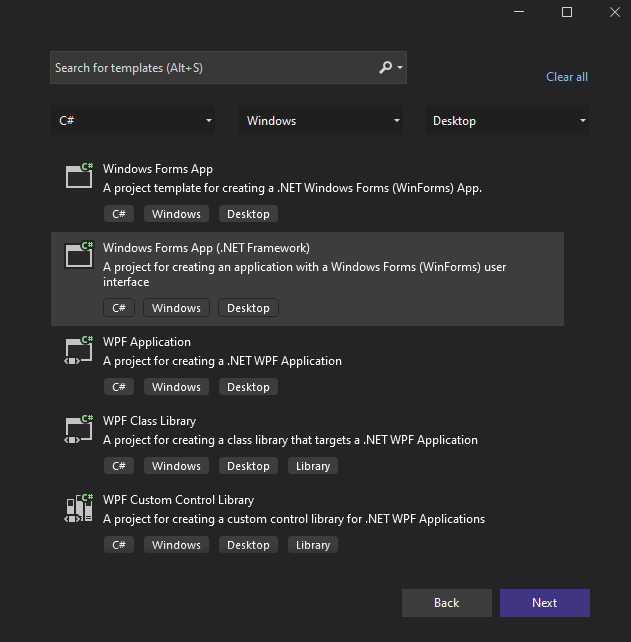
2. From the templates list, select Windows Forms App.

3. Configure your project in the configuration dialog and then press the Create button.

How to Add the Setup Project for WiX in Visual Studio
Now, let’s create the installer package for our application. We need to add a setup project to our solution, and for this we'll use the WiX extension for Visual Studio.
Make sure you have the WiX extension added to Visual Studio. You’ll also need the Wax extension which provides a setup editor to help you create, verify and maintain the list of deployed files.
Follow the next steps to add the setup project:
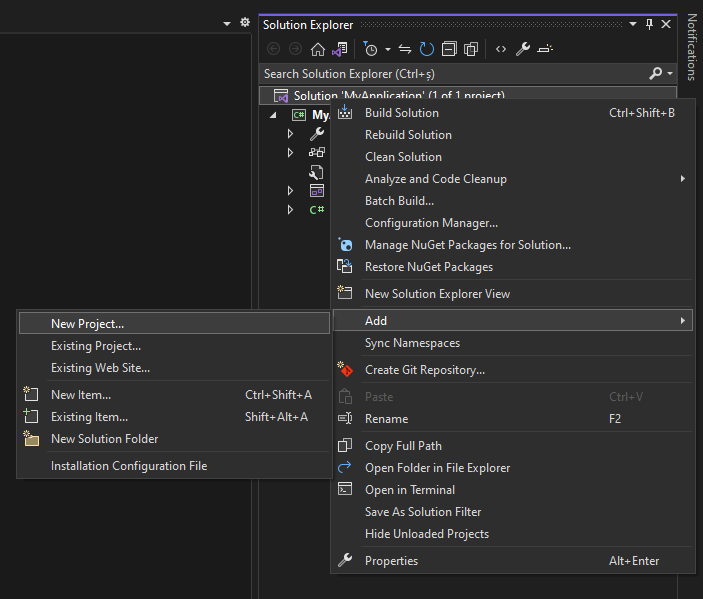
1. Right-click on the Project Solution → Add → New project.

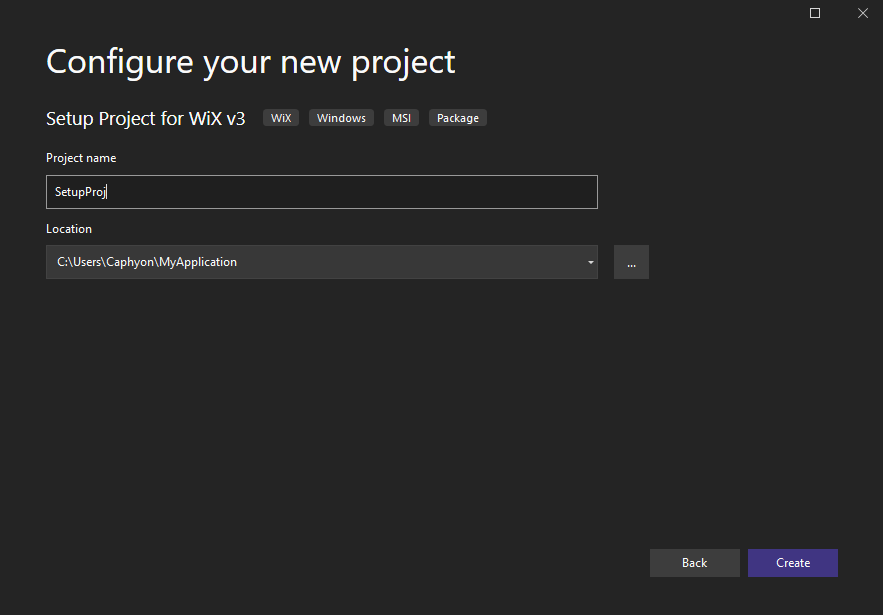
2. From Templates, select Setup Project for WiX.

3. Configure the project and press the Create button.

Once the setup project is added, you should see it in the Solution Explorer.

How to add the project output using the WiX Setup Editor
Next, we’ll use the WiX Setup Editor to add the deployable files to our setup project. To open the editor, go to Tools → WiX Setup Editor. Then, make the following configurations:
- Select the Setup Project added to your application.
- In the Root directory, select INSTALLFOLDER.
- Then, in the Projects to install section, select the application you’re creating the installer for.
How to set the WiX Installer Version of Your Application
Before we create the MSI and install the application, let’s set a version number for our application.
Edit the Product.wxs file in the setup project and set the product version to 1.0.1 as seen below:
<Product Id = "*"
		    Name = "DemoApp"
	                  Language = "1033"
	                  Version = "1.0.1"
	                  Manufacturer = "Caphyon"
	                  UpgradeCode = "3c9e2988-90a2-4319-b261-674543c2dc16">
Now you can build the project and install your application by running the MSI file. You can find it in the setup project → bin → Debug. When the application is installed, you should find it in the programs list in version 1.0.1.
How to update the application
Let’s suppose we made some changes to our application. We’ll generate a new MSI that will uninstall the previous version and install the new one. For that, you must follow these steps:
1. Make sure you change the Product ID. This is a unique GUID used to identify your application. To avoid setting it manually, you can replace it with the “*” symbol. Thus, it changes every time you build the project.
2. Let’s also increase the version number from 1.0.1 to 1.0.2.
<Product Id = "*"
		    Name = "DemoApp"
	                  Language = "1033"
	                  Version = "1.0.2"
	                  Manufacturer = "Caphyon"
	                  UpgradeCode = "3c9e2988-90a2-4319-b261-674543c2dc16">
3. Keep your UpgradeCode constant. As you can see, the UpgradeCode remains the same for the updated version.
4. Use the MajorUpgrade element. This element includes the most common options for updates. If you increase the version number at the first step, you only have to add the MajorUpgrade element with no other attribute, like in the example below:
<MajorUpgrade
             DowngradeErrorMessage = "A newer version of [ProductName] is already installed."
/>5. In addition, if you want the new application version to keep the previous version number (in our example 1.0.1), you have to set the attribute AllowSameVersionUpgrade to yes.
<MajorUpgrade
             DowngradeErrorMessage = "A newer version of [ProductName] is already installed."
   	AllowSameVersionUpgrades = "yes"
/>Once you complete the steps above, you can build and run the MSI. The previous version of your application will be uninstalled, and the new one will be installed.
Conclusion
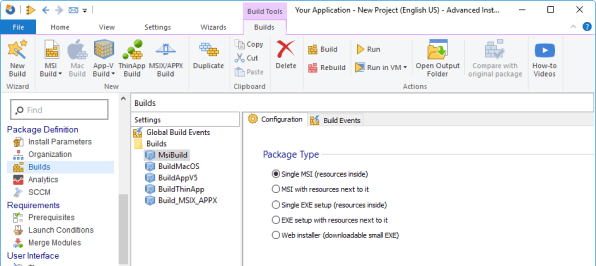
WiX allows you to upgrade an application's installed version by modifying the XML-based definition file. Alternatively, you can use Advanced Installer's GUI, which enables you to upgrade your application instantly.

