How to Edit an MSI Package With Advanced Installer
Sometimes we need to perform quick edits to our MSI packages without having to create a new project or going through the whole repackaging process.
To achieve this, we will use the Advanced Installer MSI Editor which gives you the option to open the MSI databases and edit them as you please.
If you want to see how the MSI Editor works, give it a try through the Advanced Installer 30-day full-featured free trial.
How to Edit Your MSI Package using Advanced Installer? 

Before going into the MSI editing process, we recommend you first check the MSI Quick-Edit Modeuser guide.
Now, to edit your MSI package, first right-click it and select “Open with Advanced Installer”.
Once the MSI database has loaded, head over to the left navigation pane and you will find all the options you need to directly edit your MSI with Advanced Installer:

You will notice how the left-pane contains fewer options, like Scheduled Tasks, IIS, Windows Firewall, etc -- compared to when you create an MSI project from scratch.
Once the MSI is opened, you can perform all the changes you need. For instance, you can add/remove a file in:
- Files and Folders Page,
- A registry in the Registry Page, and
- View/edit/create custom actions, among other things.
The changes you perform in the GUI will be automatically reflected in all the related tables from the MSI. This will save you time from manually editing each MSI table and decrease the chance of human error.
Advanced Installer automatically applies best practices when editing the MSI Package

When you directly modify an MSI with Advanced Installer, Advanced Installer will update the MSI during the build operation following best practices and rules.
Advanced Installer generates builds in accordance with ICE Validation Standard and industry best practices gathered in over 15 years of constant contact with our customers.
Short-names in the File Table

One of the best practices Advanced Installer implements refers to short names in the File table.
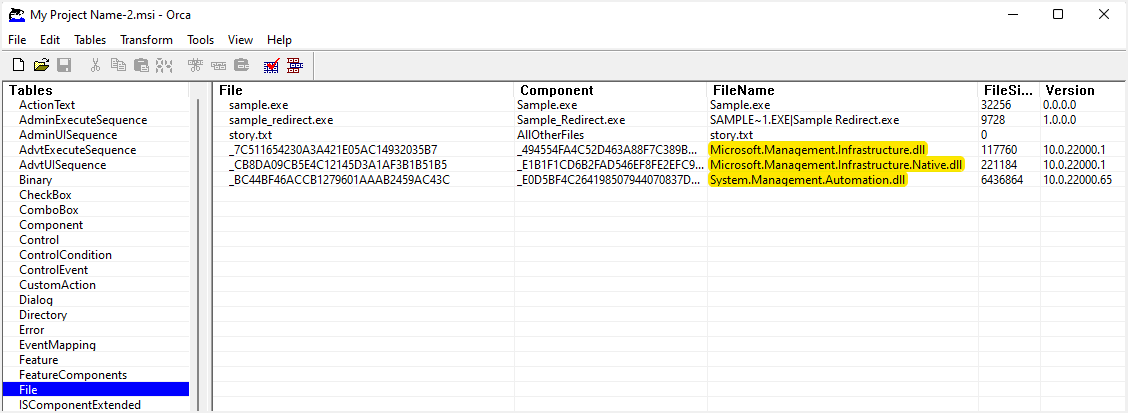
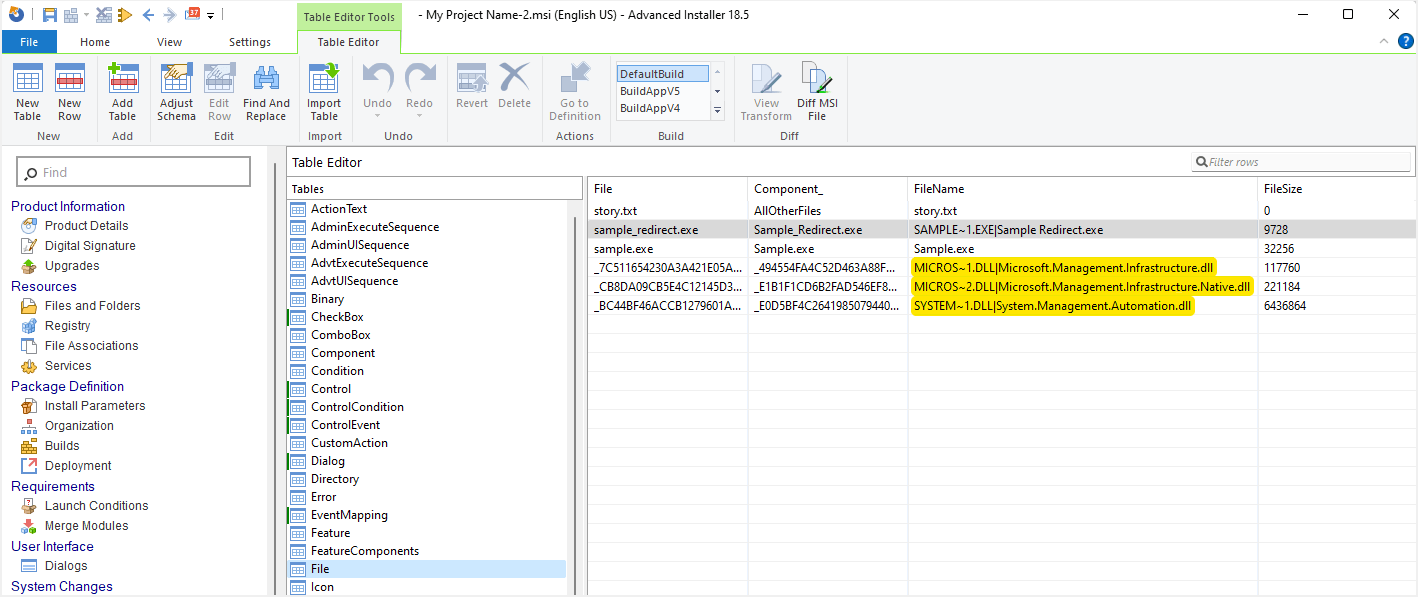
As you can see, this MSI package contains DLL files, but the filename does have a short name, as recommended by Microsoft.
If you open the MSI with Advanced Installer, go to Table Editor Page, and navigate to the File Table. You can see that Advanced Installer fixed this warning automatically, even if you never actually made any changes in the Files and Folders page.
Separating components for each EXE, DLL, and OCX file

As per Microsoft best practices, a new component must be defined for every single EXE, DLL, and OCX file that is included within the MSI package. Advanced Installer takes care of that.
To see it:
- Open the MSI with Advanced Installer,
- Go to the “Files and Folders” page
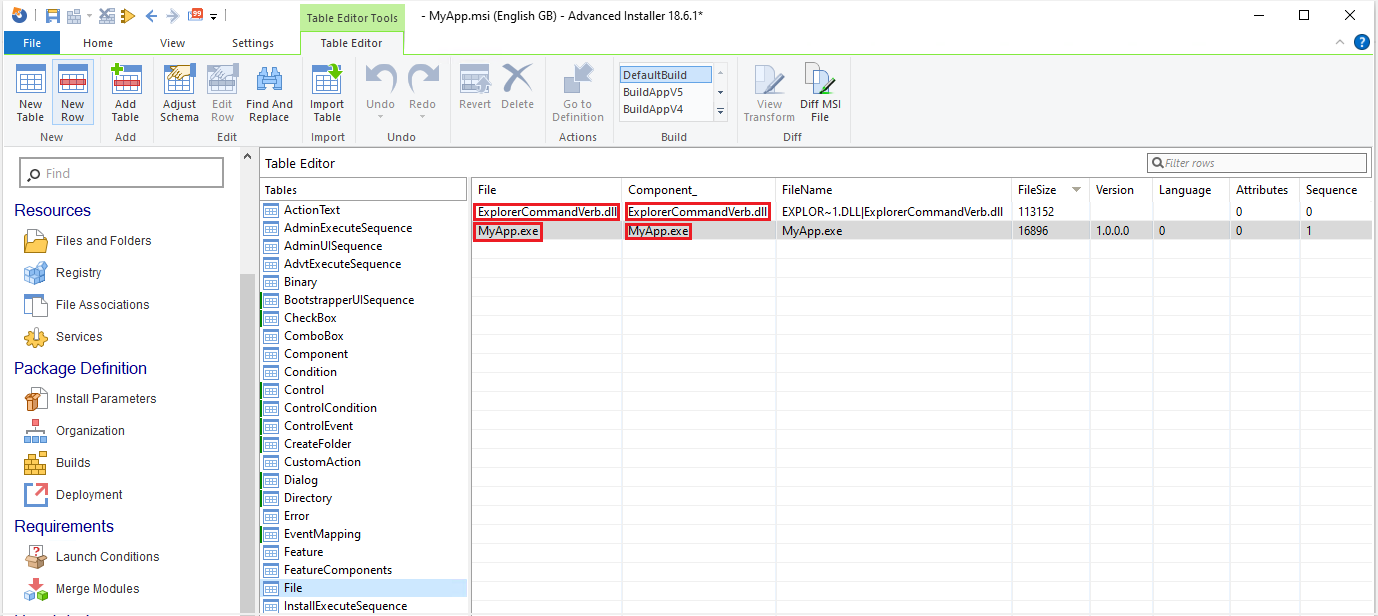
- Add any EXE, DLL, or OCX file and then navigate to the “Table Editor” page -> “File” table.
There, you will find that there are separate components for each of the EXE, DLL, and OCX files included within the MSI package. All of these were automatically defined and set in the background by Advanced Installer.
Setting the key path for each component

Another best practice that Advanced Installer applies by default is related to how you should organize the application into components. When organizing your app into components, each component must have a key path set to it whenever possible - this means that EXE, DLL, and OCX files must be set as key paths of their components.
You can see how Advanced Installer automatically applies this practice by following these steps:
- Open the MSI with Advanced Installer.
- Go to the “Files and Folders” page.
- Add any EXE, DLL, or OCX file and then navigate to the “Table Editor” page -> “Component” table.
Once there, you will observe that each newly defined component has the corresponding key path file set to it, so you don't need to worry about setting these up yourself.

Modify the MSI using Transforms Files (MST)

If you're using a vendor MSI, it's best to customize it by using transform files. You can check our short quick-edit mode user guide article to see how to easily create transform files for your MSI using Advanced Installer.
To create a new transform file:
1. Open Advanced Installer, click on the IT Pros tab, and double click on New Transform.
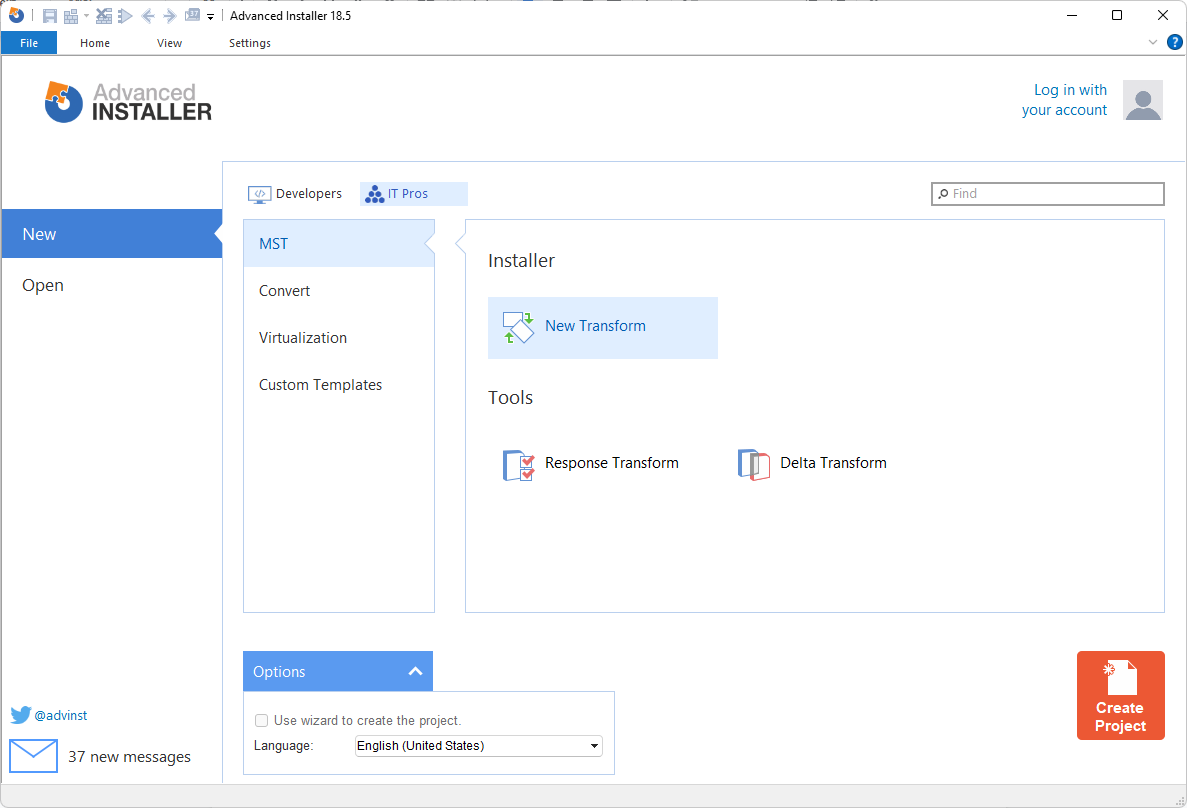
2. A dialog requiring specifying the MSI database will appear.
3. Once you select your MSI, Advanced Installer will create a new project with the MST.
TIP: Alternatively you can open the MSI by right-clicking it and select the “Open in Advanced Installer” option. When you perform all the changes, you can select “Save As” from the menu and switch to Transform.
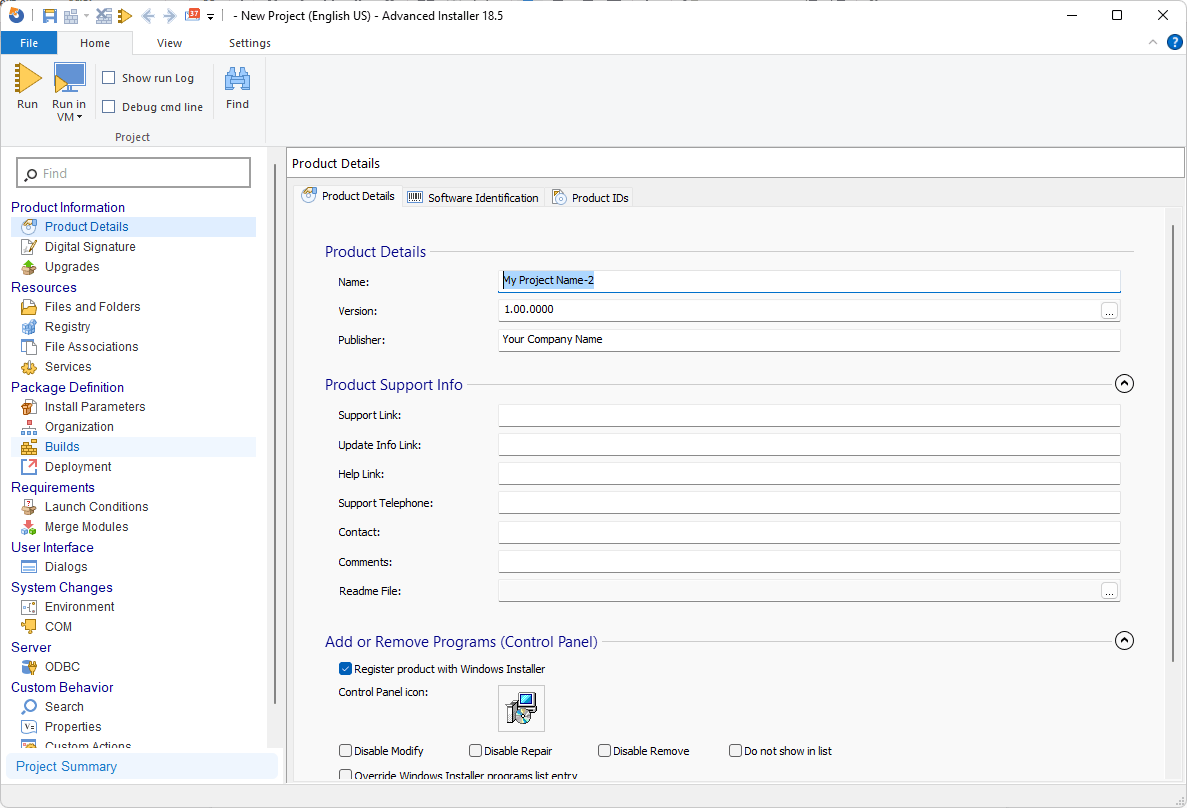
4. Perform all the changes on your MSI just as you would in the direct edit mode - navigate to the left-pane menu and choose the option you need to edit.
When you add any files into the MSI by using a transform and save it, a cabinet file will be created alongside the MST. This is not an Advanced Installer custom implementation, but a default behavior of MSI databases.
Video Tutorial

Conclusion:

Editing your MSI directly through the Advanced Installer GUI will help you save time and keep you from having to completely repackage your MSI. It is particularly useful when performing quick edits.
We hope you try this method and let us know what you think.
Subscribe to Our Newsletter
Sign up for free and be the first to receive the latest news, videos, exclusive How-Tos, and guides from Advanced Installer.