Populate Combobox & Listbox dinamically from a script

The following article uses options that are available starting with the Enterprise edition and project type.
There are casses when you need to populate dinamically when the installer runs some UI elements with the results from a custom action.
In the following article we cover the necessary steps to populate a combo box, a list box and a check list control with the results of a PowerShell Script. We will use a script that will list the running services on the machine where the installer is executed. Additionally, when the user selects an entry from any of these controls, the selection will be displayed in a separate edit box control. This demonstrates how to access and utilize the user’s selection.
Advanced Installer provides predefined support for integrating custom actions and supports
a wide range of custom actions written in C++, .NET, DTF
C# or scripting languages such as PowerShell.
1. Create the PowerShell script

Before diving into Advanced Installer, ensure that your custom action is functioning as expected. In our case, we will be using a PowerShell script to get the running services. Here’s a snippet that will list the running services:
Get-Service | Where-Object {$_.status -eq "running"}And if we run the above snipped code, we can get a list with the running services:

Once the code has been tested and everything is working as expected, we can start working on the integration with the installer.
2. Create project

After launching Advanced Installer, you will be presented with a dialog where you can choose the type of the project you want to create.

Select Enterprise and press the Create Project button. The new project has been created and from now on you will edit it.
![]() Save the project and give it an appropriate name - let's say "Populate Combobox
Sample" for this example.
Save the project and give it an appropriate name - let's say "Populate Combobox
Sample" for this example.
3. Enter product details

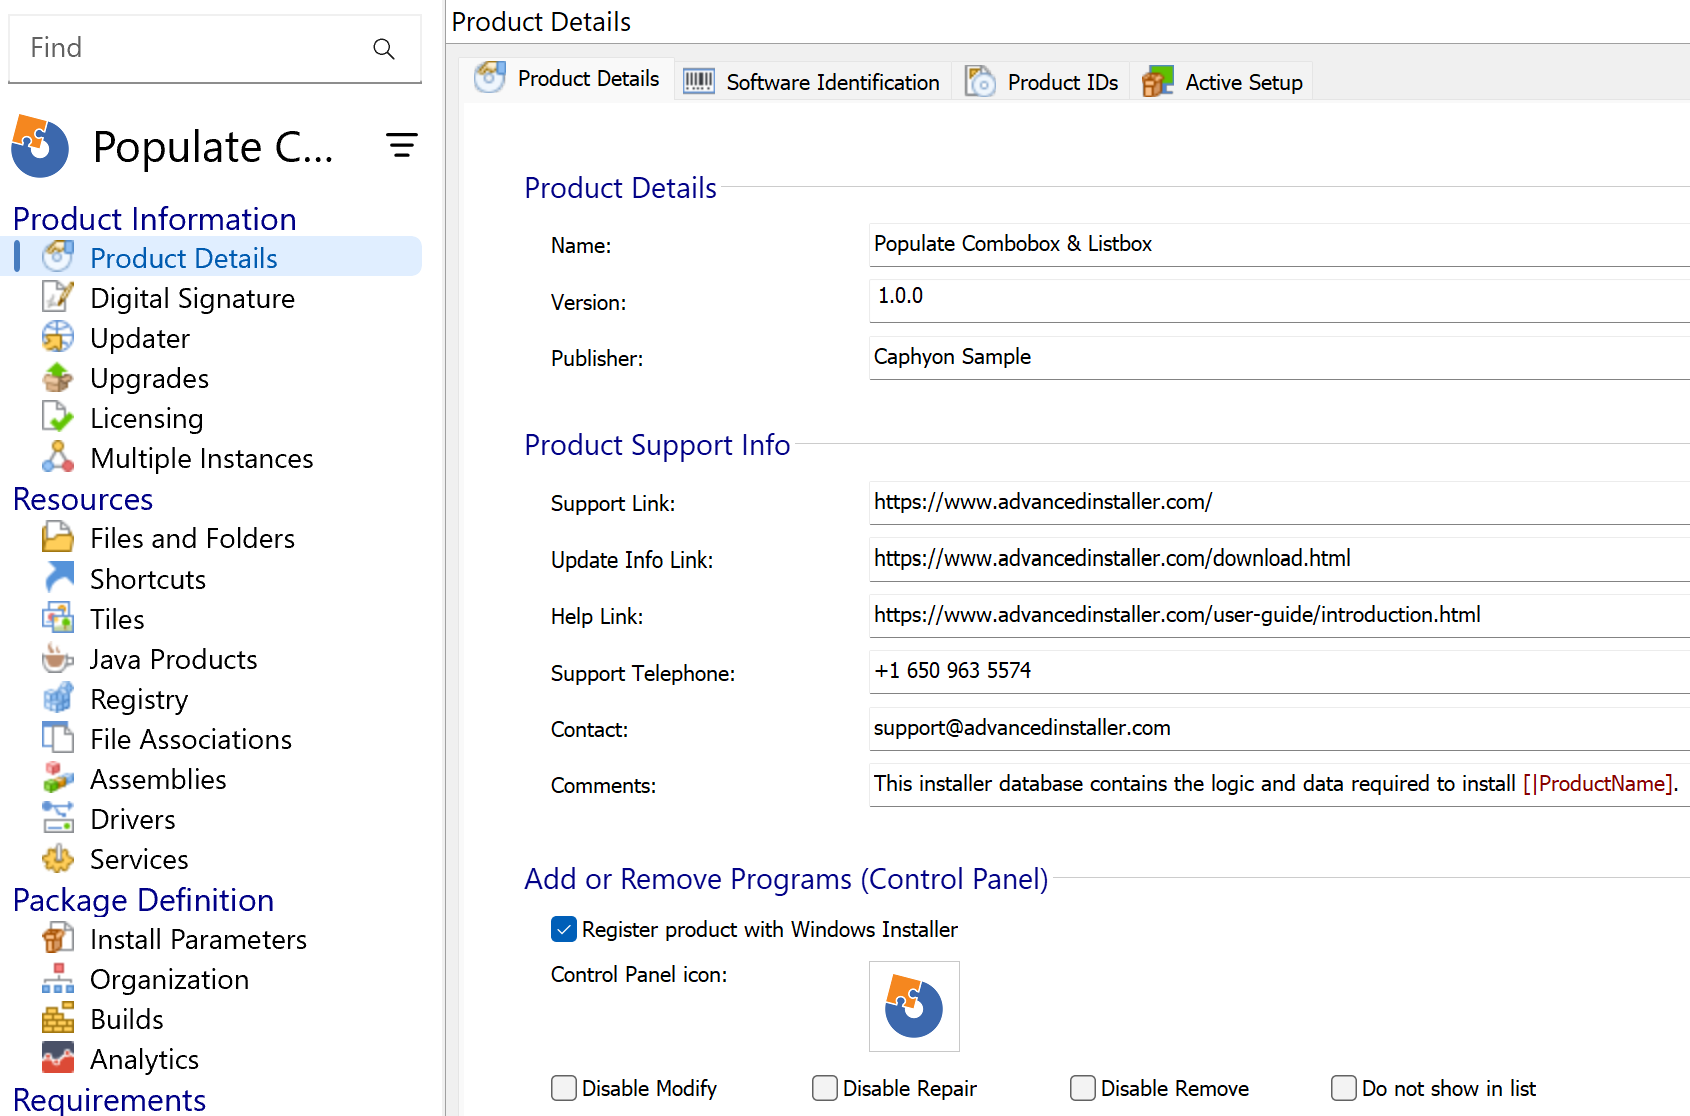
Now you can see the main view split into two panes. In the left pane, you can see all the options you have to edit in your current project, grouped in categories.
![]() Switch to “Product
Details” page to set the information seen by the user for your installation
package. Fill the fields in the right pane with the corresponding data.
Switch to “Product
Details” page to set the information seen by the user for your installation
package. Fill the fields in the right pane with the corresponding data.

The information from this view will be displayed in the Control Panel.
4. Configure the Custom Action

Select the Custom Actions view from the left menu and from the list of custom action, add the PowerShell inline script as a custom action with sequence:

Drag-and-drop the custom action in the Wizard Dialogs Stage, as below:

In order to populate a ComboBox control, you will set the AI_COMBOBOX_DATA property to a
list of values that should be inserted, respecting a special format (which will be described
in more detail in the following section). Then you will invoke the predefined
PopulateComboBox (PopulateListBox) custom action which will do the actual
insertion.
The input format for the AI_COMBOBOX_DATA (AI_LISTBOX_DATA) property is:
Property#OrderStart#OrderDelta|Value1#Text1|Value2#Text2|Value3#Text3|...
We'll simplify even more this format and keep only minimum required format. Here' the code that can handle our scenario:
# Block for declaring the script parameters.
Param()

# get service list as an array
$serviceList = Get-Service | Where-Object {$_.status -eq "running"}

$service = $serviceList[0];

#create a new array that will contain the "|" separator after each service
#this operation is required for the format required by the Combobox and Listbox
for($i = 1; $i -lt $serviceList.Count; $i++) {
	$service = "$service" + "|" + $ServiceList[$i].Name
}

#set the property attached to the combobox/listbox property with the values that should be displayed.
$aiComboboxData = "RUNNING_SERVICES_COMBO" + "|" + $service
$aiListboxData = "RUNNING_SERVICES_LIST" + "|" + $service

AI_SetMsiProperty AI_COMBOBOX_DATA $aiComboboxData
AI_SetMsiProperty AI_LISTBOX_DATA $aiListboxDataSo, our custom action should look like this:

Add the helper custom actions Populate combo box and Populate list box custom actions.

5. Create dialogs that will display the combo box and list box values

So far we configured the custom action that will get the running services from the machine and bind the services list, in the required format.
Select the Dialogs view from the left entry. Basically you need to add a new dialog or change an existing dialog to match your design.In the current example, I've added a new dialog and started adding installer controls based on scenario:

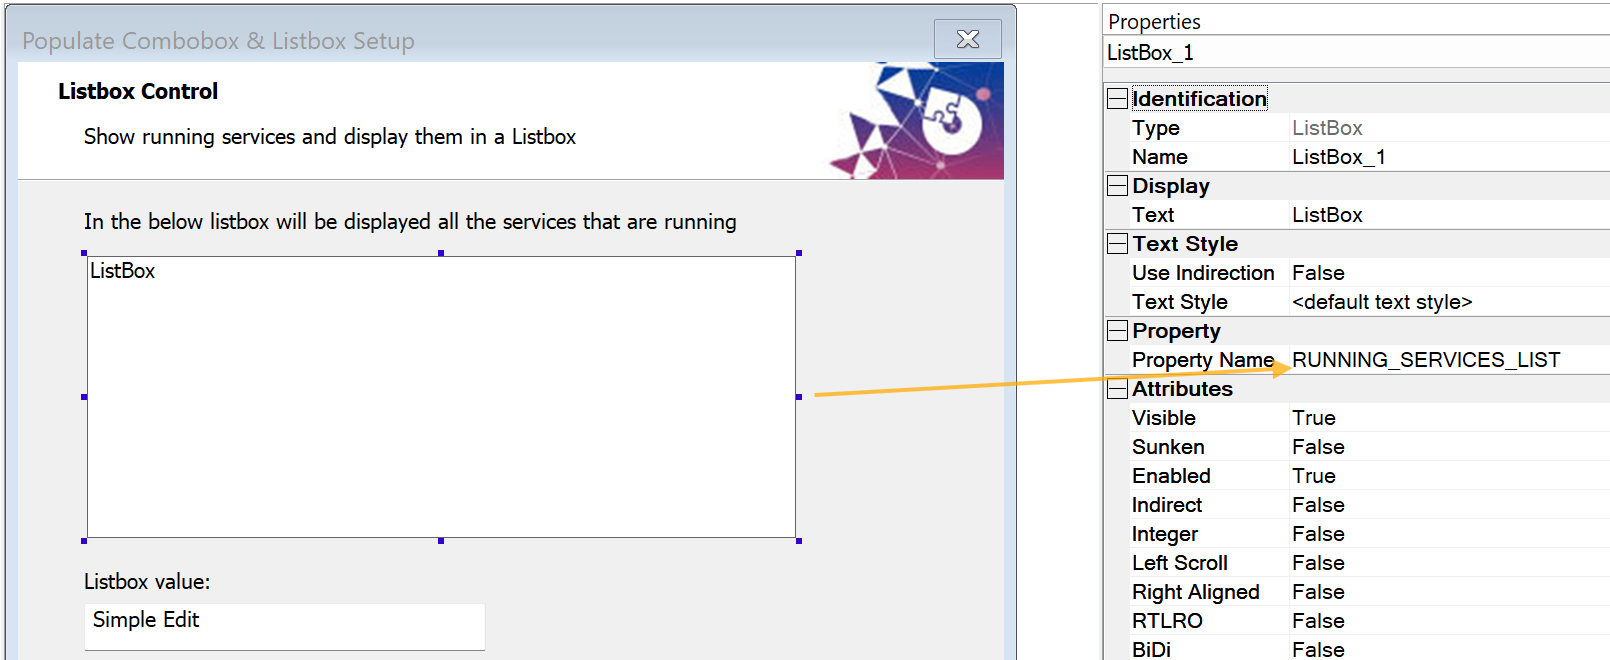
Here's how the dialog that displays the running services in a listbox looks like:

For each dialog, you need to call the corresponding custom action that will populate the listbox or combobox control as an Init control event.

Make sure you use the same property name from the custom action for the installer control:

6. Get user selection

Most likely you will need to get the user selection and further use it. Basically, the property attached to the installer control will contain the user selection. So, if we add an edit box we can set the property attached to the edit box control with the user selection from the listbox or combobox.
Or, let's say you need to save in the registry the user selection, you can create new registry and configure it as below:

7. Build and install

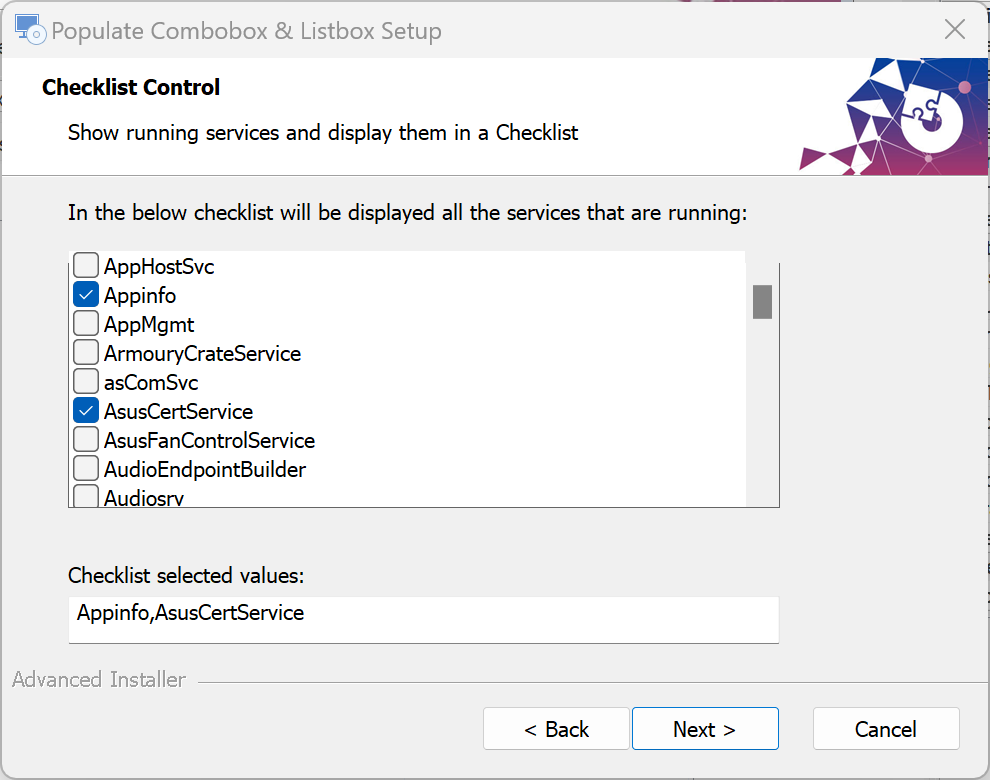
If you build and install the resulted setup package, you should notice the user selection being displayed in the edit box control:
