Using the JSON file support

The following article uses options that are available starting with the Enterprise edition and project type.
The JSON File functionality in your installation package enables you to perform a variety of tasks related to JSON files.
The JSON file support can be used to:
- Create a JSON file from scratch using the JSON Editor.
- Update a JSON file installed by the package by importing the .json file in Windows Installer format using the import json option.
- Update a JSON file that is already on disk.
In the current sample, we have a JSON file that we want to update with some Windows Installer properties. These properties can be predefined properties, results of some actions or user input.
1. Create project

After launching Advanced Installer, you will be presented with a dialog where you can choose the type of the project you want to create.

Select Enterprise and press the Create Project button. The new project has been created and from now on you will edit it.
![]() Save the project and give it an appropriate name - let's say "Create or Edit
JSON Sample" for this example.
Save the project and give it an appropriate name - let's say "Create or Edit
JSON Sample" for this example.
2. Enter product details

Now you can see the main view split into two panes. In the left pane, you can see all the options you have to edit in your current project, grouped in categories.
![]() Switch to “Product
Details” page to set the information seen by the user for your installation
package. Fill the fields in the right pane with the corresponding data.
Switch to “Product
Details” page to set the information seen by the user for your installation
package. Fill the fields in the right pane with the corresponding data.

The information from this view will be displayed in the Control Panel.
3. Add files to your project

The next step is to add to the project the files and/or folders that compose your application. The JSON file will be added as a regular file and only the elements that needs to be updated will be re-created.
This is possible because a regular JSON file is installed on the target machine before the JSON changes are applied. In order to achieve this behaviour, first add the JSON file as a "regular file". Then, simply add the same JSON file in the Windows Installer format and by using the JSON Editor to modify the content you want to create, update or remove.
This is highly recommended for large files, where a lot of attributes are declared in the JSON file. For small files with few numbers of attributes, you can add the file directly in Windows Installer format.
![]() Select “Files and Folders” from the
“Resources” menu on the left pane.
Select “Files and Folders” from the
“Resources” menu on the left pane.
![]() Click on the toolbar button and select the files
of your application, or use the drag-and-drop to add resources from
the disk to the project.
Click on the toolbar button and select the files
of your application, or use the drag-and-drop to add resources from
the disk to the project.
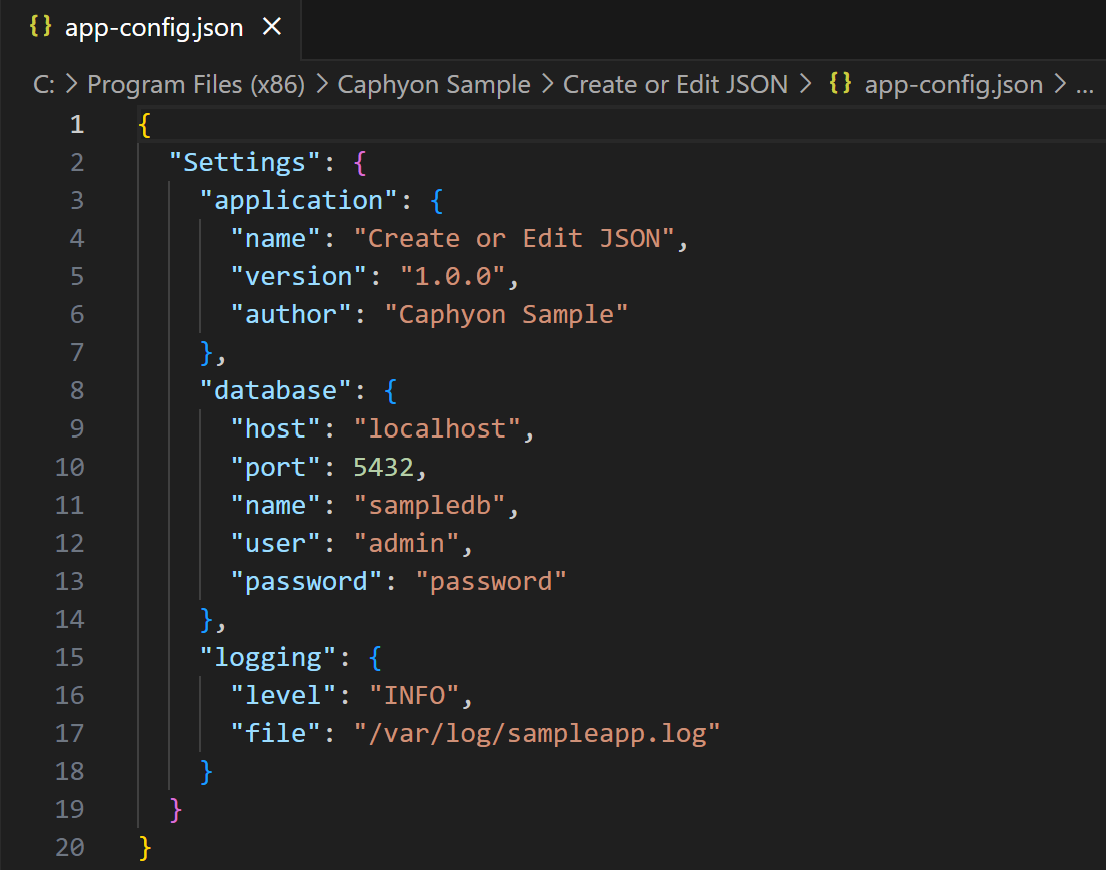
Here is how the sample JSON file looks like on disk:

Through the JSON file support we will update the placeholder attributes to the corresponding values.
4. Import JSON

Use the Import JSON option to add the JSON file in Windows Installer format:

As mentioned before, only the attributes that need to be updated will be kept in the JSON that performs the update, the rest of the attributes can be removed:

By default, the option to create a backup of the file before updating is enabled. If
you prefer not to create a backup before the update operation, you can simply disable the
"Create backup before upgrade" option from Edit JSON properties dialog.
5. Build and install

Upon building and installing the resulting setup package, you will observe that the json file has been updated as specified. Here is how the file looks on disk after installation:

6. Video tutorial

A video demonstrating the dynamic updating of JSON, can be seen here: