List main actions performed during installation into a user friendly
log-like fashion

The following article uses options that are available starting
with the Enterprise edition and project
type.
This tutorial will guide you in displaying and configuring the user friendly installation log.
1. Create Project

By default, during the execute stage of the installation, the user will see a glimpse of the action that is being performed. You can choose to also display the actions that have already been completed.
The dialog that is being displayed during the execution stage of the installation is "ProgressDlg". We will add an "Edit" control and subscribe it to the installation log events.
Launch Advanced Installer, select Enterprise and press the button.

2. Adding an edit control

![]() Switch to the Dialogs page.
Switch to the Dialogs page.
![]() Use the
toolbar button to display the toolbox. Select
"ProgressDlg" in the tree and add an edit control to the dialog.
Use the
toolbar button to display the toolbox. Select
"ProgressDlg" in the tree and add an edit control to the dialog.
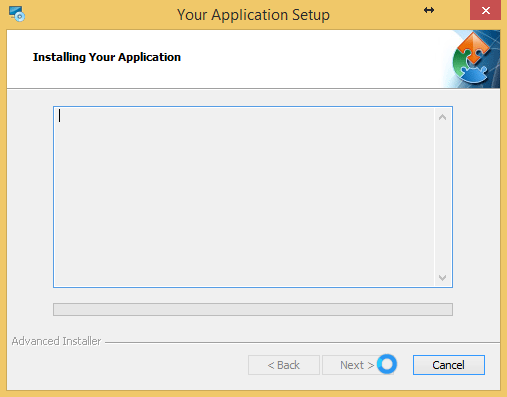
Delete the "StatusLabel" and "ActionText" controls and reposition the controls so they will look something like:
3. Register the edit control to display installation details

3.1 Configure the control subscription

- Select the edit control. Select the Subscribed Events tab in the “Control” pane.
- Use the button to subscribe the control to an event. The Edit Event Mapping Dialog will be displayed.
Configure the control subscription as follows:
- Subscribe to: Display installation actions summary (EXE UI only)
- Attribute to set: Text
3.2 Enable multiline, read-only and vertical scrollbar edit control
attributes

In the Properties pane located on the right side, set the Multiline, Read-only and Vertical Scrollbar attribute to True.
3.3 Enable EXE External UI

The EXE External UI is required for the installation log messages to be displayed. You must set this package option from the Themes page > Settings tab.
4. Preview

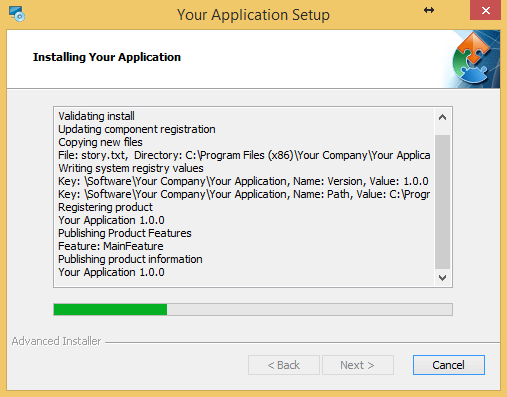
At install-time the "ProgressDlg" should look like:

To also display the action details (the installed resources and any other action data) you should retake the Configure the control subscription step but subscribe the edit control to Display installation details (Enhanced UI only) event. You should now obtain something like:
5. Formatting and Indenting

5.1 Indent action details

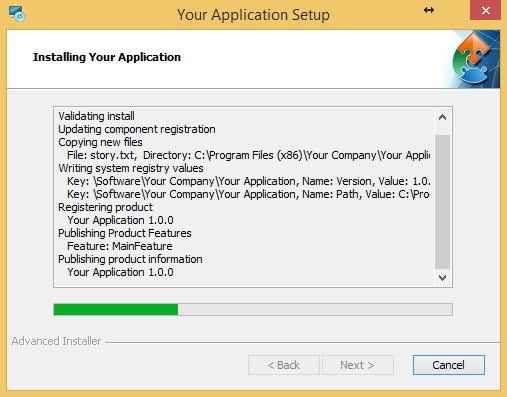
Set the ActionDataPrefix property (from Install Parameters) to the " " (three spaces) text. That text will be added before each ActionData message.
5.2 More actions text decorations

There also other properties that can be used to control the format:
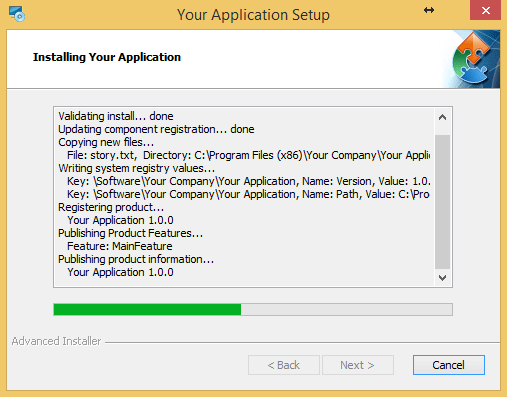
- ActionTextSuffix - will be added after each ActionText message. Let's use "...".
- ActionTextDoneSuffix - will be added when the current action is finished. Let's use " done".
- ActionTextPrefix - will be added before each ActionText message.
- ActionDataSuffix - will be added after each ActionData message.
- SubActionPrefix - will be added before each ActionText message received during removal of older versions.
6. Change the text displayed

6.1 Hide actions

Some of the actions are already been filtered out because they are not important steps for the installation. If you want to display even fewer actions, set the AiIgnoredSummaryActions property to the actions that you don't want to be displayed (separate more actions with a space). Let's use ProcessComponents WriteRegistryValues and our installation log will look like:
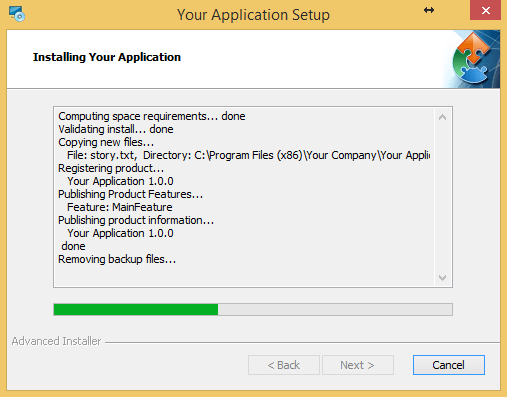
6.2 Customize displayed text

The descriptive text displayed for each action is stored in the ActionText table. To change the message you have 2 options:
- In the Default Strings Tab from "Translations"
view and update the corresponding Description and Template
strings.
This change will affect all projects you build on your computer. - In the ActionText table in Table Editor and update the Description and Template columns.