Creating SharePoint Solution Installers

The following article uses options that are available starting
with the Enterprise edition and project
type.
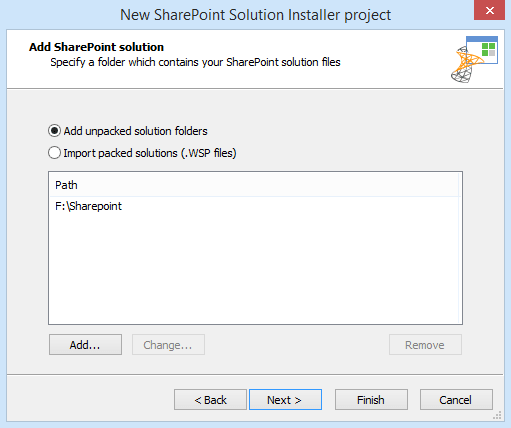
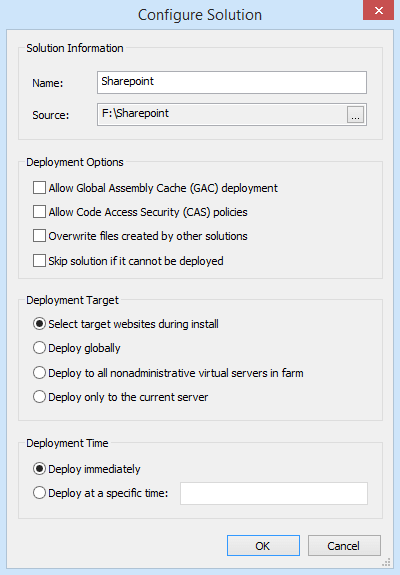
This tutorial will guide you in creating a project for a SharePoint solution. As an example we will create a single EXE installation file that will contain the SharePoint Solution package (WSP) with the possibility to select the deployment server during the installation.
2. Enter project details

The first three dialogs let you enter the generic information about your project, like product and company name, the distribution type of your installer, project and output folder.
2.1 Product Information

In the edit boxes we will write the name of the application and organization. The name corresponds with the Product Name while the organization name corresponds with the Company Name and they can be later changed if needed, from the Product Details Tab.
2.2 Select the installer type and logic

We will use the default option which will create a single EXE installer containing the SharePoint solution as this is the strongly recommended and safest way to distribute.
2.3 Set Project and Package paths

In the first edit box select the location where the project will be saved. In the second edit box select the location where the EXE installer will be created.
Optionally, in the "Installation package name" edit box we can specify a different name for the EXE installer. By default, the name under which the project was saved (AIP file) is shared with the EXE installer's name.
For more information about these dialogs please see the Project Information Wizard Dialogs page.
4. Set deployment options

In this dialog you can set logging deployment options. We will enable the following option:

- Show deployment log after install
- Once the deployment operation is ended a dialog containing the installation log will be displayed.
You can change these settings later from SharePoint General Options in SharePoint Page.
5. Configure Launch Conditions

In this dialog you can configure the requirements that must be met in order to successfully deploy your SharePoint solution. In our example we can deploy on servers with Microsoft SharePoint Services 3.0 or higher, the user must have deployment permissions and "Administrator" and "Timer" services should be started.
If these conditions are not met, the installation will show an error message and stop.

You can change these settings later from the Launch Conditions Page.
6. Specify License Agreement

This dialog enables you to specify the license agreement file for English (United States):

You can change these settings later from the LicenseAgreementDlg
dialog in Dialog Editor Page.


