How to Add Prerequisites to a Visual Studio Setup Project

After you’ve created your software program, the next step is to create an MSI installer.
For more details on that, you can check out this article: How to create MSI installers with Visual Studio.
Now that you have your MSI file, it's time to add the prerequisites.
1. To add prerequisites, right-click on your setup project in the Solution Explorer, then select "Properties".

2. This will bring up the property page. Look for and click the Prerequisites button.

3. In the Prerequisites window that appears, you can choose which prerequisites to include in your installation package.

The Visual Studio installer extension is quite basic, so it only offers a limited selection of prerequisites, and it doesn’t allow for custom ones.
How to Add Custom Prerequisites using Advanced Installer

Prerequisite options are available in Advanced Installer starting with the Professional edition and project type.
Advanced Installer is available for a free trial for 30 days without requiring a credit card. You can download it using this link: Advanced Installer - Trial.
To get started, create a project by following the tutorial for creating an MSI installer: Create a Custom Installer Package.
1. Once your project is set up, go to the "Prerequisites" page. In the Predefined Prerequisites section, you’ll see a wide variety of options that Advanced Installer provides.

2. If none of the predefined prerequisites suit your needs, you can create a custom prerequisite. Just right-click on "Packages" → "New Executable Package" or click the "New Executable Package" button in the ribbon.

3. Next, select your prerequisite application. It should look similar to this:

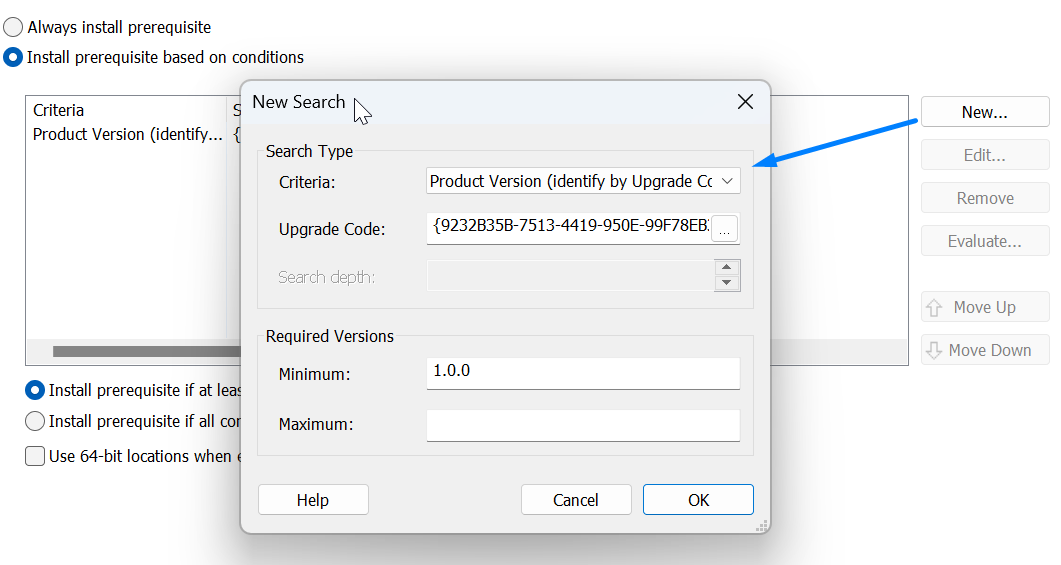
4. After you’ve set the properties for your prerequisite go to the Install Conditions tab to define the detection criteria.

5. If your prerequisite application creates a new registry entry, you can choose "Install prerequisite based on conditions" and define a detection criteria in the Searches section. Here you’ll target the registry entry created by the prerequisite.

Conclusion

We hope that this article gave you a good overview of how to add prerequisites using the Visual Studio Installer extension.
The Visual Studio Installer extension is great for creating MSI packages, especially for simpler applications that don't require custom prerequisites.
However, if your installer is more complex, you might want to use a dedicated packaging tool.
Advanced Installer offers a rapid and simple method of distributing add-ins and extensions for Microsoft Visual Studio.
It automatically generates all the necessary files, so you don’t have to manually configure your installer.